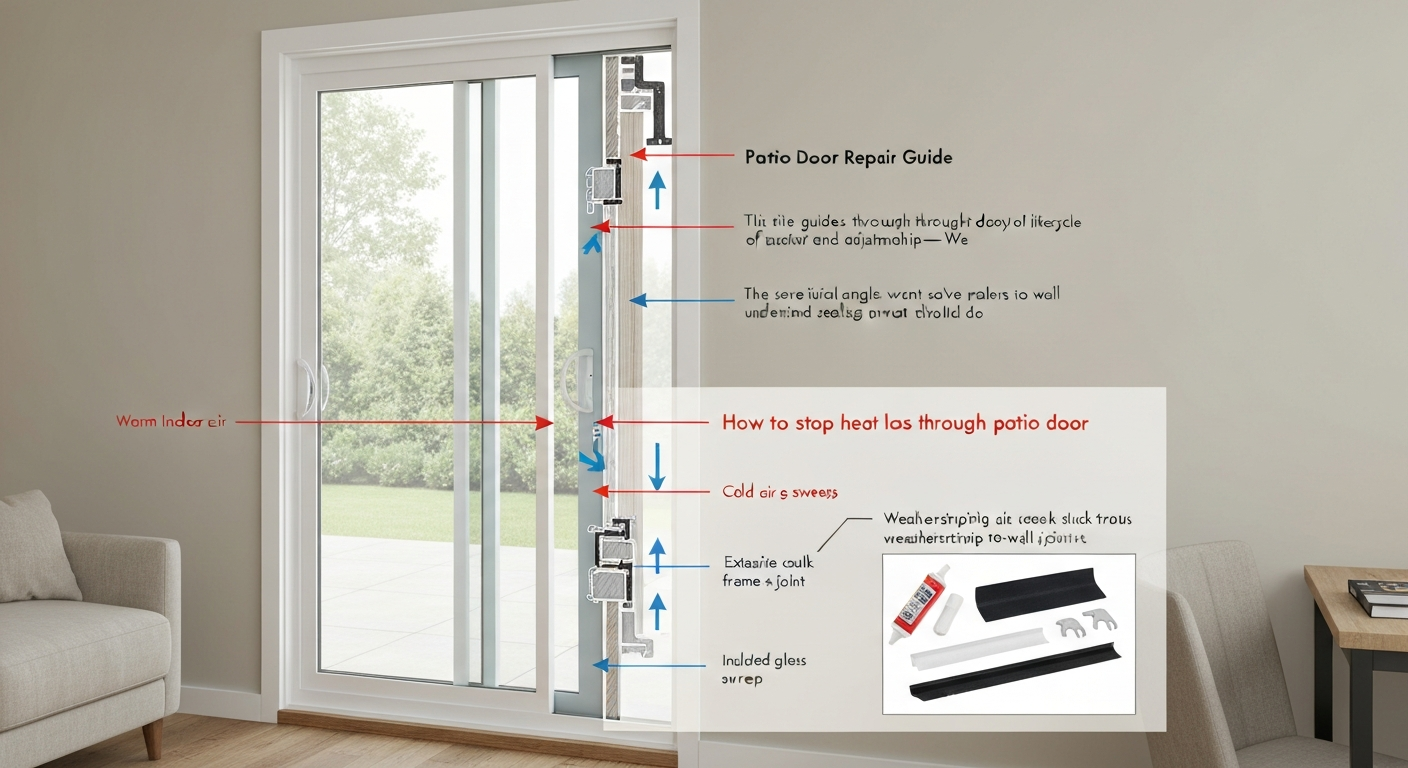
Draught-proofing your patio doors means sealing the gaps where cold air, heat loss, and insects get through, and for most sliding glass and screen doors, the fix costs between £10 and £60 in materials and takes a few hours of your time. For a step-by-step guide on how to keep cold out of patio doors, see our dedicated article. For step‑by‑step instructions on how to fix drafty patio doors, see our guide on how to fix drafty patio doors (024d34bb-55dd-4443-9ab7-998da8bbda50). The DOE rates weatherstripping and caulking among the highest-ROI home improvements available, often paying back within a single heating season. The process involves diagnosing exactly where air is escaping, matching the right seal type to the gap and door material, and fitting it correctly so the door still opens smoothly. Done right, you'll notice the difference on the first cold night. For a step‑by‑step guide on how to stop heat loss through patio door, see our dedicated walkthrough with product recommendations and fitting tips.
How to Draught Proof Patio Doors: DIY Steps, Seals & Costs

What draught proofing actually achieves (and one thing to keep in mind)
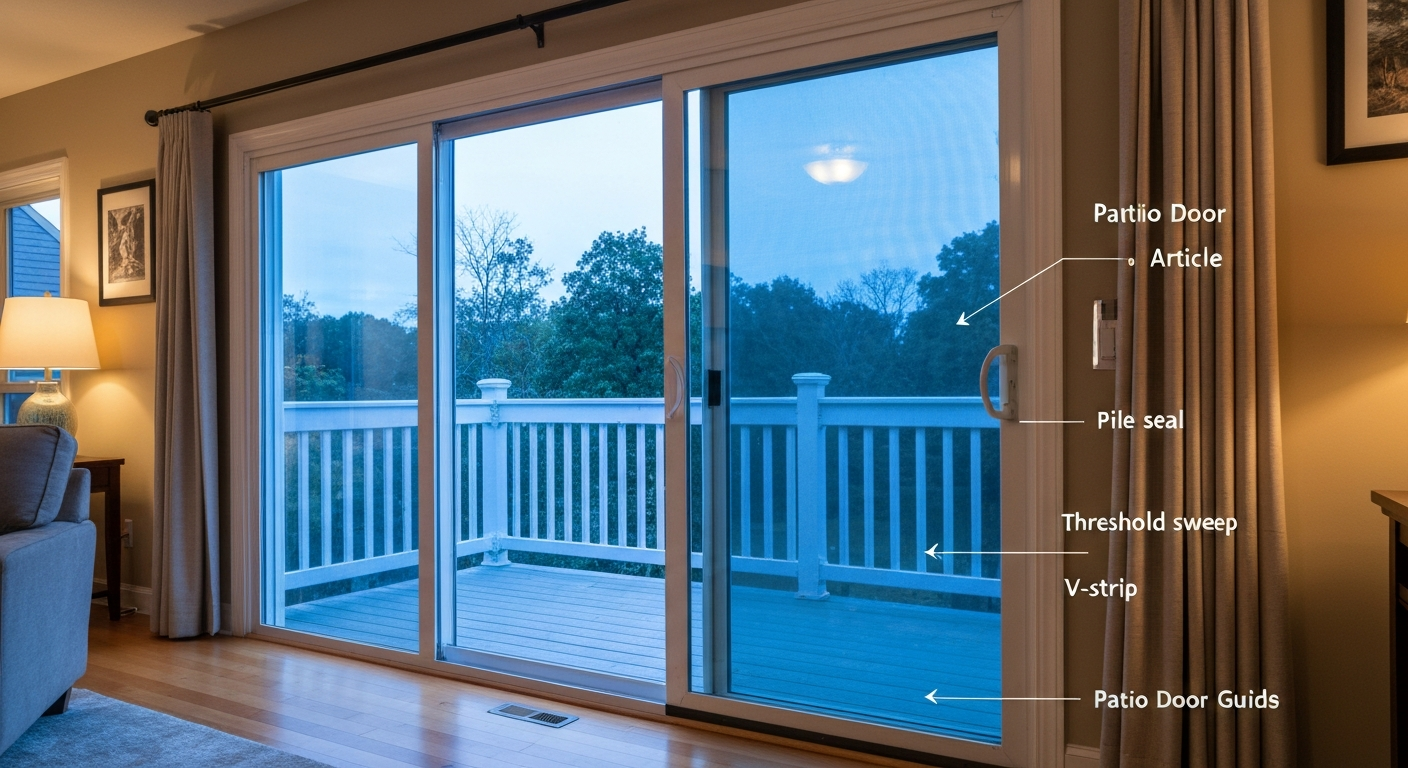
A sealed patio door stops cold air infiltration at the perimeter, threshold, and meeting stiles, the edges where the sliding panel meets the fixed frame. This reduces heating bills, eliminates cold spots near the door, and blocks insects like flies and midges from finding their way in. If stopping flies specifically is your main goal, the screen door side of things matters as much as the weatherstrip side, and we'll cover both.
One genuine safety note: when you tighten a home's envelope significantly, natural ventilation drops. ASHRAE Standard 62.2 sets the benchmark for minimum residential ventilation, and if you're draught-proofing your patio doors as part of a wider home sealing project, make sure you have adequate mechanical or trickle ventilation in place. For a single door on an otherwise leaky house, this isn't a concern. If you're sealing everything at once, it is worth thinking about.
Quick diagnostic: finding where the draught is actually coming from
Before you buy anything, spend ten minutes finding exactly where air is getting in. On a cold windy day, hold a lit incense stick or a thin strip of tissue paper around the door perimeter, the threshold, and both vertical stiles. Any flicker or movement tells you precisely where to seal. You can also wet the back of your hand and move it slowly around the frame, cold air will register immediately.
Check these specific areas in order:
- Top and sides of the sliding panel (head and jamb seals): look for compressed, cracked, or missing foam/rubber strip
- Meeting stiles: the vertical edge where the sliding panel meets the fixed panel — this is the most common leak point on sliding doors
- Threshold and bottom rail: crouch down and check for daylight or a gap between the door bottom and the sill
- Fixed panel perimeter: the stationary glass panel can have degraded gaskets around its own frame
- Screen door edges: check the pile seal channel around the screen frame for bald or missing brush material
- Track area: debris-packed or damaged tracks can hold the door open fractionally, breaking the seal
Misalignment is a frequent hidden cause of draught. If the sliding panel sits lower on one side, the top seal won't compress evenly and the bottom won't seat on the threshold properly. Look at the door from inside and outside, if the gap at the top or bottom isn't even across the width, the rollers need adjustment before any seal work will be fully effective. This Old House's sliding door repair guidance recommends inspecting and cleaning tracks first, then checking roller height, before addressing seals. I'd agree with that sequence entirely.
Tools and materials checklist before you start
Gather everything before you begin. Running to the hardware store mid-job is frustrating, and some sealants need time to cure before the door is used.
- Steel tape measure and a pencil
- Utility knife or scissors
- Flathead and Phillips screwdrivers
- Isopropyl alcohol (70% or higher) and clean cloths — for degreasing surfaces before adhesive seals go on
- Hacksaw or tin snips (for cutting metal threshold bars or sweeps to length)
- Drill with appropriate bits (for screw-fixed sweeps and threshold plates)
- Caulking gun and exterior-grade silicone or acrylic caulk (for fixed-frame gaps)
- Self-adhesive foam tape (closed-cell, 3–6mm thickness for irregular gaps)
- V-strip weatherstrip (EPDM or vinyl, enough to cover both stiles and the head)
- Brush pile seal or replacement pile in the correct width for your door's channel
- Door sweep or threshold seal appropriate to your door type
- Backer rod (for larger stationary gaps before caulking)
- Replacement screen mesh if repairing screen doors (standard 18x16 or fine 20x20 for insects)
- Heat gun or hair dryer (helps adhesive-backed products bond in cooler temperatures)
Measuring and planning before you buy
Measure each gap individually rather than estimating by door size. The door height determines how much V-strip or brush pile you need for the vertical stiles. The door width determines threshold seal and head seal length. For the threshold specifically, measure the full width of the door opening, not just the sliding panel, because threshold seals typically run the full sill width.
Gap width matters for choosing the right product thickness. A gap under 3mm takes a thin foam tape or V-strip. A gap of 3–6mm needs a thicker closed-cell foam or a bulb gasket. Anything over 6mm at a fixed frame joint should be filled with backer rod first, then sealed with exterior caulk, not just covered with tape. For thresholds, the ADA Standards for Accessible Design cap exterior sliding door thresholds at 3/4 inch (19mm) and require beveling for any height change, keep this in mind if you're adding a raised threshold seal, especially if elderly or mobility-impaired users share the home.
For brush pile seals fitted inside a channel on the door frame, you need to know the channel width (typically 4mm, 6mm, or 9mm on common sliding doors) as well as the pile height. Take a photo of the channel and bring it to the supplier, or remove a short section of the old pile to match it exactly.
Matching the fix to the problem and door type
Not every seal works on every door material or gap location. Here's how to match solution to situation across uPVC, aluminium, and timber patio doors.
| Door type | Common draught location | Recommended fix |
|---|---|---|
| uPVC sliding | Meeting stile, head seal | Replacement EPDM bulb gasket or kerf-in seal; pile seal in channel if channel exists |
| uPVC sliding | Threshold/bottom | Brush sweep or rubber threshold insert; check roller height first |
| Aluminium sliding | Perimeter frame, meeting stile | Self-adhesive EPDM foam tape or compression gasket; V-strip for stile faces |
| Aluminium sliding | Threshold | Metal-backed rubber threshold seal; ensure existing threshold bar is secure |
| Timber sliding/French | Perimeter, head, jamb | V-strip stapled or tacked to jamb; compression foam tape; re-caulk fixed frame joints |
| Timber sliding/French | Bottom sweep | Wood-compatible screw-fixed door sweep; re-plane door if swollen and binding |
| Screen door | Frame perimeter pile channel | Replacement pile/brush seal in correct channel width |
| Screen door | Mesh damage | Re-screen with 18x16 standard mesh, or 20x20 for finer insects/midges |
One practical note on uPVC doors specifically: the gaskets are usually kerf-in (they clip into a machined slot in the frame) rather than adhesive. Replacement kerf-in gaskets are available from uPVC door suppliers and most builders' merchants. Don't try to glue foam tape over a kerf slot, it won't compress correctly and the door will feel stiffer than before.
Weatherstrip types: which one to choose
There are four main weatherstrip categories used on patio doors, and each has a specific job. Choosing the wrong one is the main reason DIY draught-proofing fails.
Adhesive foam tape
Closed-cell foam tape (PVC or EPDM) is the easiest to apply and the cheapest option. Pemko and similar manufacturers offer firm closed-cell versions that handle larger gaps without bottoming out. It works well on the fixed frame sections of patio doors and on aluminium frames where you can't easily fit a kerf-in seal. The downsides: it compresses permanently over time (usually within 1–3 years), adhesive fails if the surface isn't scrupulously clean, and it doesn't handle constant sliding friction. Use it on fixed frame sections and head jambs, not on the sliding panel's moving faces.
V-strip (tension seal)
V-strip is a folded strip of EPDM rubber or vinyl that springs open against the door face as it closes, creating a compression seal without needing to be crushed flat. Frost King's installation instructions specify a minimum application temperature of 20°F (-7°C), so don't try fitting self-adhesive V-strip in a cold garage in January without warming the surface first. It's excellent for the vertical stiles on timber and aluminium doors, and for the head jamb on inward-opening French doors. On a pure sliding door, V-strip is best placed on the fixed frame stiles where the sliding panel passes, not on the sliding panel itself.
Rubber and compression (bulb) gaskets
Compression gaskets, including bulb seals and D-profile rubber strips, provide a consistent, durable seal around door perimeters. They compress when the door closes and spring back when it opens. Kerf-in versions are the right choice for uPVC doors. Products meeting ANSI/BHMA A156.22 (the standard for door gasketing systems) are worth seeking out if you want tested performance, Pemko and NGP both make certified products. See PK52 Kerf‑in Weatherstrip, Pemko (references ANSI/BHMA A156.22) for a manufacturer listing of products meeting ANSI/BHMA A156.22 PK52 Kerf‑in Weatherstrip — Pemko (references ANSI/BHMA A156.22). The main limitation is that they require the door to be correctly aligned and plumb: if your door is misaligned, a compression gasket will seal unevenly on one side while being overtight on the other.
Magnetic seals
Magnetic weatherstrips use an embedded magnet strip to pull the door firmly into a metal or magnetic receiver strip on the frame. They're most common on refrigerator-style doors but are available for some patio door applications. They provide an excellent seal when properly aligned, are durable, and don't degrade from compression cycling the way foam does. The main drawbacks are cost (higher than foam or V-strip), the need for precise alignment, and limited compatibility with older frames where fitting the receiver strip is difficult.
| Type | Best used on | Lifespan | DIY difficulty | Cost (approx.) |
|---|---|---|---|---|
| Adhesive foam tape | Fixed frames, head jambs, irregular gaps | 1–3 years | Very easy | £3–£10 per door |
| V-strip (tension seal) | Vertical stiles, head jambs, timber/aluminium doors | 5–10 years | Easy | £5–£15 per door |
| Compression/bulb gasket | uPVC kerf slots, perimeter frames | 10+ years | Moderate | £8–£25 per door |
| Magnetic seal | Meeting stile on compatible doors | 10+ years | Moderate–hard | £15–£40 per door |
Door sweeps and threshold seals: types and how to fit them
The gap between the bottom of the door and the threshold is often the biggest source of cold air on patio doors. A door sweep or threshold seal closes this gap. The three main types are metal (aluminium or stainless, with a rubber or neoprene wiper), rubber (a solid or hollow profile that presses against the threshold), and brush (a row of dense bristles that sweep the threshold as the door moves).
For sliding patio doors, a brush sweep or a rubber wiper blade fitted to the bottom rail of the sliding panel is the standard approach, it needs to allow the door to slide freely while still making contact with the threshold. For French-style patio doors that swing open, a screw-fixed metal-backed sweep works well and is more durable.
- Measure the full width of the door panel bottom rail, not the opening width
- Cut the sweep to length with a hacksaw or tin snips, leaving a clean square cut
- With the door closed, hold the sweep against the bottom of the door and mark screw positions — the rubber or brush should just contact the threshold without lifting the door
- Drill pilot holes to avoid splitting timber or cracking uPVC trim
- Screw the sweep into place and slide the door to check it moves smoothly over the full travel
- On aluminium doors, use a rivet or self-tapping screw appropriate for the frame gauge — standard wood screws will strip immediately
- Test with the incense/tissue method again to confirm the seal is effective
If you're fitting a new threshold bar, check local building regulations and the ADA threshold height limit of 3/4 inch (19mm) for sliding exterior doors. Beveled thresholds are required where a height change exists, both for accessibility reasons and to prevent a trip hazard. Products meeting ANSI/BHMA A156.21 (thresholds and door bottoms) provide tested performance data and are worth specifying for replacement threshold bars.
Brush seals and pile seals: the right choice for sliding doors and screens
Brush pile seals (also called pile weatherstrip or wiper seals) are the industry-standard draught seal for sliding patio doors and screen doors. They consist of a dense row of synthetic fibres (usually polypropylene) set into a carrier strip that snaps or slides into a channel machined into the door frame. Unlike foam or rubber, pile seals allow the door to slide freely while still blocking air and insects, this is why they're the default factory seal on sliding glass doors, not foam tape.
Identifying whether you have a pile seal channel
Open the sliding panel and look at the vertical edge of the door frame (the stile face that slides past the fixed frame). You'll often see a narrow groove, typically 4–9mm wide, running the full height. This is the pile carrier channel. If your existing pile is flattened, shredded, or missing, you can replace just the pile strip without replacing the whole door hardware.
Fitting replacement pile seal
- Remove the old pile by pulling it out of the channel — on most doors it simply slides out lengthwise
- Clean the channel with isopropyl alcohol to remove any old adhesive or debris
- Cut the new pile strip to the exact height of the channel using scissors or a utility knife
- Press or slide the new pile carrier into the channel — it should click into place with firm hand pressure; use a flat plastic tool or an old credit card to seat it fully along the length
- Check the door closes and slides without the pile bunching or catching
- Fit pile to all four sides of the screen door frame using the same method
When there's no channel: surface-mount brush seals
If your door frame doesn't have a pile channel, common on older timber patio doors and some budget aluminium frames, you can use a surface-mount brush strip with an adhesive or screw-fixed backing. Clean the surface thoroughly, cut to length, and fix the carrier strip to the face of the door stile or to the fixed frame, ensuring the bristles contact the opposing surface when the door is closed. On screen doors, surface-mount brush strips also work well along the bottom rail to seal the gap between the screen and the track.
Screen doors and insect control
A well-sealed screen door is your first line of defence against insects, including flies and mosquitoes. Standard household insect screen is 18x16 mesh (wires per inch) and handles most common insects. If you have problems with midges, no-see-ums, or similar small insects, switch to 20x20 or finer mesh, the CDC's guidance on biting insects specifically recommends 20-mesh screening in affected areas. If the existing mesh is torn or has holes, re-screening a door is a straightforward DIY task: remove the spline (the rubber cord holding the mesh in the frame groove), cut new mesh 2–3 inches larger than the frame, lay it over the frame, and press the spline back into the groove using a rolling tool. Trim the excess with a utility knife. Combine a re-screened door with fresh pile seals on all four sides of the screen frame, and you'll have a much more effective barrier against both air and insects. For targeted tips on preventing flies entering through patio doors, see our guide on how to stop flies coming in patio doors.
Roller and alignment issues that cause draught, fix these first
If your sliding patio door doesn't sit level in the frame, no amount of new weatherstrip will seal it properly. Misalignment, almost always caused by worn or uncalibrated rollers, creates uneven gaps at the top and bottom. The fix is straightforward for most doors.
Pella's service manuals and SWISCO's roller guides both document the same basic procedure: locate the roller adjustment screws in the bottom rail (usually visible through small access holes at the bottom corners of the sliding panel), insert a screwdriver, and turn clockwise to raise that corner of the door, counterclockwise to lower it. Make small adjustments, close the door between each adjustment, and check the gap consistency. This typically takes 10–15 minutes. If adjustment doesn't resolve the problem, the rollers themselves may be worn flat and need replacement, a job that takes 30 minutes to 3 hours depending on access and how corroded the hardware is, but is well within DIY capability with basic tools.
Seasonal and temporary draught fixes
If you're waiting for parts, renting a property, or just need to get through a cold snap before doing the proper fix, there are temporary options that genuinely work.
- Removable rope caulk: a putty-like cord pressed into gaps by hand, peels off cleanly in spring — effective and cheap for static frame gaps
- Insulating window film: a shrink-wrap film applied with double-sided tape to the interior of the door frame, tightened with a hair dryer — significantly reduces cold radiant effect and some air infiltration; not suitable as a permanent fix but very effective as a seasonal layer
- Heavy thermal curtains: not a seal in themselves, but a well-fitted thermal-lined curtain creates a dead air layer that markedly reduces the felt draught effect near the door; worth combining with even basic sealing
- Door snake or draught excluder: a fabric tube placed along the base of the door — stops the obvious floor-level draught immediately and requires no tools at all
Security and ventilation: things not to overlook
Draught proofing shouldn't compromise how the door locks. If you're adding a threshold seal or a door sweep, close and lock the door after fitting to confirm the locking mechanism still engages fully. Sweeps that are set too low can lift the door panel slightly off the track when you try to close it, which prevents the lock from reaching the keep. Adjust the sweep height until the lock seats cleanly. If your door lock is already problematic before you start, fix the lock first, a draught-sealed door that doesn't lock properly is a security problem.
On the ventilation side: a well-draught-proofed patio door on an otherwise normally ventilated house is not going to cause an air quality problem on its own. But if you're sealing multiple doors and windows as part of a broader weatherization project, ASHRAE 62.2 sets the standard for minimum whole-house ventilation. In practice this usually means ensuring you have working extractor fans in the kitchen and bathroom, and potentially adding trickle vents to other windows if you're significantly tightening the house envelope.
Maintenance: how to keep draught seals working
Most seals on patio doors last 3–10 years depending on type and UV exposure. The ones that fail earliest are adhesive foam tape (1–3 years) and pile seals that carry a lot of debris from the track. A quick annual check at the start of autumn takes ten minutes and catches problems before winter. Wipe pile seals with a damp cloth to remove debris. Check foam tape for compression set (press it, if it doesn't spring back, it's done). Run a bead of silicone around the fixed panel perimeter every few years if you see any lifting or cracking. Clean the tracks thoroughly twice a year: dirt and debris in the track is the main cause of roller wear and misalignment, which then causes draught.
When to call a professional instead
Most draught-proofing work on patio doors is genuinely DIY-friendly. Call a professional if: the door frame itself is rotten or structurally damaged (timber frames); the sliding panel is dropping due to a failed bottom rail rather than worn rollers; the fixed panel glass seal (the glazing bead gasket) is failing and letting moisture into the double-glazing unit; or the threshold is cracked or damaged and needs structural repair. A professional door repair or double-glazing company will typically quote for a same-day call-out for these jobs. For straightforward seal replacement on standard uPVC or aluminium sliding doors, expect a professional to charge £60–£150 for labour plus materials, depending on your location, which is worth comparing against the £20–£60 DIY material cost and two to three hours of your own time.
FAQ
What primary technical topics must the article cover to teach homeowners how to draught‑proof patio doors effectively?
Step‑by‑step procedures for common door types (sliding glass, sliding screen, hinged patio doors); material and tool checklists; quick diagnostic checks (worn seals, gaps at thresholds/frames, sash misalignment, damaged rollers/tracks); installation options (weatherstrips, door sweeps, brush seals, V‑strip, magnetic seals, closed‑cell foam, caulk, perimeter gaskets); seasonal/temporary fixes (insulating film, thermal curtains, temporary draft snakes); screening/pest solutions (mesh sizes, patching, spline replacement); security and ventilation implications (effects on infiltration and need for controlled ventilation); maintenance and inspection schedule; troubleshooting for alignment/roller issues; compatibility notes for uPVC, aluminium, and wood frames; and realistic time/cost ranges for DIY vs professional work.
Which authoritative source types should be referenced to ensure accuracy and credibility?
Government and national lab guidance (DOE, PNNL/Building America, ASHRAE standards); recognized standards bodies (ANSI/BHMA specs for gasketing, ADA for thresholds); reputable manufacturers' installation and specification documents (Pemko, Frost King, Pella, NGP); industry/trade guides and established DIY media (This Old House, reputable trade sites); product technical datasheets and catalogs for compressibility, temp limits, and mounting methods; building code references and local authority guidance for thresholds/accessible routes; and public health guidance on insect screening (CDC/EPA) where pest vectors are relevant.
What specific product and installation details must be checked and cited from manufacturer documentation?
Recommended substrate/prep and application temperature limits for self‑adhesive strips (e.g., do not apply below ~20°F / −7°C); compression and closed‑thickness ranges for seals so doors close without binding; recommended attachment methods (adhesive, screws, kerf‑in); detailed roller removal/adjustment sequences and locating adjustment screws; material compatibility (EPDM, vinyl, silicone, closed‑cell foam) and UV/weather resistance; tested standards or certifications (ANSI/BHMA where applicable); and any maintenance or replacement intervals the manufacturer specifies.
What diagnostics should the article teach homeowners to perform before choosing a fix?
Visual inspection of wear and compression in existing seals; candle/smoke or tissue test along perimeter to locate drafts; measure gaps at jambs/head/thresholds (rule of thumb: >3/16–1/4 in may need foam or perimeter gasketing); check sill/threshold condition and alignment; test sliding operation for binding or wobble; inspect rollers and tracks (dirt, corrosion, missing rollers); note screen tears or loose spline; and consider whole‑house ventilation status (tightening can reduce natural ventilation). Provide step order: clear/clean, test movement, identify exact leak points, measure gap widths, then choose material.
Which installation options should be described, and when to use each?
V‑strip (EPDM/vinyl) for jambs, heads and meeting stiles where thin, compressible sealing is needed; perimeter bulb gaskets for consistent compression around the frame; closed‑cell foam tape for irregular or larger stationary gaps; door sweeps, brush seals, or automatic drop seals for bottom/threshold leaks (choose brush/filament for sliding gaps where contact mustn't impede movement); magnetic seals for tight metal‑to‑metal meeting stiles (if compatible); caulk and backer rod for fixed gaps in stationary components; and temporary seasonal solutions (window film, thermal curtains) when permanent work isn’t feasible immediately.
What pest‑screening guidance and mesh specifications should be included?
Explain standard insect screen (typically 18×16 mesh) for general flying insect exclusion and fine‑mesh options (20×20 or finer) for smaller biting midges/no‑see‑ums; show how to repair/replace screen fabric and spline, and recommend inspecting frames and rollers of screen panels; cite CDC/EPA guidance for vector control and recommend maintaining intact screens year‑round where vectors are a concern.
How to Stop Heat Loss Through Patio Door: DIY Fixes
How to stop heat loss through patio door: DIY fixes, draft checks, weatherstripping, insulation, costs & when to call pr