You can stop most heat loss through a patio door in an afternoon with weatherstripping, a door sweep, and a tube of caulk, total materials cost typically runs $20–$80 depending on what needs fixing. Patio doors are one of the worst offenders in a home's thermal envelope: the U.S. Department of Energy estimates that windows and doors together account for roughly 30–40% of a home's winter heat loss despite covering only about 10% of the building envelope. Source: U.S. Department of Energy, Building Technologies Office, windows (including doors and skylights) can account for roughly 30–40% of a home’s heat loss in winter while representing about 10% of the building envelope area; upgrading glazing or adding storm windows can materially lower heating loss blank" rel="noopener noreferrer">U.S. Department of Energy: windows and doors account for roughly 30–40% of a home's winter heat loss despite covering only about 10% of the building envelope.. The good news is that the majority of that loss comes from air infiltration at the edges and seals, not through the glass itself, and air infiltration is something you can fix yourself without replacing the door. For step‑by‑step methods and product recommendations, see our guide on how to draught proof patio doors. For step-by-step guidance on how to fix drafty patio doors, see the related guide.
How to Stop Heat Loss Through Patio Door: DIY Fixes

Quick summary: simple steps to stop heat loss
If you want the short version before diving into the details, here is the priority order that covers about 90% of patio door heat loss situations. See our detailed guide on how to keep cold out of patio doors for step-by-step instructions and product recommendations.
- Run a draft check (tissue, incense, or hand) along all four edges, the sill, and the meeting rail to find where air is entering.
- Replace or add weatherstripping at the sides and top of the door frame — this is the single biggest gain for most doors.
- Install or replace the door sweep or threshold seal at the bottom — often the largest single gap on an older door.
- On sliding glass doors, clean and adjust the rollers so the panel sits evenly in the frame and makes full contact with the weatherstripping.
- Re-caulk the exterior perimeter where the door frame meets the wall if you see cracked or missing caulk.
- Add secondary glazing film or thermal curtains as a low-cost boost to the glass area itself.
- If the glazed unit is fogged, cracked, or single-pane, budget for a glass unit replacement or door upgrade as a longer-term fix.
How patio doors lose heat, and where to look first
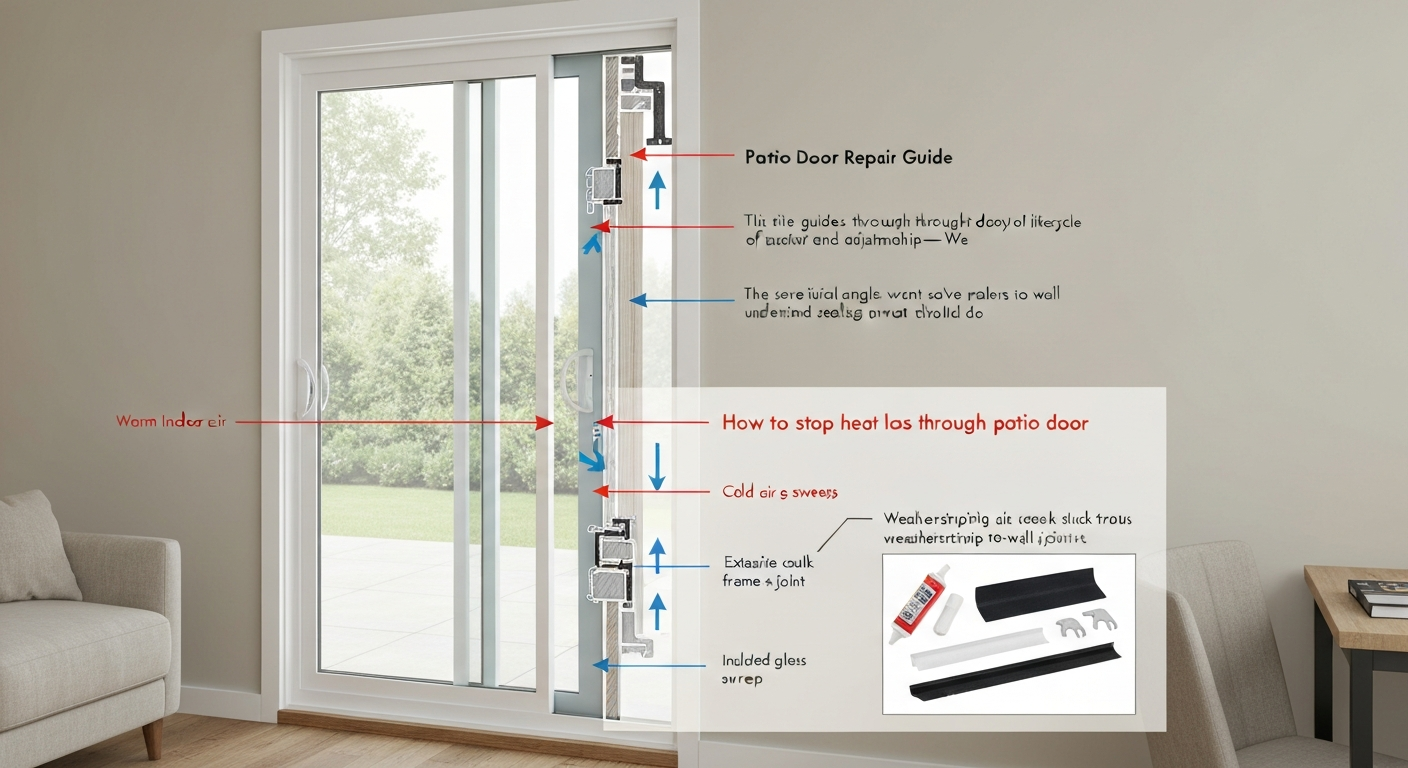
Heat leaves your home through a patio door in two distinct ways: conduction through the glass and frame, and air infiltration through gaps and failed seals. Conduction is the slow, steady transfer of warmth through solid material, it is constant and depends on the U-value of your glazing. Air infiltration is the bigger problem in most existing homes because every small gap lets conditioned air escape and cold outdoor air pour in. The practical fixes covered in this article target infiltration first, because that is where you will feel the biggest improvement.
The most common leak points by door type
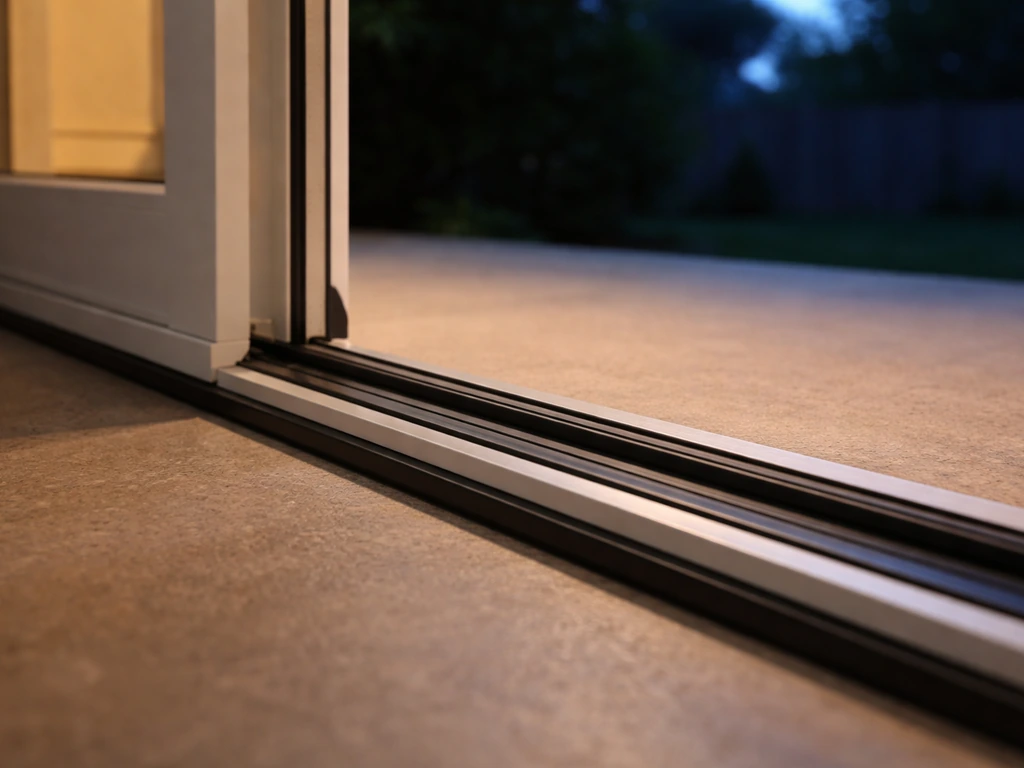
Sliding glass doors most often leak at the sill (especially if weep holes are blocked or the sill is damaged), at the meeting rail where the fixed and moving panels overlap, and at worn pile or bulb weatherstripping along the edges. Damaged or uneven rollers make it worse because the panel no longer sits flush against the seals. Hinged or French-style patio doors leak most at the threshold and bottom sweep, along the hinge jamb as the door settles over time, at the astragal (center stile) on double doors, and at the compression seal near the latch where the lock no longer pulls the door tight. Both door types can lose heat through a failed perimeter caulk joint on the exterior.
Quick at-home diagnostics
On a cold, windy day, hold a thin strip of tissue or a lit incense stick 1–2 inches from the door frame and move it slowly around all four sides, the sill, and the center meeting rail. Any flutter or smoke deflection indicates a draft. For the bottom gap, simply slide a piece of paper under the closed door, if it moves freely with no resistance, you have a significant sill gap. A thermal (infrared) camera is a more powerful diagnostic tool: it shows cold spots as blue or purple areas on the frame and glass perimeter. You do not need to rent one yourself, many energy auditors will do a quick walk-through, and some utility companies offer free or discounted audits. The most rigorous method is a blower door test performed by a BPI- or RESNET-certified professional, which pressurizes the house and makes even tiny leaks detectable. For most homeowners, the tissue-and-incense approach will find everything worth fixing.
Tools, materials, and what to buy before you start
Gather everything before you start. There is nothing more frustrating than getting the old weatherstripping off and realizing you bought the wrong profile. Here is what covers almost every scenario in this article.
- Tape measure and a notepad — measure every gap and the door perimeter length before buying anything
- Utility knife and scissors
- Flathead and Phillips screwdrivers
- Needle-nose pliers (for removing old kerf-in weatherstrip)
- Putty knife or painter's 5-in-1 tool
- Wire brush and isopropyl alcohol (surface prep before any adhesive application)
- V-strip (tension seal) weatherstripping — spring metal or vinyl, for side jambs and meeting rails
- Compression bulb or D-profile foam/rubber seal — for hinged door stops
- Pile/brush weatherstrip — specifically for sliding door tracks
- Door sweep or automatic door bottom — measure door width and bottom clearance first
- Adjustable threshold with replaceable vinyl bulb insert, if the existing threshold is worn
- Exterior-grade paintable caulk or silicone caulk for perimeter sealing
- Low-expansion spray foam (sill and structural gaps only, used sparingly)
- Window insulation film kit (optional, for glass area heat loss)
- Roller adjustment tool or a flat-head screwdriver (for sliding door roller height screws)
How to inspect and measure your door properly
Accurate measurements before buying materials saves you a second trip to the hardware store. Here is the inspection sequence I recommend.
- Measure the door width at the bottom, middle, and top. On older frames, these can differ by up to 1/4 inch — use the smallest dimension when sizing a door sweep.
- Check the bottom gap: close the door and slide a business card under it at several points across the width. If it passes through easily anywhere, you need a sweep or threshold adjustment.
- Inspect the weatherstripping on all four sides. Press it with your finger — foam tape that compresses flat and does not spring back has failed. Pile weatherstrip that is flattened or missing in sections needs replacing.
- On sliding glass doors, look at the roller adjustment screws (typically accessible through holes in the bottom rail face). Spin each wheel by hand with the panel lifted slightly — rough, grinding rotation means worn rollers.
- Check the frame alignment: close the door and look at the gap between the door and the frame at the top, sides, and meeting rail. Gaps larger than 1/8 inch that are not consistent indicate the door or frame has shifted.
- Inspect the sill and threshold for rot, cracks, or gaps between the sill and the door frame. Press the wood with a screwdriver — soft spots indicate rot that needs professional repair before any sealing work.
- Examine the exterior perimeter caulk joint. Cracked, shrunk, or missing caulk on the outside is a common and overlooked source of both air and water infiltration.
Renter-friendly and temporary fixes that need no drilling
If you rent, or if you want a quick fix while you gather materials for a proper job, these options require no permanent modification and can be removed cleanly.
- Self-adhesive foam tape weatherstripping: press it into the door stop along the sides and top. It is cheap (under $10) and effective for a season, though the adhesive degrades and it compresses permanently within a year or two. Clean the surface with alcohol first for the best bond.
- Draft snake or door draft stopper: a fabric tube placed along the door bottom blocks a surprising amount of airflow with zero installation. Move it aside when you use the door.
- Removable window insulation film: these kits use double-sided tape and a hair dryer to shrink a clear plastic film over the interior face of the door. The film adds a second air gap in front of the glass and can noticeably reduce cold radiation. Storm windows or secondary glazing panels can reduce heat loss through glazing by 25–50% according to DOE guidance, and film products offer a budget version of that benefit.
- Rope caulk (removable): press this putty-like rope into gaps around the frame interior. It peels off cleanly in spring with no damage to paint or trim.
- Thermal curtains or insulated blinds: hanging a well-fitted thermal curtain over the door at night adds meaningful resistance. Look for curtains rated with a tog or R-value. They will not stop infiltration but do reduce radiant and conductive losses through the glass area.
Step-by-step: weatherstripping a hinged or French patio door
Choosing the right weatherstrip type
The door stop (the small strip of wood or metal the door closes against) takes a compression-style seal, a D-profile or bulb gasket glued or tacked to the face of the stop so the door compresses it when it closes. The hinge jamb and latch jamb edges work better with a V-strip (tension seal), which is a folded strip that springs open to fill the gap as the door moves past. For double French doors, the astragal (center meeting stile) needs its own compression seal or pile strip depending on how the doors overlap. Kerf-in or T-slot gaskets offer the best long-term performance and are worth the extra installation effort on a frequently used door.
Installation steps
- Remove all old weatherstripping. Use a putty knife and pliers to pull out staples or kerf-in strips. Clean the surface thoroughly with isopropyl alcohol and let it dry completely — adhesive will not bond to a dusty or oily surface.
- Measure each side of the door opening. Cut your weatherstrip pieces to length with scissors or a utility knife, mitering the top corners at 45 degrees if your door stop has a corner detail.
- For adhesive-backed compression bulb: peel the backing and press firmly into the door stop face, starting at one end and working to the other without stretching the material. Stretched seal compresses unevenly.
- For V-strip (spring metal or vinyl): cut to length, then fold along the center crease so the V points toward the outside (toward the gap). Slide or tack it into the jamb groove or use the adhesive backing to position it along the jamb face. The strip should spring open to fill the gap when the door closes.
- For kerf-in T-slot gasket: use a putty knife or roller to press the bulb into the existing kerf (channel) in the door stop. If there is no kerf, you will need a kerf routing bit or choose a surface-mount alternative.
- Close the door and check compression: the door should close with slight resistance and no visible light around the edges. If you see light, the seal is not contacting the door face — adjust position or select a thicker profile.
- Test with the tissue or incense stick to confirm no drafts remain before cleaning up.
Step-by-step: sealing and repairing a sliding glass door
Adjust the rollers first, everything else depends on this
A sliding glass door that is sitting low on its rollers will not make proper contact with the weatherstripping at the top and sides no matter how much new pile strip you install. Roller adjustment should always come before weatherstripping replacement. Look for the adjustment screws on the bottom rail face, there are typically two, one near each end. Turn them clockwise to raise the door panel. Raise it until the door panel runs parallel to the frame and there is a consistent 1/8-inch gap at the top rail. Then slide the door through its full travel to confirm it runs smoothly and latches cleanly. If the rollers are visibly cracked, flat-spotted, or grinding, replace them before proceeding, replacement roller sets for most common brands cost $15–$40 and install with just a screwdriver.
Replacing pile weatherstrip in sliding door tracks
- Remove the sliding panel by lifting it up into the upper track and swinging the bottom outward — most panels come out without tools. Work with a helper for large panels (they are heavier than they look).
- Pull out the old pile strip from the grooves in the door frame and the fixed panel edge. It usually peels or slides out of a plastic retainer channel.
- Cut new pile strip to length and press it into the retainer channel. Some channels accept a standard 3/8-inch pile; others need a specific size — bring a sample of the old strip to the hardware store.
- Install new pile strip in both the door panel channels and the fixed panel edge where they make contact at the meeting rail.
- Re-hang the panel, adjust rollers again if needed, and check that the pile strip contacts both surfaces consistently across the full height of the meeting rail.
- Check the track itself: clear any debris from the bottom track with a stiff brush and wipe clean. Blocked weep holes in the sill should be cleared with a stiff wire or toothpick — they drain water that would otherwise undercut your seals.
Sealing the perimeter caulk on a sliding door
Working from outside, inspect the joint between the door frame and the wall surface all the way around. Use a putty knife to remove cracked or loose caulk, then wipe the joint clean. Apply a bead of exterior-grade paintable acrylic caulk (or silicone on masonry) and tool it smooth with a wet finger. Do not caulk the bottom weep holes on a sliding door, those need to stay open to drain water.
Door sweeps, threshold seals, and sill options
Which type to choose
| Type | Best for | Approx. cost | DIY difficulty |
|---|---|---|---|
| Fixed screw-mount vinyl or aluminum sweep | Hinged doors with consistent bottom gap under 3/4 inch | $8–$20 | Easy — drill and screw |
| Automatic (drop-down) door bottom | Hinged doors with uneven or large bottom gaps, high-traffic doors | $40–$120 | Moderate — requires accurate plunger placement |
| Adjustable threshold with vinyl bulb insert | Both hinged and sliding doors; best when the floor/threshold is uneven | $25–$60 | Moderate — remove old threshold, fasten new one |
| Slide-on door bottom (no drill) | Renters or temporary fix on inswing doors with consistent gap | $10–$25 | Very easy — slides over door bottom |
| Replacement vinyl sill seal / pile threshold insert | Sliding doors where the threshold vinyl or pile is worn | $10–$30 | Easy — peel old insert, press new one in |
Installing a fixed door sweep on a hinged door
- Measure the door width at the bottom edge. Buy a sweep slightly wider and cut to exact length with a hacksaw if needed.
- Close the door and hold the sweep against the interior face of the door bottom so the flexible vinyl blade just touches the floor (or threshold) with light pressure. Mark the screw holes with a pencil.
- Open the door, pre-drill pilot holes on your marks, and screw the sweep to the door face. Do not overtighten — the screws should be snug, not crushing the mounting flange.
- Close the door and drag a piece of paper underneath. You should feel resistance across the full width. Adjust the sweep up or down in its slotted holes if needed before fully tightening.
Installing an automatic door bottom
Automatic door bottoms (also called drop seals) use a spring-loaded bar that drops onto the threshold as the door closes, then lifts automatically when the door opens. They are the right choice when your floor is uneven, when the door drags on carpet at mid-swing, or when you want a completely clean seal. Mount the case to the door face with the plunger pin positioned to contact the door stop or strike plate at the correct height per the manufacturer's instructions. The Pemko standard is to set the plunger so it engages just as the door reaches its fully closed position, engaging it too early causes the bar to drag on the floor during the swing. Test the actuation several times before finalizing the screw positions.
Longer-term upgrades worth budgeting for
Weatherstripping and sweeps fix infiltration, but if your patio door has single-pane glass or a fogged double-pane unit, you are still losing significant heat through the glass itself. The Department of Energy notes that retrofit options such as storm windows (secondary glazing) and interior window film/plastic shrink film can reduce heat loss through windows by roughly 25–50% depending on baseline glazing and climate. A fogged unit (moisture visible between the panes) means the inert-gas seal has failed and the insulating value is degraded, that unit needs replacing, not sealing. A qualified glazier can replace just the insulated glass unit (IGU) without replacing the entire door frame, which typically costs $200–$500 per panel depending on size and glass specification, and is worth it if the frame itself is in good condition. If the door frame is more than 20 years old, warped, or showing sill rot, a full door replacement with an ENERGY STAR-certified product makes more sense. ENERGY STAR-certified doors can reduce household heating and cooling bills by around 13% on average compared to non-certified fenestration. Look for the NFRC label and choose a door with an air leakage rating of 0.3 cfm/ft² or lower for sliding doors, or 0.5 cfm/ft² for swinging doors.
Seasonal maintenance to keep the seals working
Most seal failures happen gradually, so a quick autumn check-up prevents a winter of high heating bills. Every October, go through this routine: clean the sliding door track and lubricate the rollers with a silicone spray (not WD-40, which attracts dirt), check all weatherstrip for compression and tears, test the door sweep by sliding paper underneath, and inspect the exterior caulk for cracks. In spring, clear the weep holes in the sill and check for any condensation damage on interior timber sills. If you see condensation forming on the interior face of the glass (not between the panes), that is a sign of high indoor humidity, not a failed seal, a dehumidifier or improved ventilation is the fix there, not more weatherstripping.
Insect screens and the heat-loss connection
A poorly fitted screen door does not lose heat directly, but it does allow bugs to enter when you open the patio door in warmer months and can indicate that the door track and frame system as a whole is worn or misaligned. A screen with torn mesh or a bent frame that does not seat properly in the track also leaves gaps that flies and other insects can use. Keeping the screen in good repair and properly seated is worth doing not just for comfort in summer but because the same track alignment that lets flies in through a gap is often the same gap letting cold in through winter. Stopping insects and stopping cold air are closely related problems on a sliding door system.
When to call a professional
Most of what is in this article is genuinely DIY-friendly. But there are a few situations where calling a professional is the right call, and it is better to know upfront than to discover it mid-project.
- Sill rot or structural damage: if your screwdriver sinks into the wood sill or threshold framing, you have rot that needs carpentry repair before any sealing will hold. This is a professional job.
- Cracked or fogged glass: removing and replacing an insulated glass unit requires proper glazing tools, handling safety for large panes, and knowledge of the correct unit specification. A qualified glazier is the right call.
- Frame out of square by more than 1/4 inch: significant frame movement can indicate foundation settling or framing issues. Get a structural assessment before spending money on seals.
- Security concerns: if the lock no longer engages properly after roller and alignment adjustments, have a locksmith or door specialist look at it. A door that does not lock correctly is a security problem regardless of how well it is sealed.
- Whole-house air sealing: if your draft test finds leaks at every door and window, the problem is bigger than any single door fix. A blower door test by a BPI- or RESNET-certified energy auditor will show you where to prioritize and often pays for itself in the energy savings it identifies.
Realistic costs and what you can expect to save
| Fix | DIY materials cost | Time to complete | Expected benefit |
|---|---|---|---|
| Weatherstripping replacement (one door) | $15–$35 | 1–2 hours | Eliminates most frame-edge drafts |
| Door sweep or threshold seal | $10–$60 | 30–90 minutes | Closes the biggest single gap on most doors |
| Pile weatherstrip for sliding door | $15–$30 | 1–2 hours including roller adjust | Restores meeting-rail seal; improves latch feel |
| Exterior perimeter re-caulk | $8–$15 | 45–60 minutes | Stops water and air at frame-to-wall joint |
| Window insulation film (full door) | $25–$50 | 1 hour | Reduces conductive/radiant glass loss; 25–50% glazing improvement per DOE |
| Insulated glass unit replacement (professional) | $200–$500 per panel | Half day (pro) | Restores full thermal performance of double pane |
| Full door replacement with ENERGY STAR unit (professional) | $800–$2,500+ installed | 1 day (pro) | Up to ~13% reduction in heating/cooling bills vs. non-certified |
The DIY fixes at the top of that table are where the best return on time and money sits. A properly weatherstripped, well-adjusted door with a good sweep costs under $80 in materials and a Saturday morning to sort out, and you will feel the difference immediately on the first cold night.
FAQ
What are the most common causes of heat loss through patio doors?
Common causes: air leakage at the sill, jambs and meeting rails (worn or missing weatherstripping), gaps from misaligned rollers or hinges, damaged or missing door sweeps and threshold seals, failed caulk or flashing at the frame, single‑pane or poorly sealed glazing units, blocked sill weeps (sliding doors), and poor insulation at the rough sill. Condensation and rot can indicate long‑term moisture/insulation problems that also increase heat loss.
How can I quickly diagnose where heat or cold is entering my patio door?
Simple DIY diagnostics: on a cool/windy day use a thin strip of tissue or paper along jambs, meeting rails and sill to see movement; hold an incense stick or smoke pencil to locate drafts visually. For better contrast, do the test with interior doors closed and with HVAC off or run a window‑fan to create a small pressure difference. A thermal camera (or phone clip camera) can show cold spots when inside/outside temperature difference is ≥10°F. For reliable whole‑house / zone diagnostics consider a blower‑door test by a certified pro.
What step‑by‑step fixes work for sliding glass patio doors?
1) Clean the track and clear blocked weep holes. 2) Lift and adjust rollers per manufacturer or replace worn rollers to ensure even contact. 3) Replace or add pile/brush weatherstrip on the sliding edge and replace worn interlock seals. 4) Install or replace a sill gasket or threshold seal and ensure the sliding panel meets the fixed panel tightly. 5) Recaulk exterior frame seams and flashing where needed. 6) Add interior window insulation film or a thermal curtain for seasonal improvement. Measure gap widths (mm or 1/16" increments) before buying gaskets and test operation after each change.
What step‑by‑step fixes work for hinged/patio‑screen (swinging) doors?
1) Inspect and tighten hinges; if sagging, remove and rehanging or use longer screws into framing. 2) Check and adjust strike/lock for proper compression; shims or striker plate relocation may be needed. 3) Replace compression/bulb weatherstripping around jambs and V‑strip at meeting edges. 4) Install a screw‑mounted door sweep or an automatic drop seal on the bottom edge; adjust threshold height or replace threshold insert as needed. 5) Recaulk exterior frame seams and repair flashing. 6) Finish with thermal curtains or cellular blinds for additional insulating value.
Which weatherstripping and door sweep types should I use where?
Use compression/bulb or interlocking gasketing for swinging doors where latch compression occurs. Use low‑friction pile/brush for sliding panels and screen doors. V‑strip is good for meeting rails and thin gaps. For bottoms, use screw‑mounted vinyl/aluminum sweeps, adjustable thresholds with replaceable bulbs, or automatic drop door bottoms for variable clearances—automatic bottoms give the best seal if installed per instructions. Avoid relying long‑term on self‑adhesive foam for major gaps; it's best as a temporary or renters' solution.
What are renter‑friendly or temporary fixes that won’t damage the door?
Temporary options: adhesive foam tape or magnetic weatherstrip (for metal frames), tension‑mounted vinyl door snakes, removable draft stoppers, removable interior window film (shrink film) applied with double‑sided tape, stick‑on pile weatherstrip designed for temporary use, and clamp‑on or stick‑on sweeps that don’t require drilling. Always check lease rules before modifying exterior caulk or flashing; use reversible methods for anything visible from outside.
How to Stop Flies Coming in Patio Doors: Fix Gaps Fast
Step-by-step DIY fixes to stop flies entering patio doors by sealing gaps, replacing sweeps, aligning weatherstrips, and