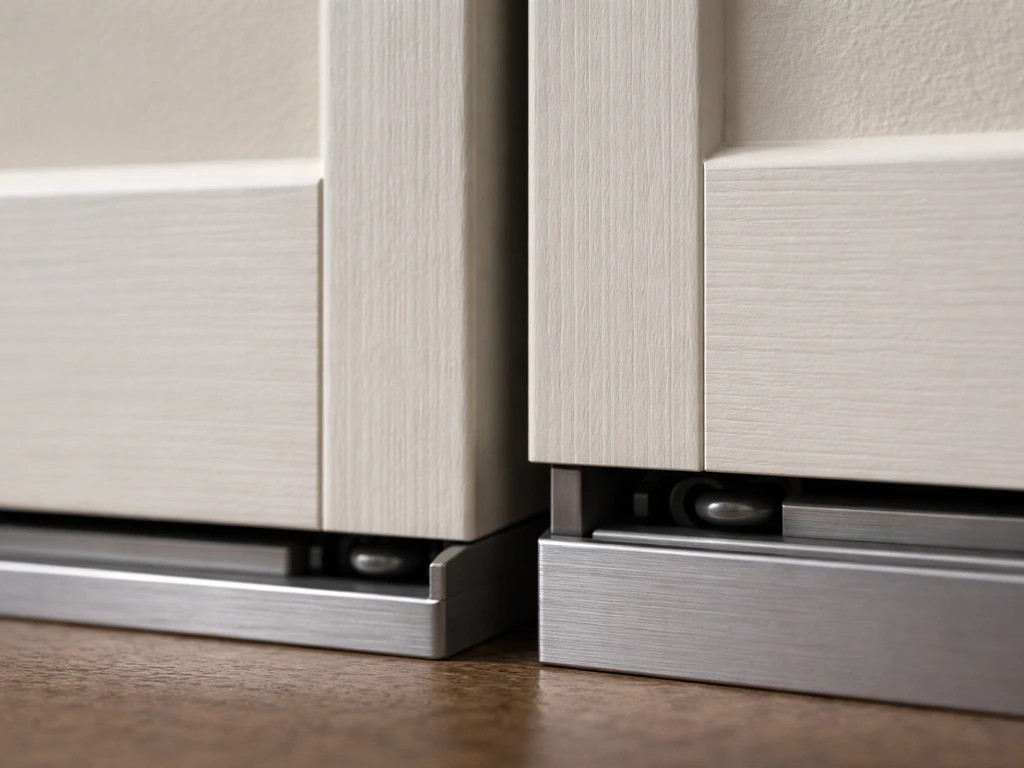
When a patio door "steps down" it means one edge of the door is riding lower than the other, or the whole panel has dropped too close to the track floor. If you are dealing with sliding glass door steps to patio, start by confirming whether one side is lower or the whole panel has dropped too close to the track.
Steps Down From Patio Doors: DIY Fix and Adjustment Guide

Jamie Archer
9 Jun 2026

That usually shows up as the door dragging, sticking mid-slide, refusing to latch, or leaving an uneven gap at the top or bottom. The fix almost always comes down to adjusting the roller height screws at the bottom of the door, cleaning the track, and re-leveling the door until the reveal is equal top and bottom. Here is exactly how to do that today.
Figure out what's actually causing the step-down
Before you touch a screwdriver, spend two minutes diagnosing which problem you actually have. "Steps down" can mean a few different things, and each one has a slightly different fix.
- One edge droops lower than the other: The roller on that side has lost height, either because the adjustment screw backed out or because the roller wheel is worn flat or chipped.
- The whole door rides too low: Both rollers have dropped, or debris is packed under them, or the adjustment screws were never set correctly after installation.
- The door feels like it "falls" into a dip mid-slide: The track itself is bent or gouged at that spot, and the roller is literally dropping into the damaged section.
- Only the screen door steps down, not the glass panel: Screen door rollers are independent. If the glass door glides fine but the screen catches or tilts, the problem is isolated to the screen's rollers or its track channel.
- The door drops at the latch end only: The lead roller (the one nearest the lock jamb) is the culprit. This is the most common single-roller failure and causes the latch to miss its strike plate.
To confirm which you have, slide the door fully closed and look at the gap between the door's top rail and the door frame header. If that gap is wider on one side than the other, you have an uneven roller situation. If the gap is roughly even but smaller than it should be everywhere, both rollers have dropped. If you see the door scraping the track floor as it moves, check for debris first, then inspect the rollers and track surface for damage.
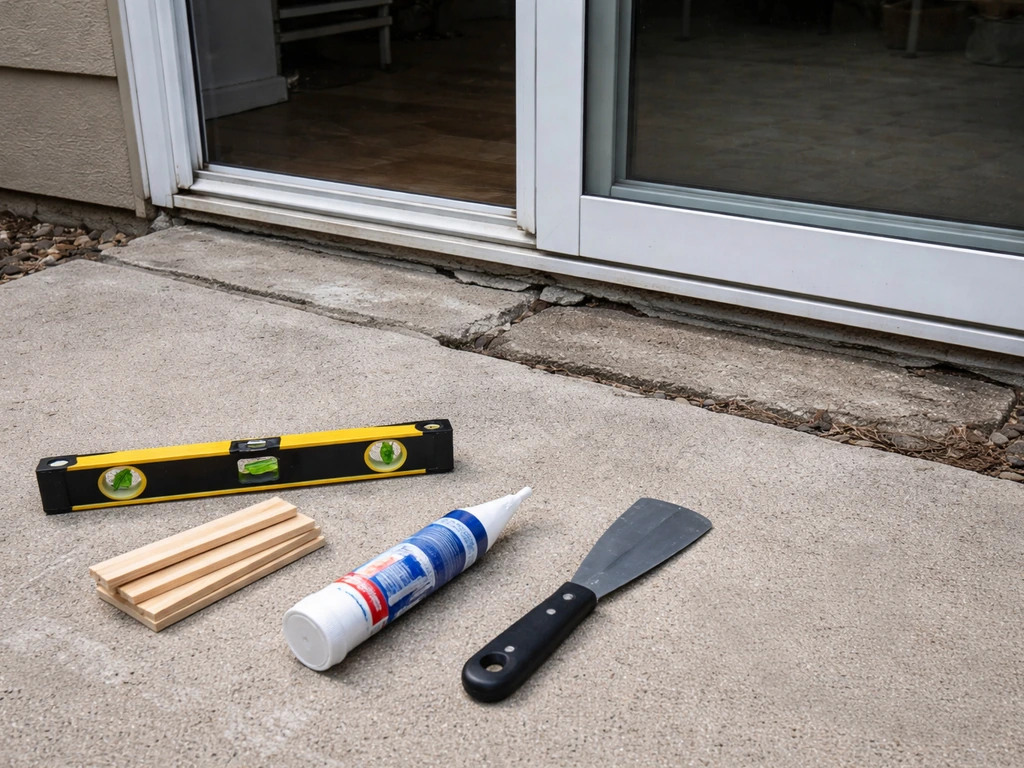
Gather your tools and prep the area
This is a straightforward job. You do not need specialty tools. That said, having everything lined up before you start means you will not be hunting for a screwdriver while the door is half off its track.
- Phillips and flathead screwdrivers (medium size covers most adjustment screws)
- A putty knife or small flat pry tool (to pop off roller cover caps/plugs)
- A vacuum with a narrow nozzle attachment
- A stiff nylon brush or old toothbrush
- Silicone-based lubricant spray (not WD-40, which attracts grime)
- A damp cloth and mild cleaner for the track
- A level (a standard 2-foot level works fine)
- Replacement rollers if you suspect wear (have the door brand and model number ready to order the right ones)
Before you start, lay a folded towel or a piece of cardboard on the floor inside and outside the door opening. If you need to lift the door off the track, you will want to set it down without scratching hardwood or tile. Clear the threshold area of rugs, furniture, and anything that could make you trip while you are maneuvering the door panel. If the door is heavy (most sliding glass panels run 50 to 100 pounds), get a second person to help with lifting steps. Do not try to muscle a large panel alone.
Adjust the rollers to fix the height
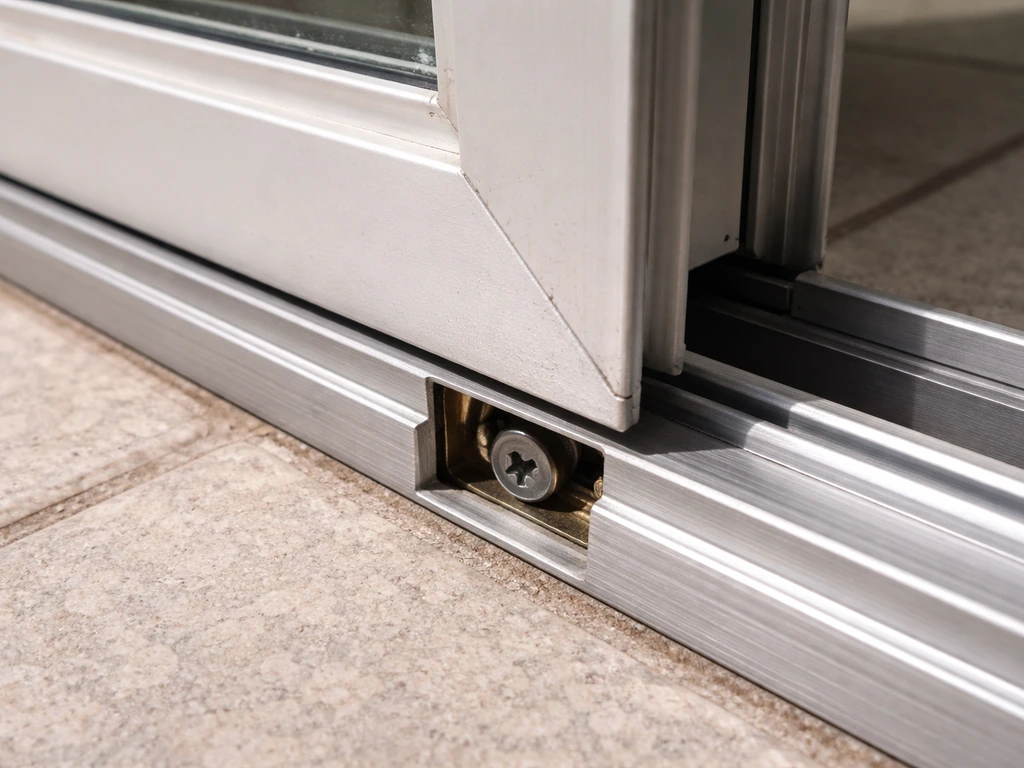
The roller adjustment screws are almost always at the bottom corners of the door, set into the bottom rail. On most doors you will see a small plastic plug or cap covering the screw hole. Pop that cap off with a flathead screwdriver or putty knife and set it aside. You should see a Phillips or flathead screw head recessed into the rail.
The rule of thumb across most major brands is consistent: turning the adjustment screw clockwise raises that edge of the door, counterclockwise lowers it. Start with the end that is drooping. Slide the door to within about a half-inch of the lock jamb so you can see the reveal clearly at both the top and bottom of the door while you work.
- Pop the cover caps off both lower corners of the sliding panel.
- Identify which end is lower by eyeballing the top gap (the reveal) between the door's top rail and the frame header.
- Insert your screwdriver into the adjustment screw on the lower end.
- Turn clockwise in small increments, roughly a quarter-turn at a time. Do not crank it several full rotations at once.
- After each quarter-turn, slide the door back and forth and check the reveal at the top. You want equal spacing top and bottom on both sides.
- Once the low end looks level, check the other side. If needed, lower it slightly (counterclockwise) to match.
- Be careful not to raise the door too high. Raising a sliding patio door panel too far can create a gap at the threshold that allows water and air infiltration, and it can also cause the door to bind against the frame header.
- When the reveal looks equal and the door glides without dragging, snap the cover caps back into place.
Patience is everything here. Small increments with a test slide after each one will get you dialed in faster than large turns followed by guesswork. If you reach the limit of the adjustment range and the door still droops, the rollers themselves are worn and need replacement, not just adjustment.
Clean the track and fix alignment problems
Even after you set the rollers correctly, a dirty or damaged track will undo your work quickly. This step is not optional.
Clean the track thoroughly
- Vacuum the entire track channel, top and bottom, to remove loose debris.
- Use the stiff brush to scrub out packed dirt, pet hair, and anything the vacuum missed.
- Wipe the track down with a damp cloth. For greasy buildup, a little dish soap works fine.
- Let it dry, then apply a thin coating of silicone lubricant to the track surface. Wipe off any excess so it does not attract fresh debris.
Inspect for bent track, level issues, and worn rollers
With the track clean, crouch down and look along its length at eye level. You are checking for visible dips, bends, or gouges. Run your finger along the track floor. Any rough or raised spot will catch a roller and create that step-down sensation mid-slide.
A minor bend can sometimes be tapped flat with a rubber mallet and a block of wood, but be conservative. If the track is significantly deformed, replacement is the better answer. Persistent grinding or uneven movement that survives cleaning and roller adjustment usually means the track itself has reached the end of its useful life.
In cases like this, a track-focused sliding door repair troubleshooting guide notes that replacement is often the most effective fix for persistent grinding and uneven movement that continues after cleaning and roller adjustment Persistent grinding or uneven movement that survives cleaning and roller adjustment usually means the track has reached the end of its useful life.
Next, check whether the door frame is plumb and level. Houses settle over years, and a frame that has racked even slightly will cause a door to hang unevenly regardless of how well you set the rollers. Hold your level against the side jambs and across the header. If the frame is noticeably out of square, roller adjustment will only partially help, and you may need a contractor to evaluate the structural situation.
Replace worn rollers
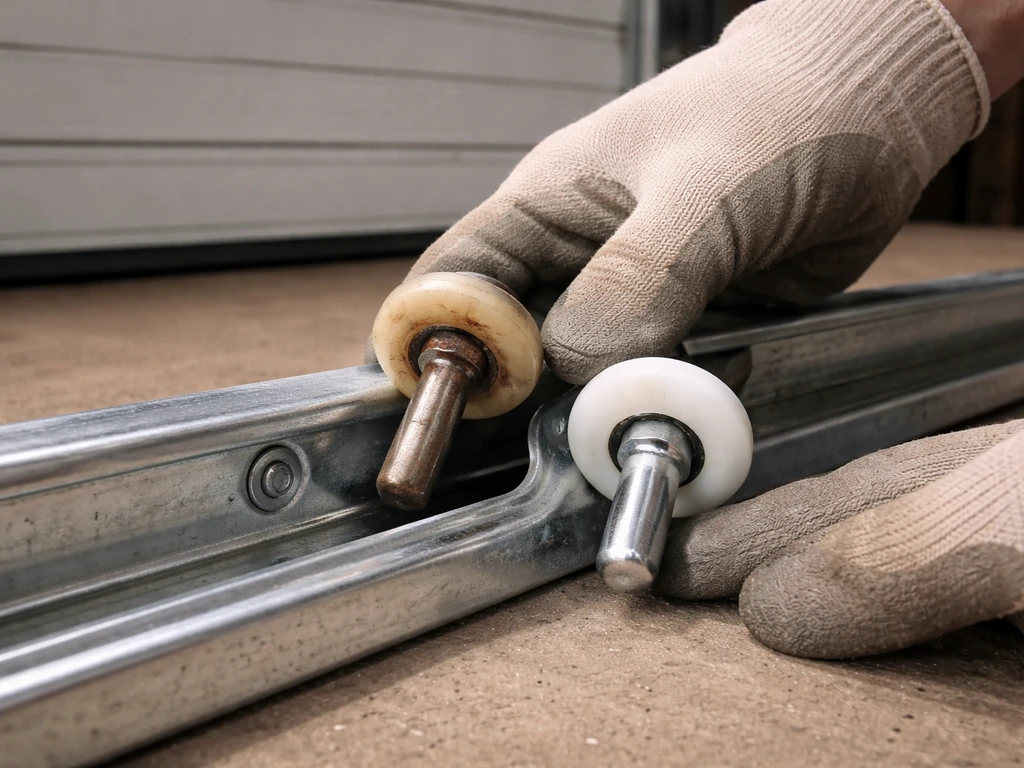
If you pulled the door and the roller wheels look flat-spotted, cracked, or do not spin freely, replace them. Rollers are inexpensive, typically under $20 for a pair, and they are the right fix when cleaning and adjustment cannot solve the problem. To remove the door, tilt the top of the panel inward slightly to disengage it from the upper track, then lift it up and out of the bottom track. Set it on your prepared towel or cardboard.
The rollers either unscrew or unclip from the bottom rail depending on the brand. Match the replacement rollers to the originals (diameter, axle width, and frame bracket style) and reverse the removal steps to reinstall. Worn rollers that are left in place will eventually damage the track surface, making what was a $20 repair into a much bigger job.
Sort out the screen door separately
The screen door and the glass panel each have their own rollers and their own adjustment screws, so if your screen is stepping down or catching while the glass panel behaves, treat it as a separate fix. The approach is the same concept but the hardware is lighter and a bit more forgiving.
Screen door roller adjustment screws are typically at the bottom of the screen frame, one at each end. The same clockwise-to-raise, counterclockwise-to-lower logic applies. Andersen's guidance is clear on this: if the screen is stuck or dragging at the top of the frame, lower it by turning the screw counterclockwise; if it is catching in the bottom track, raise it clockwise. Make small adjustments and test the slide each time.
- Vacuum and brush out the screen door's track channels, top and bottom. Debris in the track is the most common reason screen doors jump off or drag.
- Locate the adjustment screws at the bottom corners of the screen frame and pop any covers if present.
- Check whether the screen sits evenly in the frame by eyeballing the gap at the top and sides.
- Adjust one screw at a time in quarter-turn increments, testing the slide after each.
- If the screen keeps jumping off the track when you slide it, the rollers may be set too low or the wheels themselves are worn. Loosen the adjustment screws to lower the rollers slightly so the door disengages, remove it from the track, and inspect the wheels.
- With the screen out, also check the bottom track channel for any raised spots or damage that could knock the screen off its path.
- Reinstall by engaging the top of the screen frame into the upper channel first, then tilting the bottom in and setting the rollers onto the lower track.
If the screen door latch or handle is no longer aligning with its strike, the door frame itself may need re-squaring, or the latch position may need to be adjusted. Most screen door latches have small screws that let you shift the latch plate up or down a few millimeters to line it up after a roller adjustment.
Test everything, seal drafts, and confirm the lock works
With both doors adjusted, do a complete functional check before calling the job done.
Smooth operation test
Slide the glass panel fully open and fully closed several times. It should glide with light finger pressure and no dragging sound. Listen for grinding or a rhythmic bump as the rollers pass a certain spot, which would indicate a track imperfection or a slightly flat roller. The reveal at the top of the door should look even across the full width of the panel. Then do the same with the screen door. It should move easily and sit centered in its frame without tilting.
Latch and lock check
Close the glass door and engage the latch. It should click into the strike plate without you needing to lift or push the door. If you have to force it, the door is still slightly low or the strike plate needs to move. Most strike plates have slotted screw holes that let you shift them up or down a few millimeters.
Adjust the plate to meet the latch, not the other way around. Then test the lock, whether it is a hook lock, a lever lock, or a multi-point system. Confirm it engages fully and that the door cannot be lifted out of the track from outside. Some sliding doors have an anti-lift pin or screw in the upper track; make sure that is in place after any track work.
Weatherproofing and draft check
Close both doors and check the perimeter seal. Hold your hand near the edges and corners and feel for air movement, or on a bright day look for light leaking through. If you find a draft at the bottom threshold, check whether the door height was raised too far during your roller adjustment. Lowering both rollers a quarter-turn and retesting usually closes a threshold gap. If the weatherstripping itself is compressed or cracked, replace it before winter. Draft coming from the sides usually means the door is not sitting squarely in the frame, so revisit the reveal check and re-equalize the roller heights. A well-adjusted door with fresh weatherstripping should seal completely with the door closed and latched.
When to call a pro
Most step-down problems are fully DIY-fixable in an afternoon. But if you find that the door frame is visibly racked, the track is deeply bent or broken, the door panel itself is warped, or the structural rough opening has shifted, those are situations where a professional assessment is worth the cost.
Likewise, if the door is an older single-pane unit with fogged seals and failing hardware, it may make more sense to price out a replacement than to keep patching it. French door variants with hinged panels and a separate threshold step involve slightly different hardware, so if your project is specifically about a hinged French door assembly connecting to the patio, that is a related but different repair path.
If you are working through steps from French doors to the patio, use the same roller and track checks, then verify the threshold and latch alignment for that hinged setup hinged French door assembly connecting to the patio. If you are specifically working with steps from sliding door to patio, make sure the roller height and threshold details match the exact hardware on your setup.
FAQ
How do I tell if the “steps down” problem is caused by the door being low versus the door being out of square?
If the top reveal is uneven on one side compared to the other, that points to an uneven roller height. If the reveal looks evenly small everywhere but the door still refuses to latch cleanly, the whole panel may be dropped. If the door drags at the same point every time even after cleaning and equal roller settings, suspect a track deformation or flat-spotted roller. If the reveal is inconsistent in both vertical and horizontal directions, check the frame for racking before making repeated roller changes.
What’s the safest way to adjust rollers if I’m worried about the door coming off the track?
Keep the door mostly on the rollers, and adjust in small increments with the door slid to near the lock jamb so you can see the reveal. Lay down the towel or cardboard so you have a controlled landing if you need to lift the panel slightly. Avoid turning the screws beyond the point where the roller bracket gets visibly loose or separated from the adjustment range.
How much should I turn the roller screws each time?
Use small adjustments, about a quarter-turn or less, then test by sliding the door a short distance and checking the reveal at the top and bottom. Large turns make it easy to overshoot and end up with a new “wrong side” step-down condition.
What if the door raises with adjustment, but now it won’t latch or it scrapes the top track?
That usually means the edge was raised too far, or the latch is out of alignment after height changes. Back off roller adjustments slightly, then recheck latch engagement. Also verify the strike plate position, most strike plates have slotted holes so you can shift a few millimeters to meet the latch without forcing the door.
Can I fix a step-down issue without removing the door?
Often yes. Start with track cleaning and roller adjustment first, since most problems come from debris, worn rollers that still roll freely, or roller height being off. Remove the door only when rollers do not spin smoothly, look cracked or flat-spotted, or when you see enough damage that replacement is required.
What should I do if the track is cleaned, but the door still “steps” mid-slide?
Run a finger along the track and also visually inspect from eye level for dips or gouges. If you still get a rhythmic bump at the same spot after equal roller heights, that points to a localized track defect or roller damage. If the track is significantly deformed or cracked, replacement of the track is typically the correct path rather than continuing to chase the height with roller screws.
Do sliding screen doors and glass doors use the same roller adjustments?
They use the same concept, turning clockwise raises and counterclockwise lowers, but they have separate hardware. Treat them as independent systems. Adjust the glass panel first, then adjust the screen using its own bottom screws, otherwise you may think one door is fixed when the other remains misaligned.
My screen door latch won’t line up after I adjusted the rollers, is the latch always the problem?
Not always. If the latch handle no longer meets the strike, confirm the screen is centered and moving without tilt after roller adjustment. Then adjust the strike plate or latch plate in small increments, many have screws that allow vertical shifting by a few millimeters. If the frame itself is racked, correcting latch position alone may not solve it.
What if I raise the drooping side, but the door still leaves a bigger gap at the bottom on that same side?
That can indicate the rollers are not set to the correct height or the track is not level along its length. Recheck whether the bottom gap matches the top reveal pattern, confirm you are adjusting the end that is actually lower, and ensure the track is free of debris and not bent. If everything looks correct but the roller won’t reach the right height consistently, suspect worn or incorrect-match rollers.
How do I confirm I replaced rollers with the right parts?
Match the replacement rollers to the originals by diameter, axle width, and the bracket or frame style. If the roller geometry does not match, you may end up with uneven height or a track contact point that causes dragging or premature wear. If unsure, remove one roller and compare it directly before ordering.
After adjustment, should I feel any resistance when moving the door?
Light, easy movement is the goal, finger pressure should be sufficient for normal sliding. If you feel a hard stop, grinding sound, or a repeatable bump at one location, the issue is likely track damage, a slightly deformed roller, or a roller height mismatch still not equal top-to-bottom.
What causes air drafts even when the door seems to seal when I close it?
Drafts at the bottom threshold can happen if the door was raised too far during roller adjustment, compressing or misaligning the seal. Recheck the perimeter after latching, and if you feel air at the bottom, lower both rollers slightly and retest. Drafts on the sides often indicate the door is not sitting squarely, revisit reveal equality and confirm weatherstripping is not cracked or permanently compressed.
When should I stop DIY adjustments and call for help?
Stop if the frame is visibly racked or out of square, if the track is deeply bent, broken, or cracked, if the glass panel looks warped, or if the anti-lift hardware is missing or damaged. Persistent uneven movement that survives cleaning and correct roller height usually means a structural or track replacement issue that is harder to fix safely.
Next Article
Sliding Glass Door Steps to Patio: DIY Fix Guide
DIY steps to fix uneven or sinking sliding glass door patio entry, level threshold, realign track, and seal leaks