Trimming a patio door almost always means one of four things: adjusting the rollers so the door stops dragging, trimming a bottom sweep or weatherstrip so it clears the track, filing or shimming a lock strike so the latch catches cleanly, or cutting back a screen door's pile seal so it stops binding. Very rarely does it mean cutting the door itself. Once you figure out which of those problems you're actually dealing with, the fix is usually a 30-60 minute job with basic tools.
How to Trim a Patio Door: Fix Gaps and Clearance

Jamie Archer
15 Jun 2026
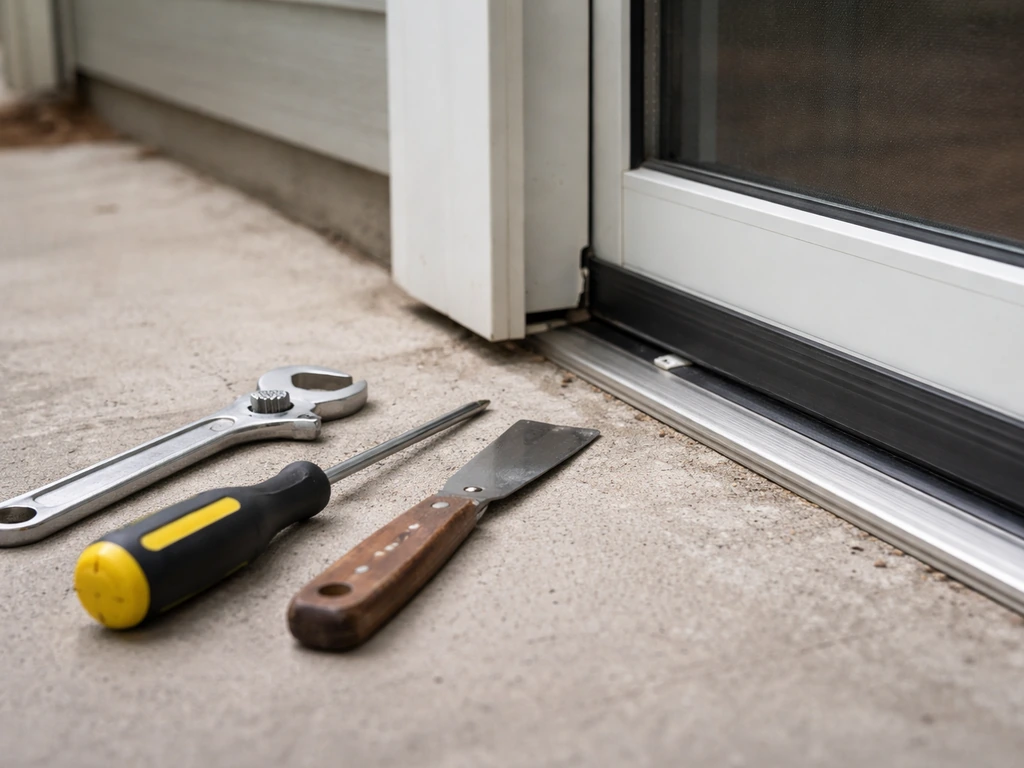
Figure out why the door needs trimming first
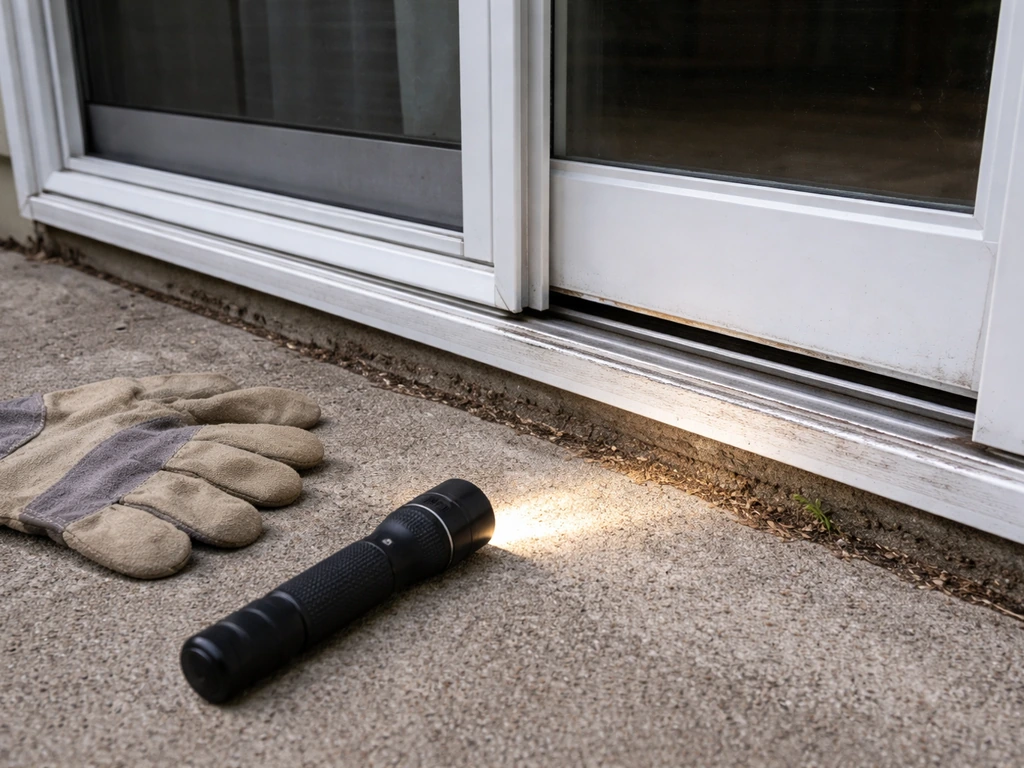
Before you grab a saw or a screwdriver, spend two minutes diagnosing the real issue. Patio doors fail in predictable ways, and the fix depends entirely on which symptom you have.
- Dragging or scraping along the bottom: the rollers have dropped, the door is sitting too low in the track, or the bottom sweep is too long and catching.
- Door sags to one side and won't close flush: roller height is uneven, causing the panel to hang at an angle rather than traveling parallel to the frame.
- Drafts or wind noise even when fully closed: the weatherstripping or bottom sweep isn't making full contact, either because it's worn down or because the door isn't pulling in far enough when locked.
- Lock won't engage or feels stiff: the strike plate is misaligned, usually because the door has shifted down or the strike has worked loose.
- Screen door sticks or won't travel smoothly: the screen rollers need adjustment, or the pile seal on the top or sides is catching on the frame.
Write down your symptom before moving on. It determines exactly which component you'll be trimming or adjusting, and it saves you from fixing the wrong thing.
Know your door type before touching anything
Sliding glass doors and swinging (hinged) patio doors have different trim points, so the approach changes depending on what you have. Screen doors are their own category on top of that.
Sliding glass doors
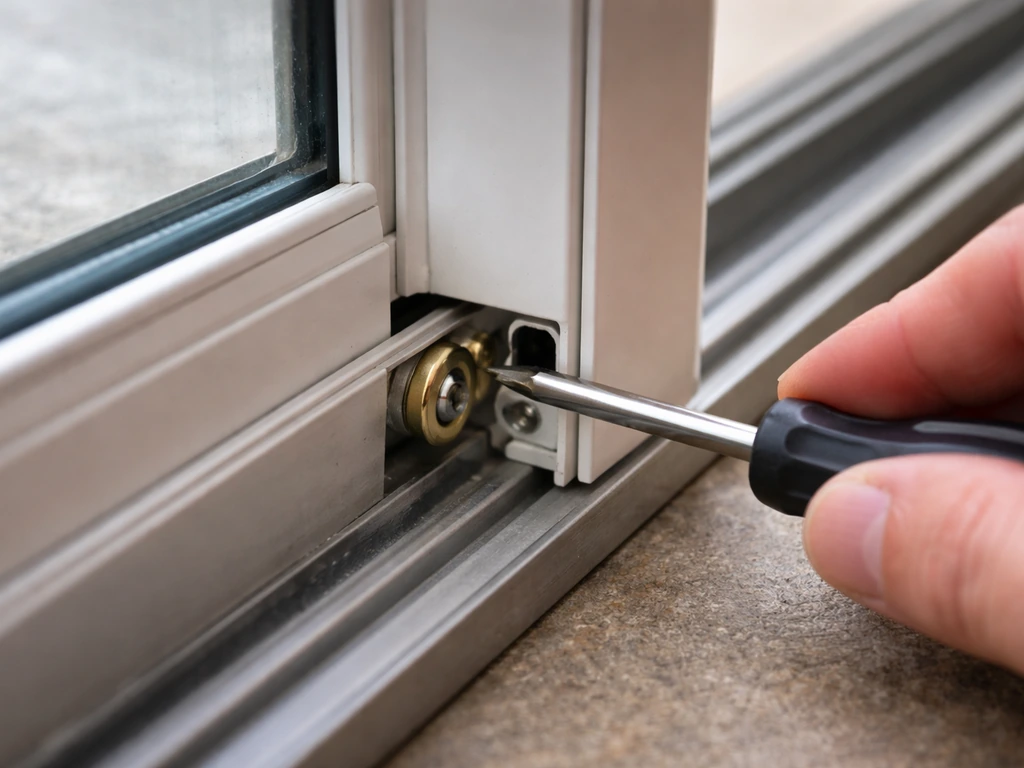
The operating panel runs on rollers inside a track. The main adjustment points are the roller height screws (usually accessed through small holes at the bottom corners of the panel), the bottom sweep or door shoe, and the lock strike on the stationary panel or jamb. Pella and Andersen both specify that when the door is correctly positioned, the reveal between the vent panel and the lock jamb should be equal from top to bottom. If yours isn't, that's your starting point.
Swinging/hinged patio doors
French-style or single swinging patio doors use hinges rather than rollers. Trimming here usually means adjusting hinge positions to correct a sag, planing or sanding a binding edge, or repositioning the strike plate. If your door is scraping the threshold on the swing side, the hinge leaves may need shimming. If it's scraping the top corner on the latch side, a hinge screw has probably backed out or the hinge itself is worn.
Screen doors
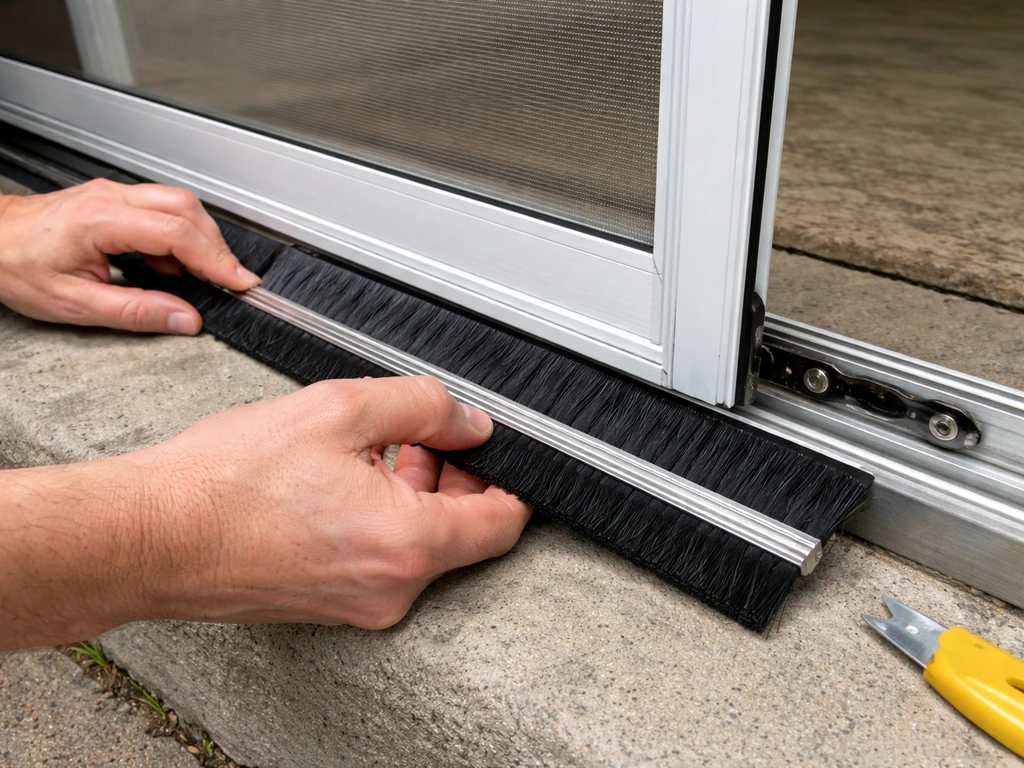
Screen doors have their own set of rollers (separate from the glass panel's rollers) and a pile seal or brush strip around the perimeter. Andersen's guidance specifically notes that if an insect screen is getting stuck at the top of the frame, you lower the screen by turning the roller adjustment screw counterclockwise. That's the screen equivalent of what you'd do for a glass panel sitting too high.
Tools and materials you'll actually need
Get everything together before you start. There's nothing worse than having the door off its track and realizing you're missing a part.
- Flat-head and Phillips screwdrivers (for roller adjustment access screws and strike plate screws)
- Needle-nose pliers (for pulling worn sweep material out of the door shoe channel)
- Utility knife or tin snips (for cutting replacement sweep material to length)
- Tape measure and pencil
- File or oscillating multi-tool with a wood/metal blade (for trimming a strike plate mortise or wood edge)
- Replacement bottom sweep or door shoe insert (match your door brand and door thickness)
- Replacement weatherstripping or pile seal if yours is flattened or torn
- Shims (cedar or composite, for hinge adjustments on swinging doors)
- Vacuum and stiff nylon brush (for track cleaning before reassembly)
- Silicone-based track lubricant (not WD-40, which attracts dirt)
- Safety glasses
If you suspect your rollers are cracked or seized rather than just out of adjustment, order replacement rollers before you start. You can find brand-specific rollers from Andersen, Pella, and most hardware suppliers using the door's model number, usually stamped on the head jamb label.
Step-by-step: trimming for clearance and smooth operation
Step 1: Clean the track
Before adjusting anything, vacuum out the bottom track and wipe it down with a damp cloth. Debris buildup is surprisingly often the entire problem. A dirty track makes even a perfectly adjusted door drag and feel stiff. Do this first, then retest the door.
Step 2: Check the top-to-bottom reveal
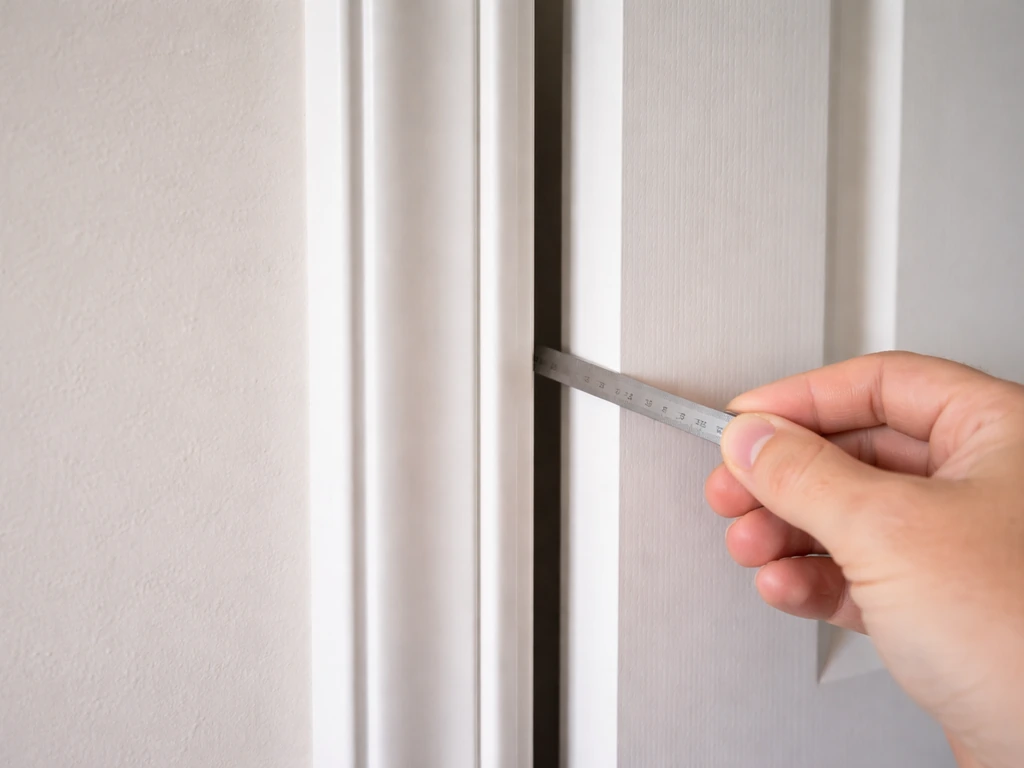
Close the door to within about an inch of the side jamb and look at the gap between the door panel and the lock jamb from top to bottom. It should be consistent, roughly 1/8 inch, the whole way down. If the gap is wider at the bottom than the top, the door is sagging and needs the rollers raised. If it's wider at the top, the rollers are too high. Andersen and Pella both use this uniform-reveal check as the core diagnostic step before making any adjustments.
Step 3: Adjust the rollers
Locate the roller adjustment access holes at the bottom corners of the sliding panel (they're typically covered by small plastic plugs). Insert a flat-head or Phillips screwdriver and turn clockwise to raise that corner of the door, counterclockwise to lower it. Make a quarter-turn at a time, then slide the door the full length of the track to feel the difference. Per Pella's installation guidance, if the door is difficult to slide after adjustment, lift the bottom of the panel slightly in and out until the rollers fully engage the track, then retest. Once the reveal is equal top to bottom and the door glides without resistance, move on.
Step 4: Trim or replace the bottom sweep
If the door clears the track after roller adjustment but a replacement sweep is still dragging, the sweep is too long or the wrong profile. If you need a bigger-clearance fix beyond the sweep, the next step in the process is understanding how to build a patio door that rolls and seals smoothly replacement sweep is still dragging. Pull the old sweep out of the door shoe channel (usually a friction fit or held by small screws at each end). Cut the replacement to the exact width of the door panel using tin snips or a utility knife. The sweep should make light contact with the threshold when the door is closed, creating a seal without creating drag when the door is sliding. Too much contact and it will wear out fast and make the door hard to operate. When in doubt, leave a hair of clearance and rely on the weatherstrip compression when the door is locked.
Step 5: Align the lock strike
Close and lock the door. If the lock handle is stiff, requires extra force, or the latch doesn't seat fully, the strike is misaligned. On sliding doors, loosen the strike plate screws, close the door so it's fully seated against the weatherstripping, and note where the latch hook actually wants to go. Move the strike to match that position, then tighten the screws. On swinging doors, use a file to enlarge the strike mortise in the direction the latch is missing. Andersen notes that the reach-out lock mechanism on their gliding doors is specifically designed to pull the operating panel into the weatherstripping when engaged, so correct strike alignment is what gets you full weatherstrip compression and a proper seal, not just a locked door.
Step 6: Trim or replace weatherstripping
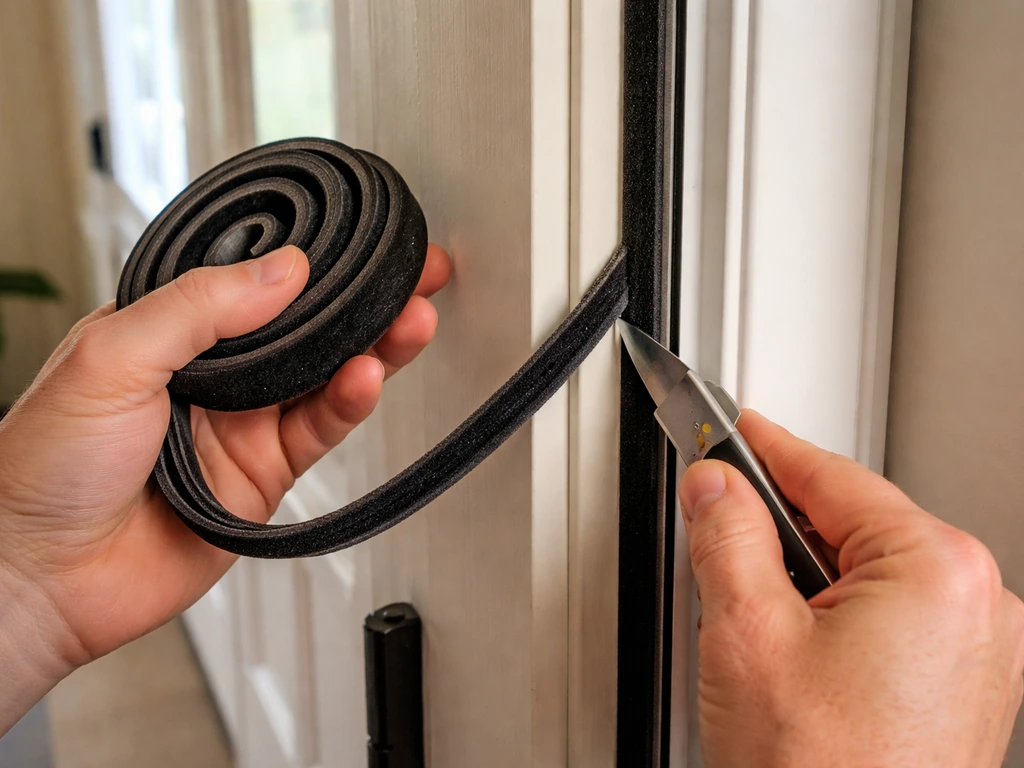
If weatherstripping is bunched up, compressed flat, or catching on the door edge during travel, replace it rather than trying to trim it back. Foam tape and pile seals can be cut to length with scissors. Vinyl or rubber bulb seals usually snap into a kerf channel and can be pulled out and replaced in a few minutes. For screen doors with pile seals that are causing sticking, you can trim a small amount off the pile height with scissors if the new seal is slightly too tall, but it's usually faster to just get the right-size replacement part. If your patio door still does not fit correctly after the other adjustments, revisit the weatherstripping and confirm the gap and contact points match the door frame trim or replace weatherstripping.
Fine-tune after you're done
Once you've made your adjustments and cuts, do a full operational check before calling it done. Close the door and lock it, checking that the lock engages smoothly and that the reveal is still even top to bottom (Andersen explicitly includes this as a verification step after hardware adjustment). Slide the door through its full range of travel a few times, listening for any scraping. Check the bottom sweep by sliding a piece of paper under the closed door at several points along the threshold; it should slide with light resistance everywhere, not freely in some spots and stuck in others.
For swinging doors, open to 90 degrees and let go. The door should stay put or drift very slowly. If it swings freely in either direction, a hinge needs tightening or shimming. Check that the door doesn't pop back open from the latch side, which indicates the strike isn't deep enough or the door is still slightly out of plumb.
Apply a thin coat of silicone-based lubricant to the track and to the bottom rollers after everything checks out. This step is easy to skip but it makes a real difference in how long your adjustment holds.
Keeping it from happening again
Most patio door problems that bring homeowners back to the same repair every year are maintenance problems, not product defects. A few simple habits prevent the majority of them.
- Clean the track every 3 months: vacuum it out, wipe with a damp cloth, and reapply silicone lubricant. Dirt is the number one cause of roller wear and door drag.
- Inspect the bottom sweep every fall: check for cracks, compression set, or gaps at the corners before cold weather arrives. Replacing a $15 sweep is much cheaper than heating the air that leaks through a failed one all winter.
- Check roller adjustment seasonally: wood frames expand in summer and contract in winter, which can shift the door's fit. A quick check of the top-to-bottom reveal in spring and fall takes two minutes.
- Tighten hinge and strike plate screws annually on swinging doors: these work loose with daily use, and catching them early prevents the larger adjustment work that comes from a door that's been sagging for months.
- Test the lock engagement every season: if it's getting stiffer, adjust the strike before it gets to the point of forcing the handle, which can damage the lock mechanism.
If your patio door installation is newer and already having these issues, it's worth checking whether the framing was done correctly in the first place, since framing problems create recurring fit issues that no amount of roller adjustment will permanently solve. If you are also installing a new patio door, follow a full step-by-step process for measuring, fitting, and anchoring before you move on to trim and clearance. If you find the trim or framing is off, it can be worth learning how to install brick molding around a patio door so the door sits and seals correctly. If you need guidance on the rough opening and clearances that affect fit, see our guide on how to frame a patio door patio door installation.
When to stop and call a professional
Most of what's covered above is comfortably DIY territory. If you're starting from scratch and need to buy a patio door, it helps to know sizing, hardware, and installation basics before you choose a style how to buy a patio door. But there are specific situations where continuing on your own risks making things worse, or where the underlying problem is beyond what roller screws and a new sweep can fix.
- The door panel has visible warping or bowing: if the panel itself is no longer flat, no amount of roller or strike adjustment will give you a consistent seal. Warped panels usually need replacement.
- The frame or rough opening has shifted: if the top and side jambs are visibly out of square or the track is bent, the door will never travel smoothly without reframing the opening. This is structural work.
- Rollers are cracked, broken, or the axle has sheered: you can replace rollers yourself on most doors, but if the door won't stay in the track or drops suddenly during operation, don't continue using it until the rollers are replaced. A falling glass panel is a serious injury risk.
- The glass unit has a broken seal (fogging between panes): this isn't a trimming issue, but it often gets noticed during this kind of inspection. A fogged IGU needs replacement, not adjustment.
- The door binds hard in one spot along the track despite clean track and correct roller height: this usually means a bent track or a warped bottom rail. Forcing it through will crack the rollers and may stress the glass.
- Any situation where the door frame was recently bumped by a vehicle, flood-damaged, or exposed to a structural event: have a professional assess the opening before operating the door further.
A good rule of thumb: if you've done the roller adjustment, cleaned the track, checked the reveal, and the door still won't travel smoothly or seal properly, the problem is almost certainly mechanical (bent track, failed rollers, warped panel) or structural (out-of-square frame). Lowe’s also advises making sure roller or hardware adjustments do not compromise the gap and leveling, and to inspect the rollers if problems persist after adjusting the roller screws. Both of those are worth a service call rather than continued DIY troubleshooting.
FAQ
Can I trim the patio door itself to make it fit, or is it usually a bad idea?
In most cases, trimming the door panel is unnecessary and increases risk (it can change how the rollers or hinges sit and void parts fit). The safer approach is to trim or replace the sweep, weatherstripping, or screen pile seal, and to adjust rollers or hinge/strike alignment first. Only consider cutting anything structural if the manufacturer instructions specifically call for it.
How do I tell if the problem is sagging versus an incorrect track or debris?
Do the uniform-reveal check with the door closed, then observe where drag happens during full travel. If the reveal is wider at the bottom, it points to sag requiring roller height adjustment. If reveal looks even but the door feels stiff or inconsistent, clean the bottom track thoroughly first and re-test, because debris can mimic poor alignment. If drag is consistent in one spot even after cleaning, the track may be bent or a roller may be failing.
What’s the right order to adjust roller height, sweep, and strike so I do not chase my tail?
Start with diagnosing the gap/reveal from top to bottom, then adjust roller height until the reveal is even and the panel glides without scraping. Next, address sweep issues (wrong length or profile) only if the sweep still drags after roller correction. Finally, align the strike so the latch seats smoothly with the door fully seated, because strike changes can mask a too-high or too-low panel.
How much should I cut when trimming a bottom sweep or pile seal?
Use small incremental removals rather than cutting a large amount at once. Cut to the exact door panel width, but when fine-tuning clearance, leave a tiny gap (a hair of clearance) so the sweep makes light contact for sealing without creating constant friction. Remember that once compressed under lock, weatherstrip provides additional seal, so overcutting can cause rapid wear and harder operation.
What tools should I have before I start trimming or adjusting?
At minimum, have a vacuum, damp cloth (for track cleaning), screwdriver (flat-head or Phillips for roller screws and strike screws), tin snips or a utility knife (for trimming sweeps), and a file (for strike mortise work on swinging doors). Also keep silicone-based lubricant on hand for after the adjustments, since dry track conditions can make everything feel worse immediately after tuning.
Why does my sliding door feel fine when sliding slowly, but drags during normal use?
That often indicates uneven roller engagement or a sweep that is contacting too hard only under load. After roller adjustment, follow the engagement check (lift the bottom of the panel slightly in and out if needed) and retest by sliding through the full travel a few times. Then check sweep contact using the paper test at multiple points along the threshold.
Is there a quick way to confirm that the door sweep is the right type and profile?
Yes, after installing the replacement sweep, close and lock the door and look for consistent light resistance with no spots that stick. Then run the paper under the closed door at several points along the threshold. If the paper slides easily in some areas and binds in others, the sweep profile may not match your threshold design or the door may still be out of alignment.
Do I need to lubricate the track before or after adjustments?
After. Clean the track, make your alignment and trim adjustments, then do a thin coat of silicone-based lubricant on the track and bottom rollers. Lubricating before you troubleshoot can make it harder to identify where actual contact is happening and can spread debris during cleaning.
When should I stop DIY troubleshooting and call a pro?
If you already cleaned the track, verified an even reveal, adjusted rollers/hinges, and replaced or trimmed the sweep and weatherstrip, but the door still won’t seal smoothly or keep traveling without scraping, the issue may be mechanical or structural (bent track, failed rollers, warped panel, or out-of-square frame). That is the point where professional assessment is usually the fastest path to a permanent fix.
How can I tell if the frame is out of square versus my hardware just needing adjustment?
If you can’t achieve an even reveal top-to-bottom after correct roller adjustments, or if the strike alignment keeps changing meaning you get latch problems again after you tighten everything, the frame may be out of square. Another sign is inconsistent clearance that cannot be corrected by sweep length or strike position. In those cases, focus on measuring the rough opening or consider framing verification.
Next Article
How to Frame a Patio Door: Rough Opening to Header
Step-by-step patio door framing from rough opening to header, with clearances, layout, shimming, insulation, and waterpr