Fitting a sliding patio door correctly takes most of a day, and the work breaks down into four stages: prepping and measuring the rough opening, setting and fastening the frame, adjusting the rollers for smooth operation, and sealing everything against drafts and water. After you seal and adjust the door, you can install the exterior trim to finish the edges cleanly and help block drafts and water how to install exterior trim on patio door.
How to Fit Patio Doors: Sliding Door Steps and Fixes

Jamie Archer
2 May 2026
For a complete walkthrough, see these steps for how to build a patio door from prep and measuring through installation and sealing. Get those four things right and the door will glide easily, lock cleanly, and stay weathertight for years. Rush any one of them and you'll be chasing sticking, drafts, or a lock that won't catch.
Choosing the right patio door type and measuring the opening
For most homeowners, the choice comes down to a sliding patio door (also called a gliding door) versus a hinged French-style door. Sliding doors are the better pick for tight spaces because they don't swing into the room. They're also generally easier to fit into a standard rough opening without major structural modification. If you're still deciding which style to buy, or you want to understand the buying process in more detail, there's a separate guide covering how to buy a patio door that walks through sizing, glazing, and material options.
Before you order or collect your door, measure the rough opening carefully. Don't assume it's square just because the house is newer. Measure the width in three places: at the bottom, in the middle, and at the top. Then measure the height on both sides and in the middle.
Use the smallest reading in each direction as your governing measurement. The rough opening should be square, plumb, and level. If any wall is more than 1/4 inch out in any direction, fix that first. [Manufacturers like Crestline specify a maximum shim space of 1/4 inch](https://crestlinewindows.
com/CrestlineWindows/media/Design/PDF/CladHingedDoorInstructions. pdf), so there's very little room to compensate for a badly framed opening. If you're building or modifying the framing yourself, the guide on how to frame a patio door covers header sizing, king studs, and jack stud requirements in detail.
When you have your measurements, order the door to match the rough opening size, not the nominal door size. Standard sliding patio doors come in widths like 6 feet (72 inches) and 8 feet (96 inches), with the rough opening typically running about 1/2 to 3/4 inch larger than the door frame on each dimension. Check your specific manufacturer's spec sheet, because this varies.
Tools, materials, and safety prep
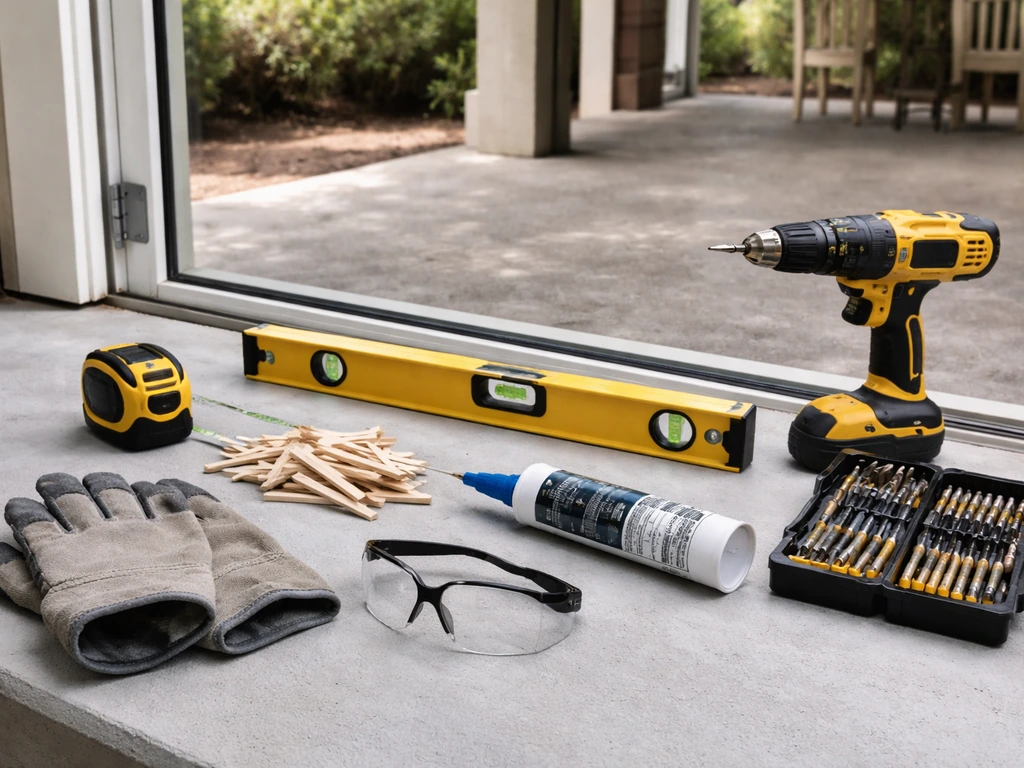
Get everything on this list together before you start. Hunting for a drill bit halfway through the job while a large door opening is exposed to the weather is not a fun afternoon.
- Tape measure (25-foot minimum) and a 4-foot level
- Cordless drill and a set of drill bits
- Hammer and flat pry bar
- Circular saw or reciprocating saw (for cutting shims)
- Utility knife and scoring tool
- Caulking gun
- Flat-blade screwdriver (for roller adjustment)
- Wood shims (cedar shims are easiest to work with)
- Exterior-grade silicone or polyurethane sealant
- Self-adhesive flashing tape (flexible, compatible with your weather-resistant barrier)
- Sill pan flashing (pre-formed pan or pan kit sized to your opening)
- Fasteners: manufacturer-specified screws plus #8 x 2-1/2" screws for the lock strike
- Foam backer rod for larger gaps before sealing
- Low-expansion spray foam for insulating around the frame
- Safety glasses and work gloves
- A second person to help lift and position the door unit
Safety-wise, a sliding patio door unit is heavy, often 150 to 300 pounds or more depending on glass size. You need at least one helper for the lift. Wear gloves because the aluminum or vinyl frame edges can be sharp. If you're working on a second story or above a basement opening, make sure the floor or platform you're working from is solid before you start maneuvering a heavy unit into place.
Step-by-step installation: fitting a patio door (frame, sill, flashing)
Follow this sequence. The order matters because each step prepares the next one. Skipping ahead, particularly with flashing and the sill pan, is the most common reason doors develop water infiltration problems after installation. A Home Depot installation-instructions PDF for patio-door setups includes an explicit “INSTALL SILL PAN” section, indicating sill pan flashing is part of their recommended weatherproofing sequence.
- Prep the opening: Remove the old door or any temporary weather barrier. Clean the rough opening of old fasteners, debris, and loose material. Check again that the sill is level and the sides are plumb. Fix anything that isn't within 1/4 inch now.
- Install the sill pan: A sill pan is mandatory in any door installation. It sits at the base of the opening and diverts any water that gets past the door to the outside. Use a pre-formed pan sized to your opening width. If a sill pan system is used, shim between the rough opening framing and the pan itself, not between the pan and the door threshold. Apply sealant above and below those shims to prevent water from wicking underneath.
- Apply flashing tape to the sides and sill: Tape the two sides of the rough opening, then the sill, using a flexible self-adhesive flashing tape that's compatible with your weather-resistant barrier (WRB). The flashing should direct any water back to the outside surface of the WRB. Side flanges get sealed to the WRB with flashing tape that also covers any fastener penetrations.
- Apply a bead of sealant to the sill: Before setting the frame, run a bead of exterior sealant across the sill at the exterior edge. This is the door's last line of defense against wind-driven rain.
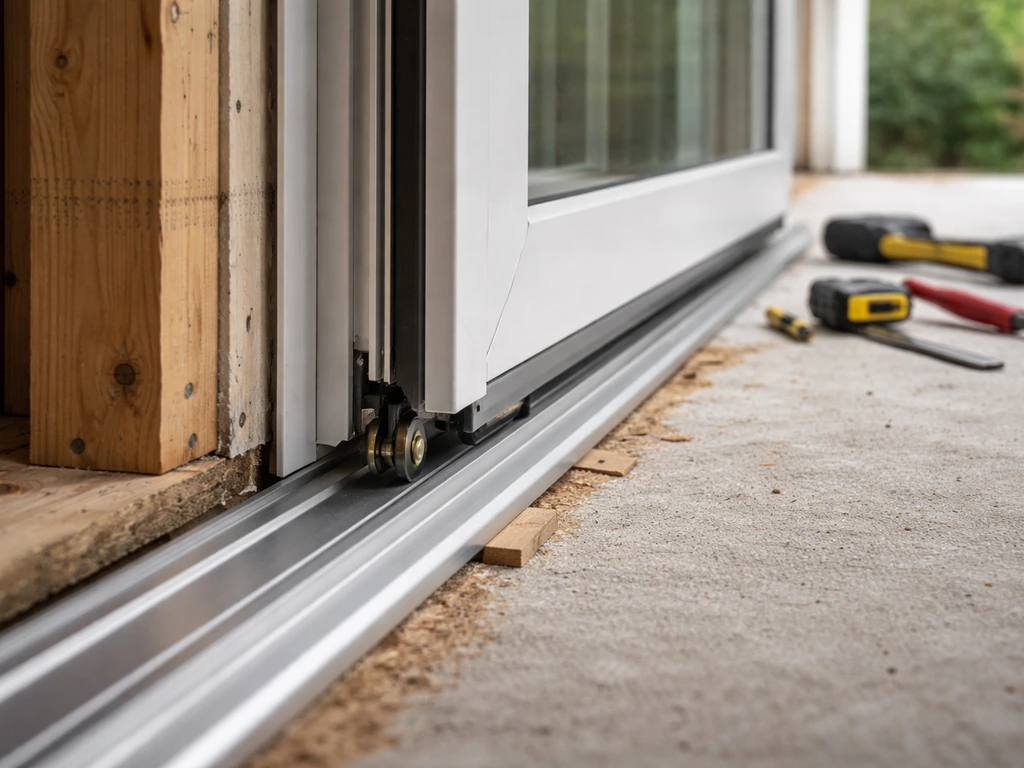
- Set the door frame in the opening: With your helper, lift the unit and tip it into place from the outside. Seat it into the sill sealant and push it tight against the exterior edge of the opening. Check it for plumb, level, and square immediately. Don't let it sit unlevel even temporarily.
- Shim the frame: Work from the corners first. Slide shims behind the side jambs at the top corners, bottom corners, and then every 16 to 24 inches in between, checking plumb as you go. Keep the shim gap to 1/4 inch maximum. Don't overtighten yet.
- Fasten the nail fin (if applicable): Vinyl sliding doors typically have a nail fin around the perimeter. Fasten through the center of the nail fin slots, starting with the slot nearest each corner, then every other slotted hole at minimum. Check your local building code for minimum on-center fastener spacing requirements, as this varies by region.
- Fasten through the jambs: Drive screws through the shimmed side jambs into the rough framing. Check plumb and square one more time after each side is fastened.
- Flash the top (head flashing): Apply head flashing tape over the top nail fin and onto the WRB above the opening, lapping it over the side tape. This is a reverse-lap if you think of it like shingles: water should always hit the top piece first.
- Trim and score the shims: Score shims flush with the interior jamb face and snap them off. This keeps the interior trim work clean. The guide on how to trim a patio door covers the interior and exterior trim steps in detail.
- Install the sliding panel: Most sliding doors ship with the operable panel removed for transport. Tip the panel in at roughly a 15-degree angle, engage the top roller channel first, then lower it into the bottom track. Make sure the rollers are seated in the track before releasing any weight.
Adjusting operation and weather sealing: alignment, rollers, and locks
Proper installation is what makes smooth door operation possible, but roller adjustment is what actually delivers it. Don't skip this step and assume the door will settle in over time. It won't.
Setting the roller height
With the panel installed, find the roller adjustment screws. On most vinyl sliding doors they're located at the bottom edge of the sliding panel, usually accessible from inside or through small plug-covered holes. Use a flat-blade screwdriver. Turning clockwise raises the panel; counterclockwise lowers it. Start by raising both rollers approximately 3/8 inch (about 10 mm) as a baseline. RELIABILT specifies that the panel should penetrate the sill track by 3/8 inch once adjusted correctly, which means the bottom of the panel sits down into the track channel by that amount.
Here's the balance you're trying to hit: raise the panel too little and it drags on the bottom track. Raise it too much and the weatherstripping lifts off the sill and stops sealing, which means drafts and water infiltration. Adjust one notch at a time, slide the panel, and repeat until it moves smoothly with even effort across the full travel.
After adjusting, look at the reveal (the gap between the sliding panel and the frame) at the top and sides. It should be even and consistent. If it's wider at the top than the bottom or tapers side to side, the rollers need more adjustment on one side or the frame itself needs a shim tweak.
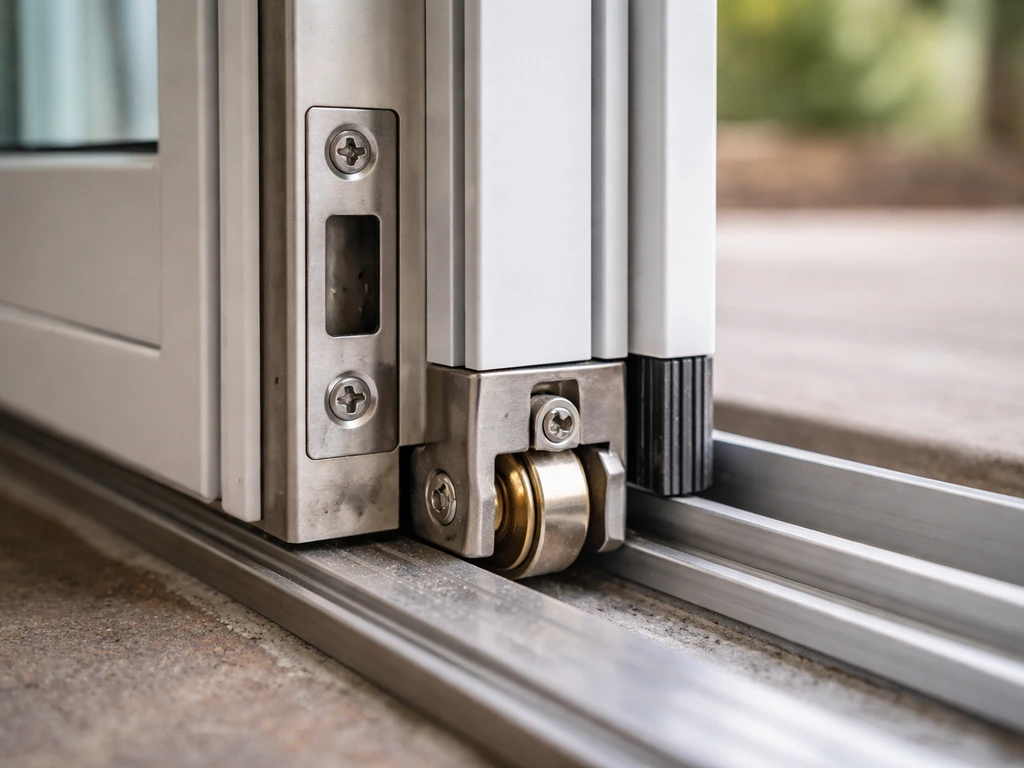
Setting the lock strike
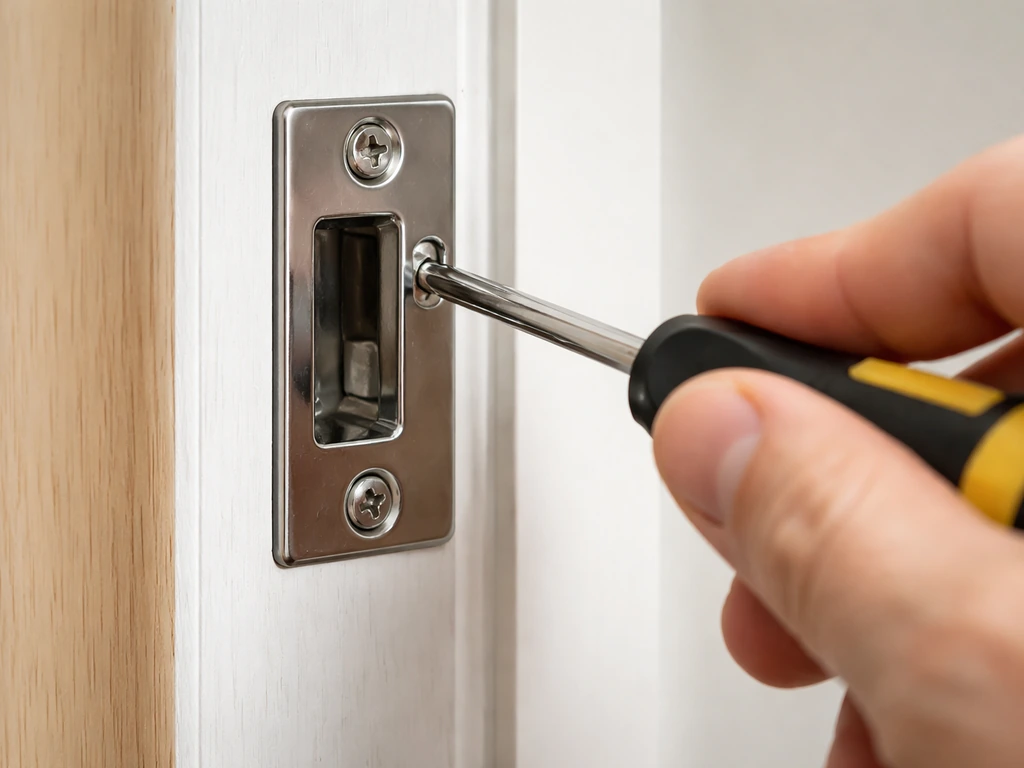
The lock keeper (also called the strike or latch receiver) is the part the door's latch engages when you close and lock it. This is a step many people get wrong. Replace the short screws that come pre-installed in the strike with #8 x 2-1/2" screws so they bite into the rough framing behind the jamb, not just the jamb itself. Before tightening those screws, shim the full length of the lock strike between the door jamb and the wood framing. If you skip the shimming, tightening the strike screws will bow the door jamb inward and cause the panel to bind when closing.
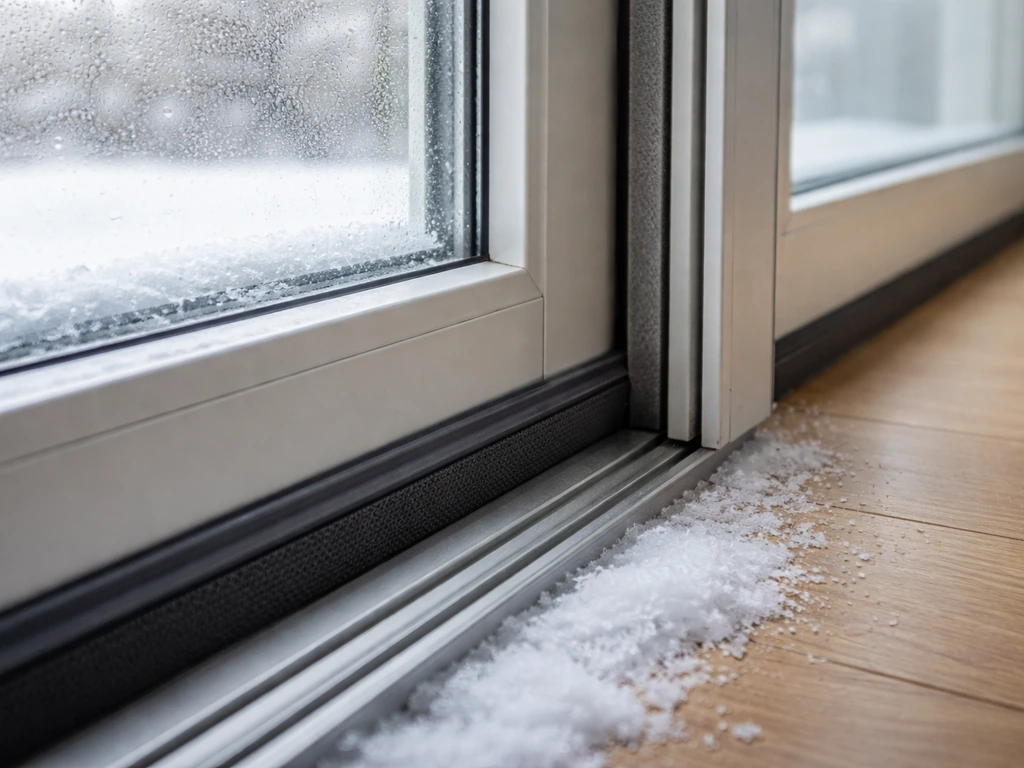
Checking weather sealing
Close the door and run your hand along the bottom edge from inside. You shouldn't feel any air movement. If you do, it's almost always one of two things: the roller height is set too high (lifting the weatherstripping off the sill), or the frame itself isn't sitting flat on the sill pan and sealant bed. Check the roller height first. If that's not it, check whether the frame has a gap between its bottom and the sill, and add sealant or re-shim as needed.
How to open and operate sliding patio doors (and troubleshoot sticking)
A correctly fitted sliding patio door should open with light, consistent pressure from a single hand. Grip the handle, disengage the lock, and push or pull smoothly. If it requires a heave or a lift-and-pull to get it moving, something needs adjustment. Here's how to read the symptoms.
| Symptom | Most likely cause | Fix |
|---|---|---|
| Hard to move, drags throughout travel | Rollers set too low, panel riding on track | Raise rollers clockwise, one notch at a time, test after each adjustment |
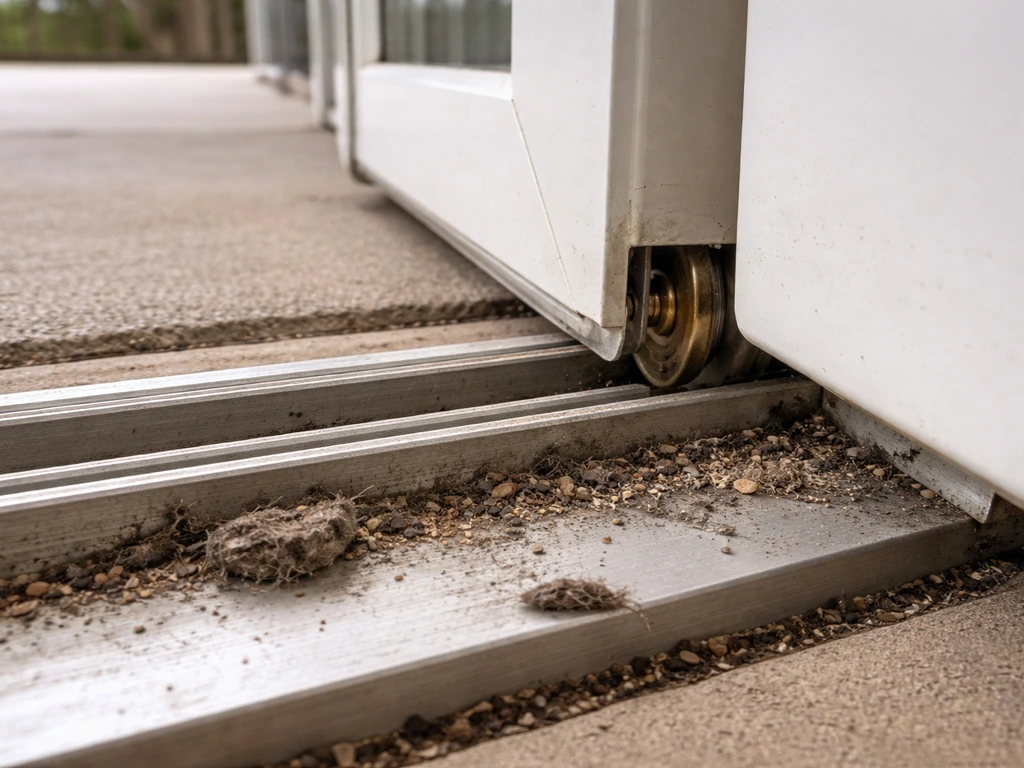
| Stiff at start, smoother in middle | Bottom track has debris or is damaged | Clean the track with a stiff brush and vacuum; inspect for dents or warping |
| Door lifts as you open it | Rollers set too high, panel not engaging sill track correctly | Lower rollers slightly counterclockwise until panel sits in track by 3/8 inch |
| Uneven gap between panel and frame | Frame racked during installation or uneven shimming | Re-check plumb and level of frame; adjust shims behind side jambs |
| Lock won't engage or catch | Panel not closing flush, or strike misaligned | Adjust rollers for consistent reveal; check that strike is shimmed and screwed with 2-1/2 inch screws |
| Drafts at the bottom of closed door | Weatherstripping not contacting sill due to rollers too high | Lower rollers slightly; confirm panel penetrates sill track by about 3/8 inch |
One thing worth knowing: if your door was sticking before and you just replaced or fitted it new, check the track first before touching the rollers. Construction debris, hardened sealant drips, or even a screw head sitting proud in the track bottom can cause drag that mimics a roller problem. Clean and inspect the track with a flashlight before you start adjusting anything.
Testing, finishing, and maintenance tips for long-term performance
Before you touch any interior or exterior trim, test the door fully. This is not optional. It's much easier to adjust shimming, roller height, or the lock strike now than after the trim is nailed or caulked in place.
What 'good' looks like during testing
- The panel slides smoothly with light, even pressure across its full range of travel
- The gap between the panel and the fixed frame is consistent top to bottom and side to side
- The latch engages the strike cleanly without lifting, forcing, or jiggling the panel
- No air movement is detectable along the bottom, sides, or top of the closed door
- The door stays in place when released partway open (it shouldn't roll by itself)
Once the door passes those checks, apply exterior sealant around the perimeter of the nail fin where it meets the wall cladding or WRB. Don't seal the very bottom of the nail fin on the sill side, as that gap allows any incidental moisture to escape. Fill the interior gap between the frame and rough framing with low-expansion spray foam, wait for it to cure, then trim it flush before installing interior casing.
Maintenance checklist to prevent future sticking and drafts
Sliding patio doors are low maintenance, but a little attention twice a year keeps them working the way they did on install day. If you’re wondering how to put a patio door in yourself, focus on getting the rough opening, frame alignment, and weather sealing right the first time install day.
- Clean the bottom track every six months with a stiff brush and vacuum out any grit, leaves, or debris that accumulates (this is the single most common cause of sticking)
- Lubricate the track and rollers with a silicone-based lubricant spray, not WD-40, which attracts dust and gums up over time
- Check the weatherstripping along the sides and top once a year; if it's compressed flat or cracking, replace it before winter
- Inspect the exterior sealant bead at the perimeter annually; re-caulk any cracked or pulled-away sections before they allow water in
- Test the lock and strike every year; if the latch is getting harder to throw, adjust the roller height slightly before it becomes a real problem
- After any major temperature swing (like the first real cold snap of autumn), slide the door a few times and check the seal at the bottom; thermal movement can shift things slightly and a quick roller tweak keeps the seal tight
If you're planning to add trim inside or out after the door is fitted and tested, the guides on how to trim a patio door and how to install exterior trim on a patio door cover those steps separately. Brick molding installation is covered in its own guide as well if your exterior finish calls for it. Getting the fitting right first, before any of that finish work goes on, is what makes everything else come together cleanly.
FAQ
What should I do if my rough opening is not perfectly square or plumb?
If your rough opening is slightly out, you can correct it with shimming only if the out-of-square or out-of-plumb amount stays within the manufacturer’s maximum shim allowance (often around 1/4 inch total). If it’s beyond that, adjust the framing first, because excessive shimming can bow the jamb and leave roller and lock alignment permanently off.
How can I tell whether my roller adjustment is set correctly?
Use the manufacturer’s spec sheet for the correct spacer, penetration, and roller baseline, but as a practical check after adjustment: the panel should sit so it fully engages the sill track channel without lifting the weather seals. If you see the seal lifting or the door doesn’t glide with one-hand push, reduce roller lift and recheck the reveal around the frame.
Can I install trim before testing the door?
Yes, but only after you fully test operation and weather sealing. The “right order” is test first, then install trim and caulk, because once trim and exterior sealant are in place you can’t easily access shims, strike alignment, or roller screws without removing parts.
What if the door is level but the lock won’t catch or the latch feels hard?
If the door locks but won’t close smoothly, check the lock strike shimming and the keeper alignment before changing rollers. Even a well-adjusted roller can still bind if the strike is installed without shimming, because it can draw the jamb inward when the latch catches.
My new door still drags, how do I know if it’s the rollers or the track?
Clean the track and re-check for obstructions before adjusting anything. Common culprits are construction debris, hardened sealant drips, and a single screw or raised fastener head that sits proud of the track bottom. A flashlight inspection helps you spot the problem immediately.
What are the most common causes of drafts after installation?
If you feel drafts or air movement at the bottom, prioritize roller height and frame contact to the sill pan. Use your hand along the bottom edge, then visually confirm the seal isn’t lifted on one side. If the frame bottom has a gap, re-shim and apply the correct perimeter sealant, rather than repeatedly tweaking the rollers.
What does an uneven reveal mean, and should I adjust the rollers or the frame?
If the reveal is wider at the top than the bottom or tapers side to side, it usually means the frame isn’t aligned (shim issue) rather than a minor roller setting. Adjust the rollers first only enough to confirm smooth travel, then correct frame shimming so the gaps are consistent.
Should I seal everything solid around the nail fin?
Don’t overfill the perimeter around the nail fin. Seal the appropriate exterior joints but avoid sealing the very bottom of the nail fin on the sill side, because that intentional gap allows incidental moisture to escape. Over-sealing can trap water and lead to long-term rot.
How should I handle the interior gap if I’m using spray foam?
Low-expansion spray foam helps insulate and fill interior gaps, but use it sparingly so it doesn’t bow the frame. After curing, trim it flush, then install interior casing. If the door later binds, excessive foam pressure can be the hidden cause.
Any safety tips or setup checks I should make before lifting the door?
If a second story or basement-side installation is involved, confirm the working platform can support the unit weight and your movement while lifting. Use at least one helper for the door, and wear gloves because frame edges can be sharp during handling and positioning.
After sealing, do I need to re-test the door operation?
Yes, but the most reliable strategy is to check that the door glides smoothly with light, consistent pressure before any exterior caulk hardens. After the sealant cures, re-test once more, especially around the lock area, because minor shifts can change latch engagement.
Next Article
How to Seal a Patio Door for Winter: Step-by-Step
Step-by-step how to seal sliding or screen patio doors for winter: adjust, add sweeps and weatherstripping, stop drafts,