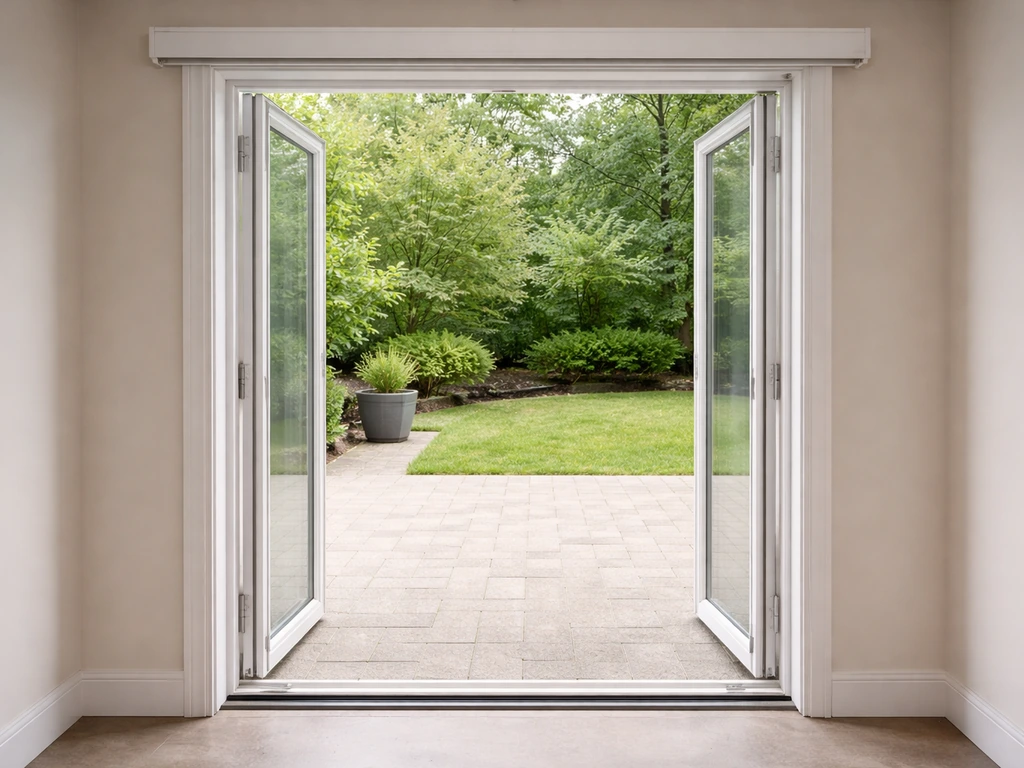
You can make custom patio door curtains in a weekend with basic sewing skills, a good measuring strategy, and the right rod setup. The key is accounting for three things most people miss: stack back (the wall space the gathered fabric takes up when the door is open), enough panel width to create real fullness when closed (about 2 to 2.5 times the door width total), and a mounting position that keeps the fabric completely clear of the sliding panel so it never snags. Get those three right and everything else is straightforward.
How to Make Patio Door Curtains: Step-by-Step DIY Guide

Jamie Archer
2 Jul 2026
Choosing the right curtain style for a sliding patio door
Not every curtain style works well on a sliding door. The door opens and closes constantly, so anything that stacks in the middle, puddles on the floor, or hangs from a rod that sits too close to the frame is going to cause problems. Here are the styles that actually work:
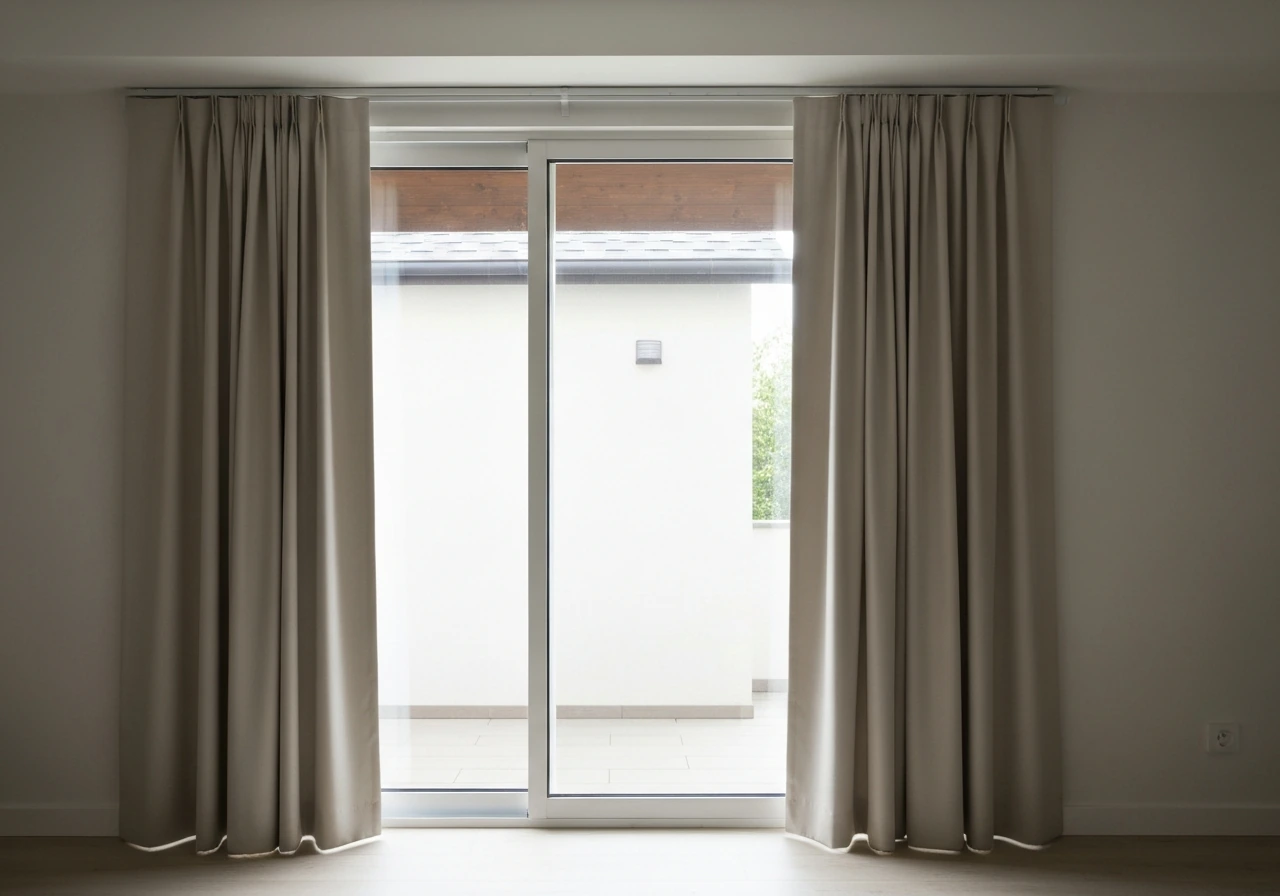
- Two-panel split stack: One panel stacks to each side when open. This is the most common setup and works best when your door is centered on the wall with equal clearance on both sides.
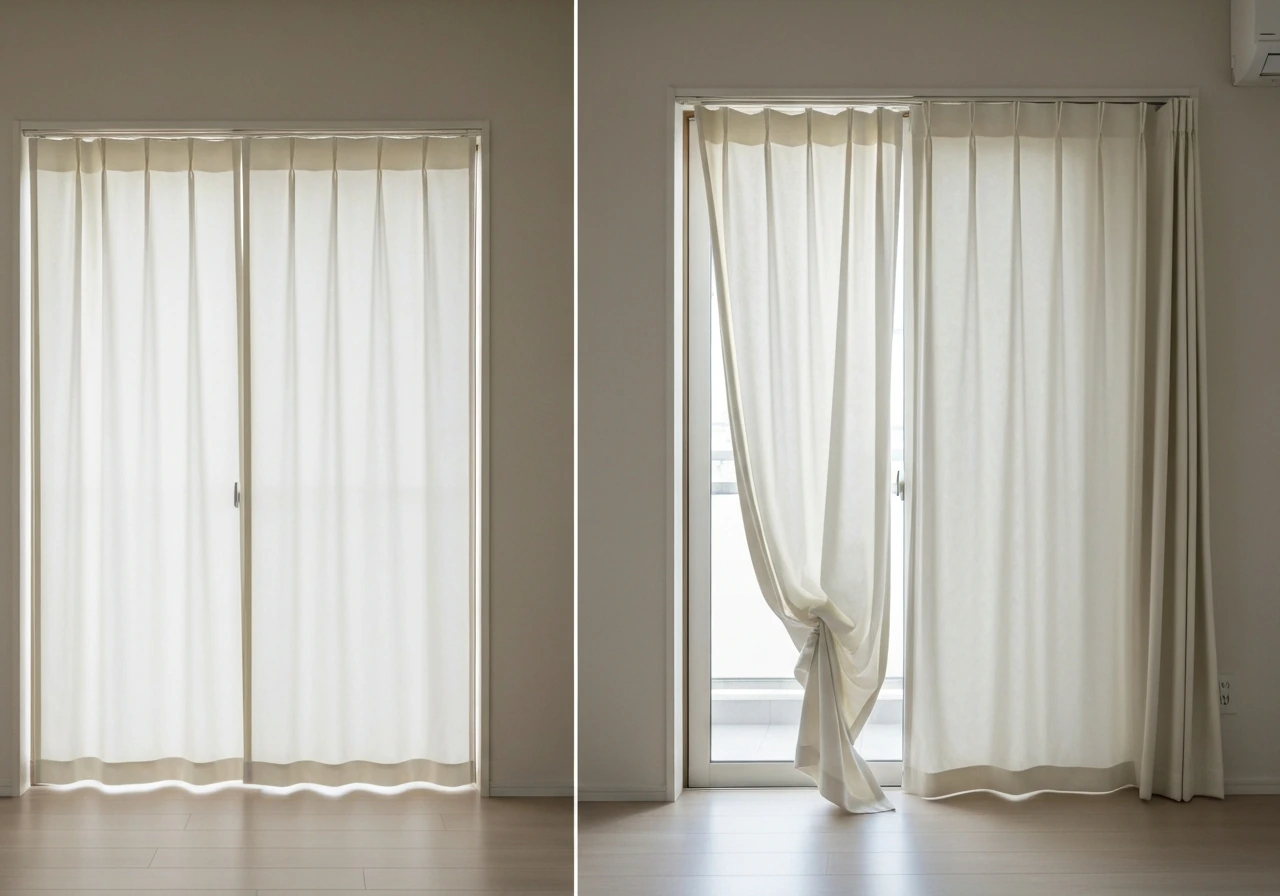
- One-way stack: Both panels stack to one side (usually the fixed panel side). This is ideal when you have more wall space on one side and want the walk-through side fully clear.
- Single wide panel: One large panel that sweeps across the entire opening. Works well for a dramatic look but requires a longer rod and more wall space on one side.
- Grommet-top panels: Grommets slide on the rod smoothly and are easy to push aside. Great for sliding doors because they move with minimal resistance.
- Rod-pocket panels: Work fine but have more friction and tend to bunch. If you go this route, use a smooth metal rod and keep the pocket loose.
- Tab-top panels: Avoid these on high-traffic sliding doors. The loops catch and wear out quickly.
For most sliding glass patio doors, a grommet-top two-panel split-stack setup is the best starting point. It looks clean, slides easily, and leaves both sides of the door accessible. If your door only slides on one side (one fixed panel, one moving), a one-way stack is the smarter choice since you only ever need to move the curtain on the operating side.
Measuring your patio door for a perfect fit
Measuring for a sliding door curtain is a bit different from a regular window because you need to account for clearance, fullness, and stack back all at once. Use a metal tape measure and write everything down labeled by measurement type.
Width measurements
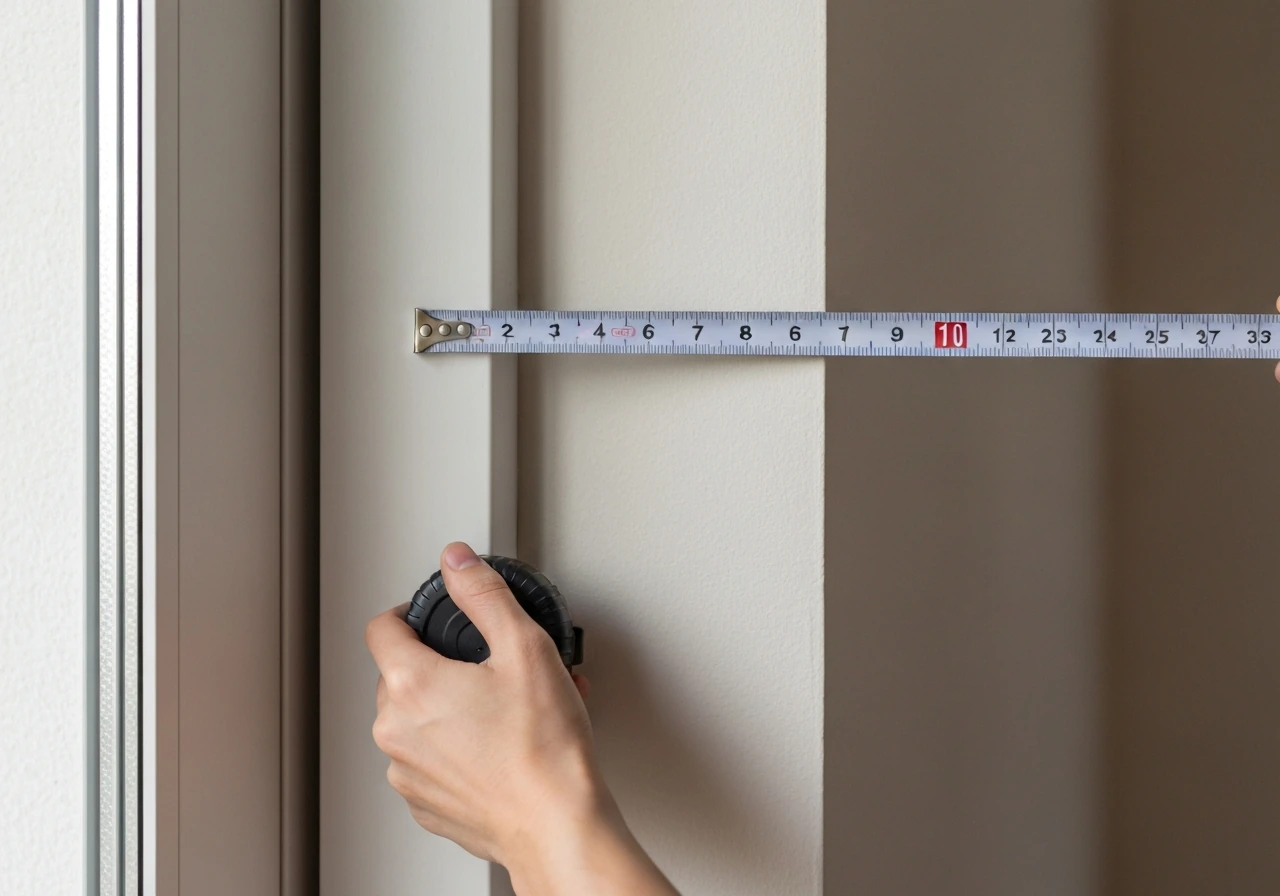
Start by measuring the full door opening trim edge to trim edge. For an outside mount (which is what you want for a patio door so the fabric clears the glass completely when open), add 6 to 10 inches total, about 3 to 5 inches per side beyond the trim. For your outside-mount setup, if you want the full step-by-step process, see how to measure curtains for patio door for all the exact width and stack-back calculations. This extra width lets the curtain stack off the glass entirely. The rod itself should extend the full width of this measurement plus enough on each end for the brackets.
Next, calculate your stack back. Stack back is the width of wall space the gathered curtain fabric occupies when it's fully pushed to one side. A rough estimate is one-third of the total curtain width per panel. So if your total curtain width is 120 inches across two panels, each panel's stack back is about 20 inches. The rod needs to extend past the door frame by at least that amount on the stacking side, otherwise the open curtain will still overlap the glass.
For your total fabric width, multiply the rod length (the full span the curtains will cover) by 2 to 2.5. If your rod spans 84 inches, you want between 168 and 210 inches of total fabric width split across your panels. More fullness means better light blocking and a richer look when closed.
Height measurements
Mount the rod 2 to 4 inches above the top of the door trim. To measure for vertical blinds on a patio door, take the height from the mounting point down to the floor and then match the width to the track length for smooth panel overlap. Measure from where the rod will sit down to about half an inch above the floor for floor-length panels. Panels that touch or barely graze the floor look intentional; panels that fall short look like a mistake. Add your hem allowances to this final measurement: typically 4 inches at the top (for a double-fold header or grommet band) and 4 inches at the bottom (for a double-fold hem).
Materials, hardware, and fabric choices for privacy, light, and drafts
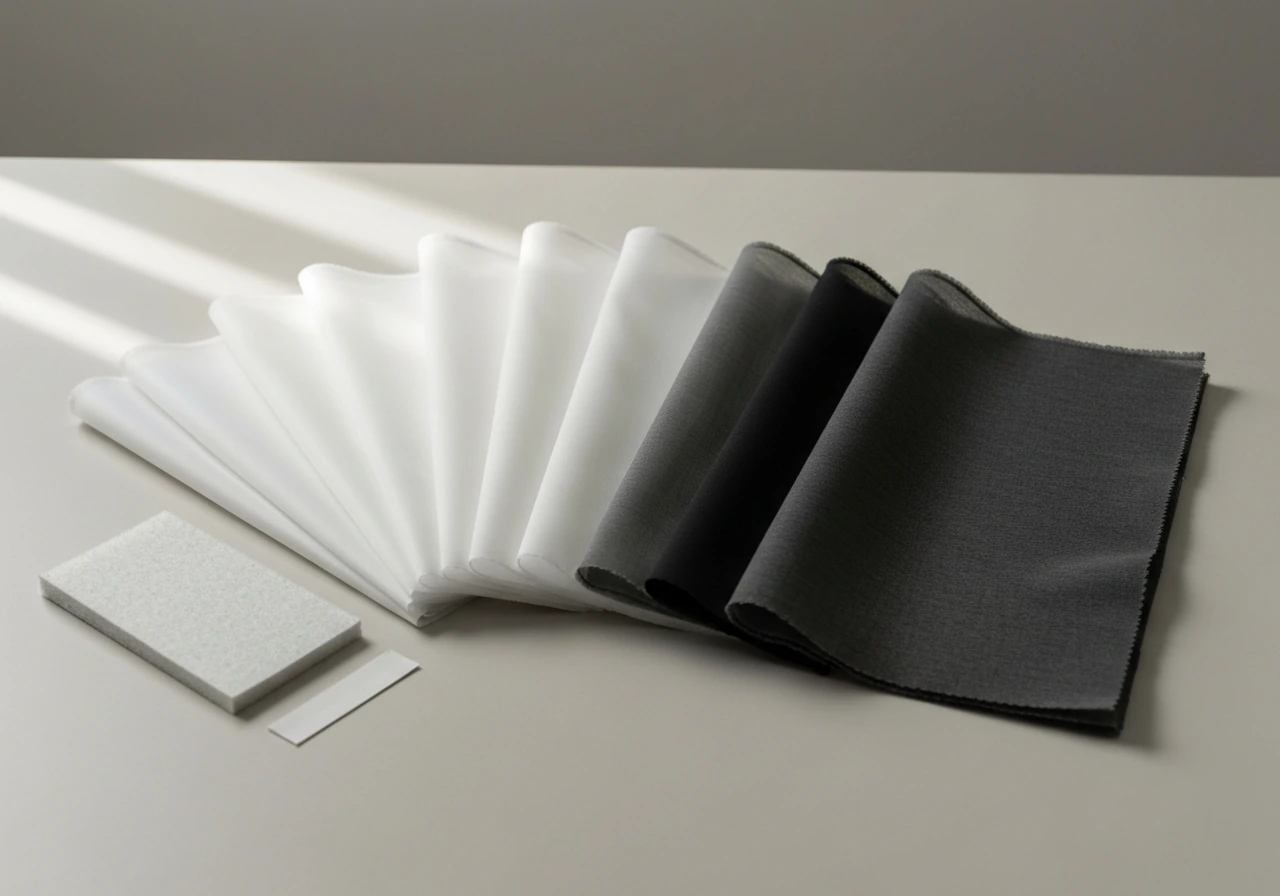
The fabric you choose determines how well your curtains handle light, privacy, and cold air coming through the door edges. Here's a practical breakdown:
| Fabric Type | Light Control | Privacy | Draft Reduction | Best For |
|---|---|---|---|---|
| Sheer/voile | Filters softly | Low (daytime) | Minimal | Layering under heavier panels |
| Medium-weight linen or cotton | Moderate | Good | Low to moderate | Style-first rooms, mild climates |
| Thermal/insulated lining | Good with face fabric | Good | Good (reduces convection) | Year-round use, drafty doors |
| Blackout fabric (foam-backed or bonded) | Near-total blockout | Excellent | Moderate to good | Bedrooms, media rooms, south-facing doors |
| Outdoor/UV-resistant polyester | Moderate | Good | Low | Covered patios, high-humidity areas |
For most sliding patio doors in a living room or kitchen, a medium-weight decorative face fabric lined with a thermal interlining is the sweet spot. The face fabric handles the look; the thermal lining reduces the cold draft effect you get from convection against the glass in winter. Full blackout construction (tightly woven face fabric bonded to an opaque foam or acrylic backing) is worth it if the door faces east or west and morning or afternoon sun is a problem.
For thread, use a polyester all-purpose thread for most indoor curtain fabrics. If you're working with outdoor polyester or any fabric that will be exposed to direct sun or moisture near a screen door, use a UV-treated polyester thread. It resists degradation from sun exposure in a way that cotton thread simply doesn't.
Hardware checklist
- Heavy-duty curtain rod rated for the span (look for center support brackets if the rod is over 60 inches)
- Brackets with enough projection to clear the trim and any blinds or shades behind the curtain
- Grommets (if making grommet-top panels): size 1.6-inch or 1.9-inch inner diameter is standard for most rods
- Grommet setting tool or kit (available at any fabric store)
- Curtain weights (small lead or metal inserts sewn into bottom hem corners)
- Tie-back hooks (if using tie-backs to hold panels clear of the door when open)
- Seam gauge, fabric chalk, sharp rotary cutter and cutting mat, iron and pressing cloth
Cutting and assembling your curtain panels
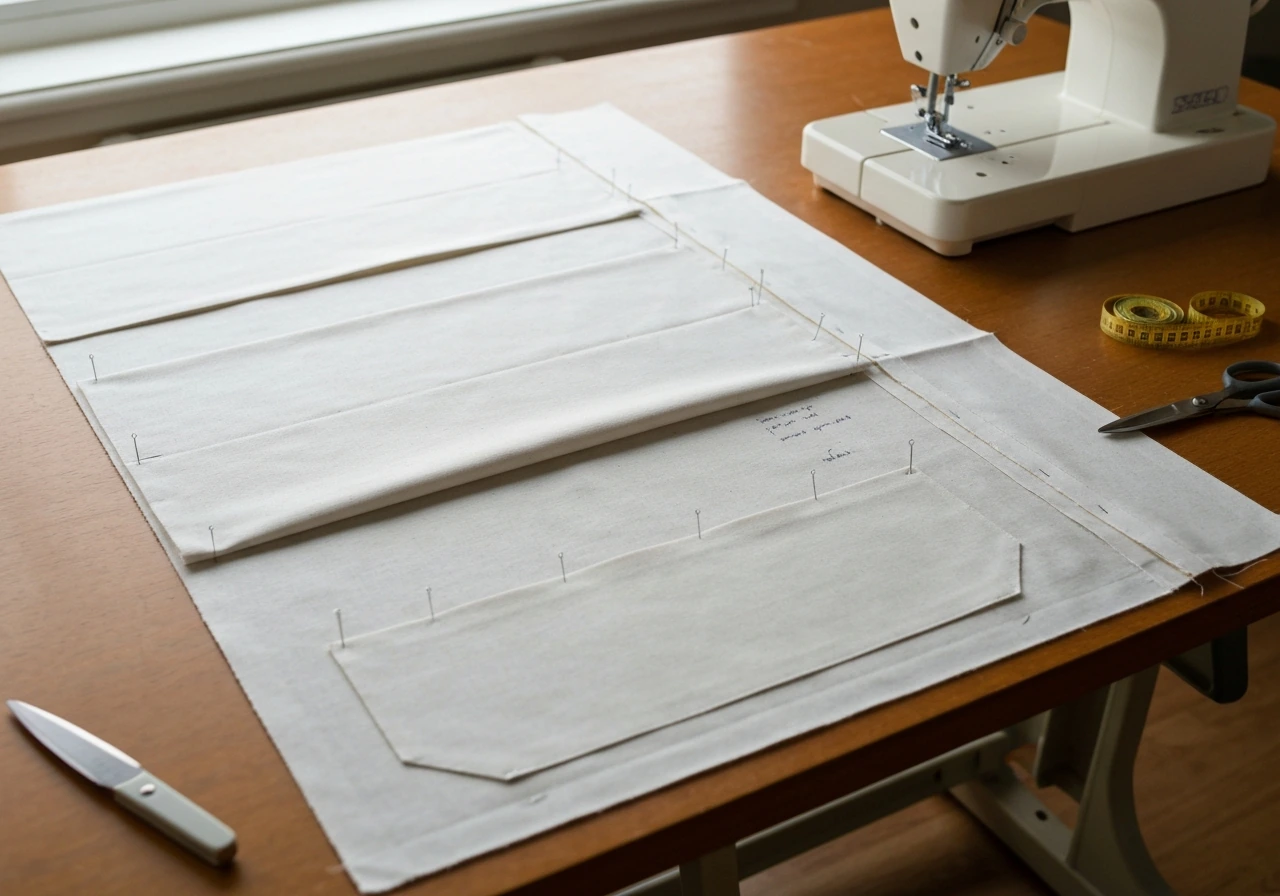
Before you cut anything, wash and dry your fabric if it's a natural fiber like cotton or linen. It will shrink in the wash and you want that to happen before you sew, not after. Press it flat before cutting.
- Calculate cut width per panel: Take your total fabric width (rod length × 2 to 2.5) and divide by the number of panels. Add 2 inches per panel for side seams (1 inch each side).
- Calculate cut length per panel: Finished length (floor to rod) plus 4 inches for the top header or grommet band, plus 4 inches for the bottom hem. If adding a separate thermal lining, cut it 2 inches shorter than the face fabric on all sides.
- Cut with a rotary cutter against a straightedge or use the fabric's grain line as a guide. Crooked cuts show up immediately once panels are hanging side by side.
- Finish raw side edges: If your fabric frays easily, run a zigzag stitch along the cut edge or serge it. Set your zigzag to a medium width and medium length. This prevents fraying inside the hem and along any seam allowances.
- Attach lining (if using): Place face fabric and lining wrong sides together, lining centered so it sits 1 inch in from each side and 1 inch up from the bottom. Pin and baste around the perimeter. From this point, treat them as one fabric.
- Fold and press side hems: Fold each side edge in 0.5 inches, press, then fold again 0.5 inches, press again, and stitch close to the inner fold. This gives a clean double-fold hem that doesn't fray.
- Create the top header: For grommet panels, fold the top edge down 4 inches (or 1.5 to 2 times your grommet's outer diameter as a minimum), press, and stitch across to form a reinforced band. For rod-pocket panels, fold down the amount needed for your rod diameter plus half an inch clearance, stitch across leaving the pocket open at the sides.
- Set the grommets: Space grommets evenly across the top band, starting and ending about 1.5 inches from each side edge. An even number of grommets causes the panel to hang with folds facing the same direction on both ends, which looks intentional. Mark centers, punch holes, and snap grommets together with the setting tool per the manufacturer's instructions.
- Sew the bottom hem last: Fold up 2 inches, press, fold up 2 more inches, press, and stitch close to the upper fold. Leave the bottom corners open about 2 inches at each end to insert curtain weights before closing.
Mounting options that won't block or snag when the door slides
This is where most DIY patio door curtain projects go wrong. The rod sits too close to the frame, the brackets project too little, and the first time someone opens the door the curtain catches on the handle or bunches against the trim. A few rules prevent all of that.
Always mount to the wall or the outer face of the door frame, never to the door jamb or inside the opening. Use brackets that project at least 3 to 4 inches out from the wall so the rod and rings clear any blinds, shades, or trim profiles behind the curtain. If you're mounting into drywall, hit the studs or use heavy-duty toggle anchors rated for at least twice the weight of your panels. Curtain rods loaded with lined panels are heavier than most people expect.
For the rod length and placement: your rod should start at the stacked position on the operating side (far enough from the door edge that open panels clear the glass) and extend equally past the trim on the fixed side. A center support bracket is essential if your rod spans more than about 60 inches, which most patio door rods will. Without it, the rod bows in the middle and the panels slide toward the center every time you open them.
Tension rods work for lightweight sheers but will not hold lined or thermal panels reliably, especially over a wide patio door span. For a real DIY installation that lasts, use a fixed-bracket rod system. If you'd rather skip the drilling entirely, a ceiling-mounted track system (sometimes called a drapery track) is a clean alternative that also handles the stack back challenge well since the track can extend as far as you need without extra brackets.
Hemming, weights, and tie-backs for clean operation
Curtain weights are a small detail that makes a big difference on patio doors. Sew one small lead weight into each bottom corner of every panel. On wide panels, add a weight at the center of the bottom hem as well. Weights keep the hem straight, stop light gaps at the bottom, and prevent the panels from swaying when the door opens and lets in a breeze. Push the weight into the folded hem before you close the stitching, then hand-stitch the opening closed.
For tie-backs, install a hook or cleat on the wall at roughly one-third up from the floor (for a low tie-back look) or two-thirds up (for a higher, more formal look). Loop a fabric tie, a ribbon, or a decorative cord around the gathered panel and hook it on. The tie-back holds the curtain completely clear of the door's path when you want it open. For a sliding door, position the tie-back hook far enough from the door opening that the full panel stack is pulled off the glass, not just the outer edge.
On the draft-reduction side, a few extra steps make a noticeable difference. Overlap your two panels by at least 4 to 6 inches at the center when closed rather than having them meet edge to edge. This eliminates the center light gap and blocks convection air movement. If you have a persistent draft at the floor, a weighted hem is the first fix. If the draft comes from the door's edge seals, that's a door weatherstripping issue, not a curtain issue, and no amount of fabric will fully compensate for a compromised door seal.
Hanging your curtains and adjusting for common problems
Once your panels are done, install the brackets first, then thread the panels onto the rod before mounting it. It's much easier to thread grommets or a rod pocket onto the rod while it's at waist height than while it's up on the wall. Check that your bracket screws are fully seated and the brackets are level before you hang any weight on them.
Step back and look at the panels from across the room. Here's what to check and how to fix the most common issues:
| Problem | Likely Cause | Fix |
|---|---|---|
| Panels drag on the floor | Cut length too long or rod mounted lower than planned | Re-hem the bottom up to the correct length. Do not move the rod down. |
| Panels don't meet in the middle | Not enough fabric width, or stack back is eating into coverage | Add a center overlap panel, or re-cut wider panels at 2.5× rod width |
| One panel hangs lower than the other | Rod not level, or one panel was cut longer | Use a level to check and adjust bracket height; re-hem the longer panel |
| Curtain snags on door handle when opening | Rod projection too short, or panels hanging too close to door face | Switch to longer-projection brackets; consider a ceiling track mount |
| Panels slide to center when door opens | No center bracket, rod bowing, or grommets too loose on rod | Add a center support bracket; use a rod stop or finial spacer to divide panels |
| Light gaps at sides or bottom | Panels too narrow, or hem not weighted | Increase overlap at center; add curtain weights; widen panels if needed |
| Fabric bunches at stack back side | Stack back space not wide enough for the gathered fabric | Extend rod further past the frame on the stacking side |
After hanging, dress the panels by hand-folding them into even pleats from top to bottom and tying them loosely with strips of fabric or twill tape. Leave them tied for 24 to 48 hours. This trains the fabric to fall in consistent folds and dramatically improves how the finished curtains look and move. Once untied, the panels will stack and drape evenly every time you open or close them.
One more thing worth knowing: measuring and cutting accurately is the part of this project most people underestimate. If you're not confident in your measurements before you cut, it's worth double-checking your numbers using a dedicated curtain measuring approach. Similarly, if you end up deciding you'd rather buy panels and just need to hang them correctly, the mounting and bracket strategy in this guide applies equally to store-bought curtains. If you want a step-by-step walkthrough of how to hang patio door curtains, follow the mounting, bracket spacing, and rod length guidance in the next sections.
FAQ
How do I prevent my curtain from hitting the sliding door handle or track?
For a sliding patio door, leave extra clearance so the fabric does not touch the moving door hardware. A good quick check is to dry-fit the rod and open the door fully while holding the curtain fabric by hand, if it contacts the handle or track, move the rod farther out (increase bracket projection) or raise it slightly so the curtain hangs in front of the glass instead of into the operating space.
Can I use a swag, valance, or pelmet style on a sliding patio door?
Yes, but only certain styles behave well. Avoid anything that pools on the floor, uses long tassels that swing into the door path, or stacks in the middle where the panels travel. If you want a more traditional look, choose a grommet top or a rod pocket that slides smoothly on the rod, and consider tie-backs so the fabric pulls completely off the glass when open.
What should I do if my curtain snagged the first time I opened the door?
If you have to replace a torn or snag-prone setup, the fastest fix is usually hardware, not the curtain. Switch to a fixed-bracket rod with enough projection (3 to 4 inches) and ensure the rod aligns with the panel stack position so the curtain rides cleanly. If you are using rings, confirm they are not catching on trim edges and that the grommets are reinforced and centered.
How can I tell whether I bought enough fabric for full coverage?
Don’t use the door width alone to choose fabric. Instead, base your fabric width on the total rod span and your desired fullness ratio (2 to 2.5 times total rod length across both panels). If your door is wider than about 60 inches, also plan for a center support bracket, since a bowed rod makes the panels overlap unevenly.
Are grommets or rod pockets better for patio door curtains?
Grommets usually last longer on patio doors than delicate rod pockets because the curtain slides repeatedly. If you prefer rod pockets, use a larger pocket channel and a smooth rod surface, and consider reinforcing the top edge with an extra strip of fusible interfacing so the fabric does not deform from constant motion.
My curtain hem still sways and leaves light gaps, what’s the fix?
For lined or thermal curtains, use heavier, wider curtain weights or add a second weight on very wide panels, and keep the weights fully inside the stitched hem folds. If your panels still billow, the issue is often that the hem is too light or the curtain is hanging slightly out of level, so re-check rod level and hem weight distribution.
Why does my floor-length curtain not sit the way it should?
If the panel lengths look right but the bottom keeps “floating,” the curtain may not have enough hem weight or the hem is not double-folded tightly. Reconfirm you measured from the rod mounting point to about half an inch above the floor (for floor-length styling) and ensure weights are placed in each bottom corner (and centered on wide panels).
Is drywall mounting okay for lined patio door curtains?
If you are mounting into drywall without hitting studs, use toggle anchors or heavy-duty rated anchors, and ensure your bracket screws fully seat. As a rule, plan for anchor hardware rated at least twice the combined weight of the lined panels, because motion and repeated opening add extra stress to the mounting points.
Would a ceiling track be better than a wall-mounted rod for my patio door?
A ceiling-mounted drapery track can work well if you want a cleaner look and need to extend farther without many wall brackets. The main tradeoff is installation complexity, so use it when you cannot get enough projection with a wall rod or you want maximum flexibility to fine-tune stack-back clearance.
How do I know whether the draft is from the curtain or the door seal?
If the draft seems worst at the door edges rather than the center gap, it is usually a door-seal or weatherstripping issue. Curtains help with air drafts that come through gaps at the floor or center, but if the edge seals are compromised, replacing or adjusting weatherstripping will outperform any fabric change.
My pleats look uneven after hanging, can I fix them?
Train pleats by temporarily tying them into evenly spaced folds for a day or two, then untie and let the panels hang naturally. Also confirm the rod is level, since an off-level rod makes folds migrate and can create a “lopsided” stack when you open and close.
What fabric choice gives the strongest blackout and privacy on a patio door?
If you want blackout performance, choose tightly woven blackout fabric with real opaque backing, and keep the center overlap consistent (at least 4 to 6 inches). For best results, avoid relying on sheer or loosely woven fabric for sun-blocking, since patio door light angles and repeated motion often expose gaps.
Next Article
How to Measure for Vertical Blinds on a Patio Door
Step-by-step guide to measure patio door for vertical blinds, including mount choice, width and height drop, clearance,