A patio door leaking at the top is almost always one of three things: the door is sitting too low in the frame and not compressing the top seal, the head jamb weatherstripping is worn or displaced, or water is tracking down from the siding or frame above and entering behind the door unit entirely. Figuring out which one you're dealing with takes about 10 minutes and a garden hose, and most of the fixes are genuine DIY jobs you can knock out in an afternoon. If you notice a french patio door leaks when it rains, use the same hose-test approach to confirm whether the water is entering through the top seal or from siding and flashing above.
Patio Door Leaking at Top: DIY Troubleshooting Fixes

Jamie Archer
28 Apr 2026
Quick diagnosis: figure out exactly where the water is entering
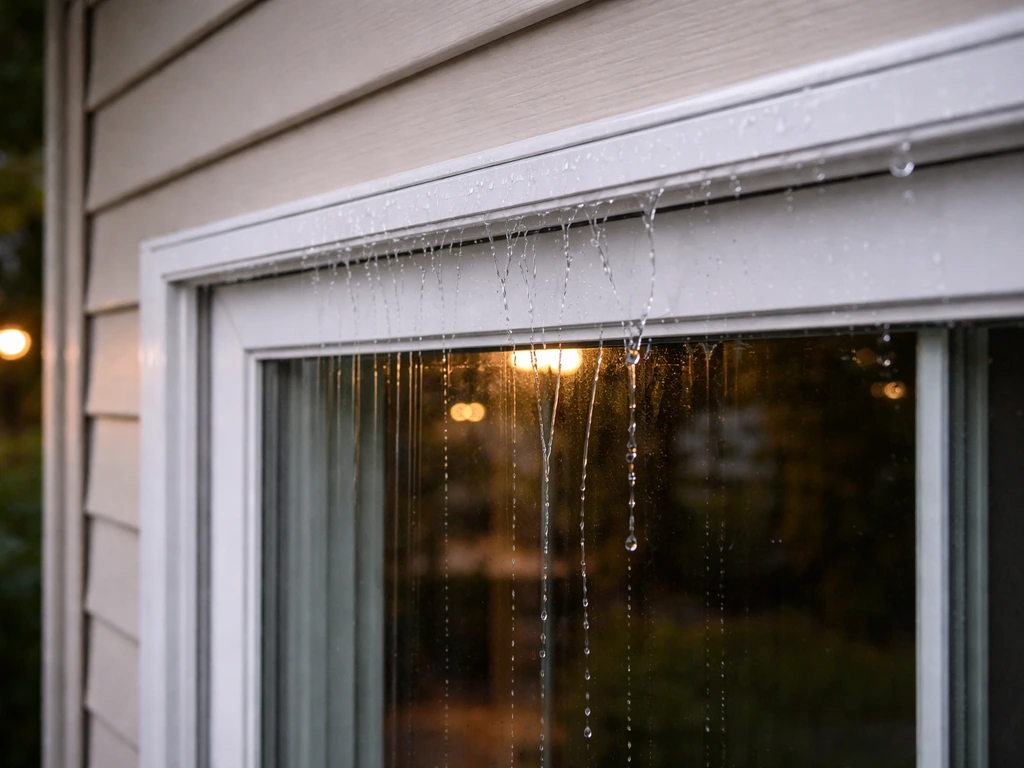
Before you touch anything, you need to know whether water is coming through the door or around it. Those are two different problems with two different fixes. Grab a flashlight and look at the top corners of the interior door frame after the next rain (or after a hose test). Water staining on the drywall above the frame, or drips appearing up high on the wall near the frame edge, strongly suggest water is entering through the siding or frame flashing and running down inside the wall cavity before it shows up indoors. That's a structural or flashing issue, not a door seal issue. Water dripping directly from the head jamb (the horizontal piece at the very top of the door opening) or appearing on the interior glass near the top of the panel is more likely a seal or alignment problem you can fix yourself.
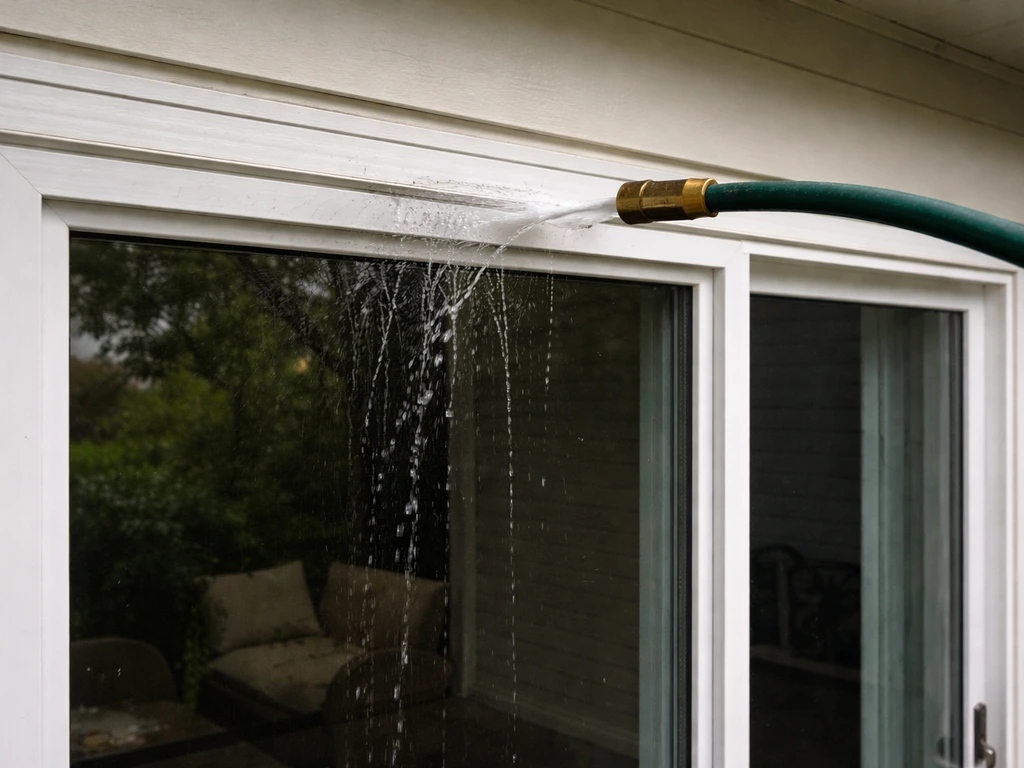
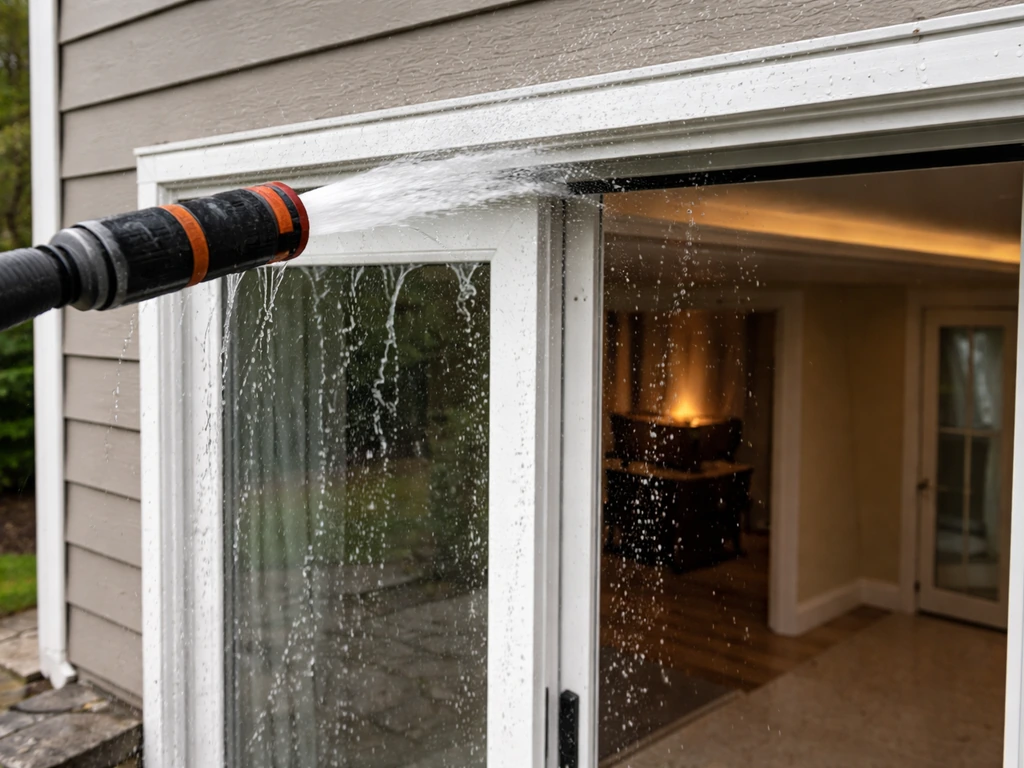
The best way to pinpoint the entry point is a controlled hose test. Have someone stand inside watching while you spray water from outside, starting low and working upward in sections. Spray the bottom track area first, then the sides, then the top frame and the siding just above the door. When the person inside sees water appear, you've found your zone. This technique separates a door-seal leak from a siding or flashing leak cleanly, which saves you from replacing perfectly good weatherstripping when the real problem is two feet above the door.
The most common reasons a patio door leaks at the top
Once you've confirmed the leak is actually at the door (not above it), these are the causes you'll run into most often.
Door misalignment
Sliding patio door panels hang from or roll on a track, and their height is adjustable. When a door drops even a fraction of an inch, the top of the panel pulls away from the head jamb seal. You might not notice the gap visually, but it's enough to let wind-driven rain in. This is the most common cause of a top leak on a sliding door, and it's usually the first thing to check and adjust.
Worn or compressed weatherstripping at the head jamb
The weatherstripping along the top of the door frame compresses every time the door closes. Over years of use, it flattens out and stops making a proper seal. On older doors, the foam or pile weatherstrip at the head can be so compressed it's nearly flush with the surface, leaving almost no barrier against water. On Andersen gliding doors made before May 2015, the interlock weatherstrip in particular is known to degrade, and Andersen specifically recommends replacing it on older units.
Gaskets and weep hole drainage issues
This one surprises people: a clogged weep hole at the bottom of the door track can cause water to back up and appear to leak from the top or the sides. The weep holes are small drainage ports along the bottom exterior edge of the frame that let rainwater escape out of the track. When those clog with dirt and debris (which Milgard says should be cleaned annually), water has nowhere to go and can push inward. If you see water pooling in the track before it eventually seeps inside, this is likely contributing to your problem even if the original entry point is higher up.
Check how the door is sitting: track, rollers, and alignment
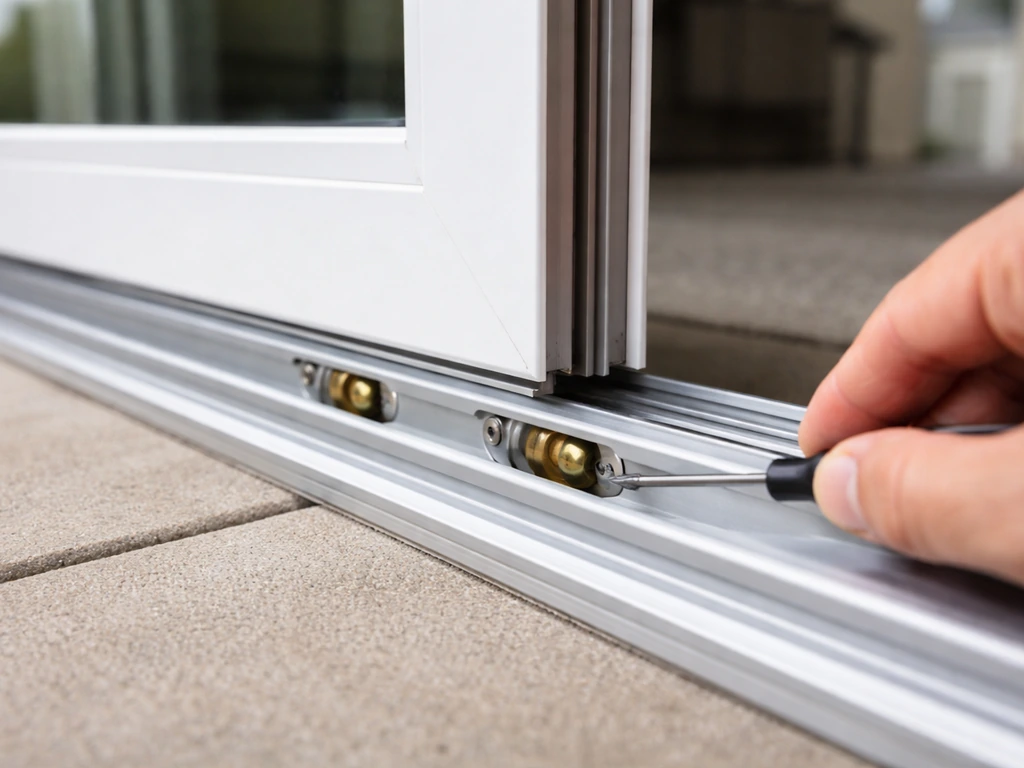
On a sliding patio door, the panel's height is controlled by the rollers. Most doors have two adjustable rollers at the bottom of the panel, each with an adjustment screw accessible through a small hole in the bottom rail. Turning the screw raises or lowers that corner of the door. When one side is lower than the other, the door sits crooked and the top seal only contacts part of the head jamb.
Start by sliding the door fully open and visually inspecting the bottom rollers. Look for cracked or flat-spotted wheels, debris packed around the axle, or rollers that are clearly bottomed out in their adjustment slots. Clean the track thoroughly before making any adjustments. Then close the door and look at the gap between the top of the panel and the head jamb across the full width. It should be even and tight. If one corner has a visible gap, that corner's roller needs to come up.
To adjust: locate the adjustment screw access holes in the bottom rail at each corner of the panel. Use the correct screwdriver (usually a Phillips or flathead, depending on your door brand) and turn clockwise to raise that corner. Make small adjustments, about a quarter turn at a time, and check the gap at the top after each adjustment. One important caution: don't over-raise the door to the point where the roller axle backs out of its slot. If the roller falls out of position, reinstalling it is a frustrating job that requires lifting the entire panel off the track.
For French-style hinged patio doors, the alignment issue is different. The door hangs on hinges, so misalignment usually shows up as uneven gap around the frame rather than a height issue. Check the hinge screws for looseness first, and look at the gap along the top of the door when it's closed. If the top corner opposite the hinges has a wider gap, the door is sagging and the hinge screws or the hinge leaf itself may need attention.
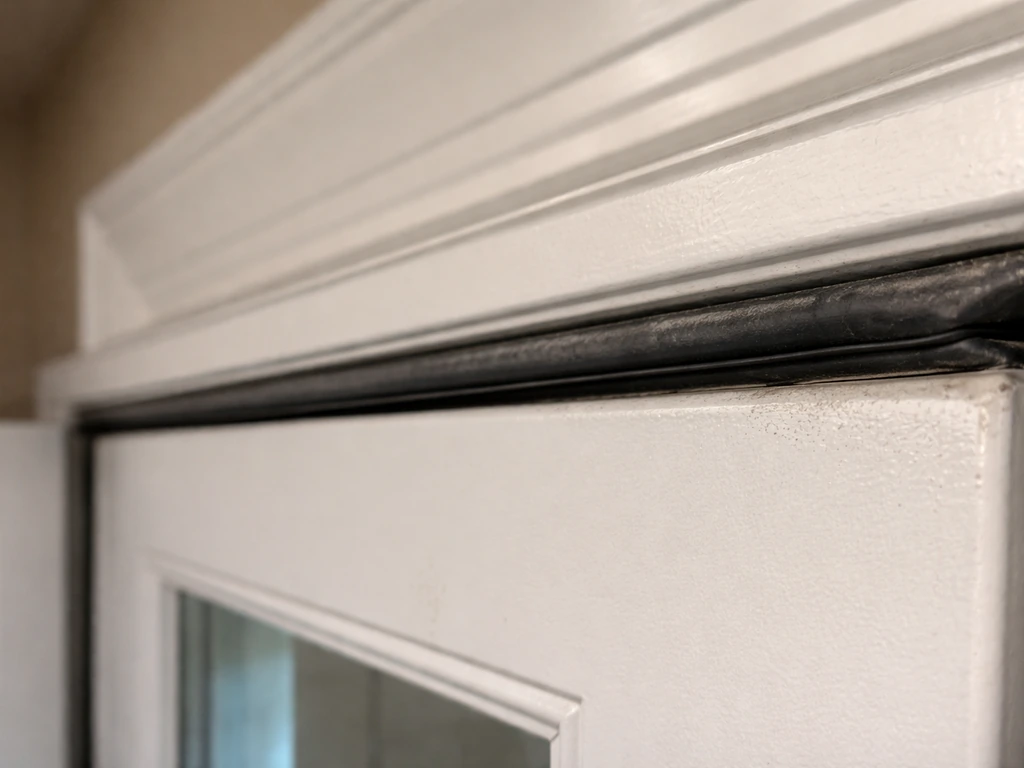
Inspect the top seal and how the door locks
With the door closed, run your hand along the inside of the head jamb (the top horizontal frame member). You should feel the weatherstrip there, and it should have some spring to it. If it feels hard, flat, or crumbles when you press it, it's done and needs replacing. Also look for sections that have pulled away from the frame, folded over, or been torn by debris.
While you're there, check the contact line. Close the door and look at the compression mark left on the weatherstrip. It should run continuously across the entire head jamb with no skipped sections. Any gap in that contact line is a gap where water can enter.
The lock matters more than most people realize. On many sliding patio doors with a hook or multipoint latch, engaging the lock actively pulls the panel tighter against the weatherstripping. If your lock isn't fully engaging, or the strike/receiver is misaligned, the door may sit slightly proud of the seal when closed. Andersen's guidance on their reachout lock mechanism specifically notes that the lock is designed to draw the panel into the weatherstripping for optimal contact. A lock that feels loose or doesn't click positively into place isn't just a security issue. It's a water infiltration issue too. Check whether the latch bolt is fully seating in the receiver, and look for wear or bending on both components.
Step-by-step DIY fixes you can do today
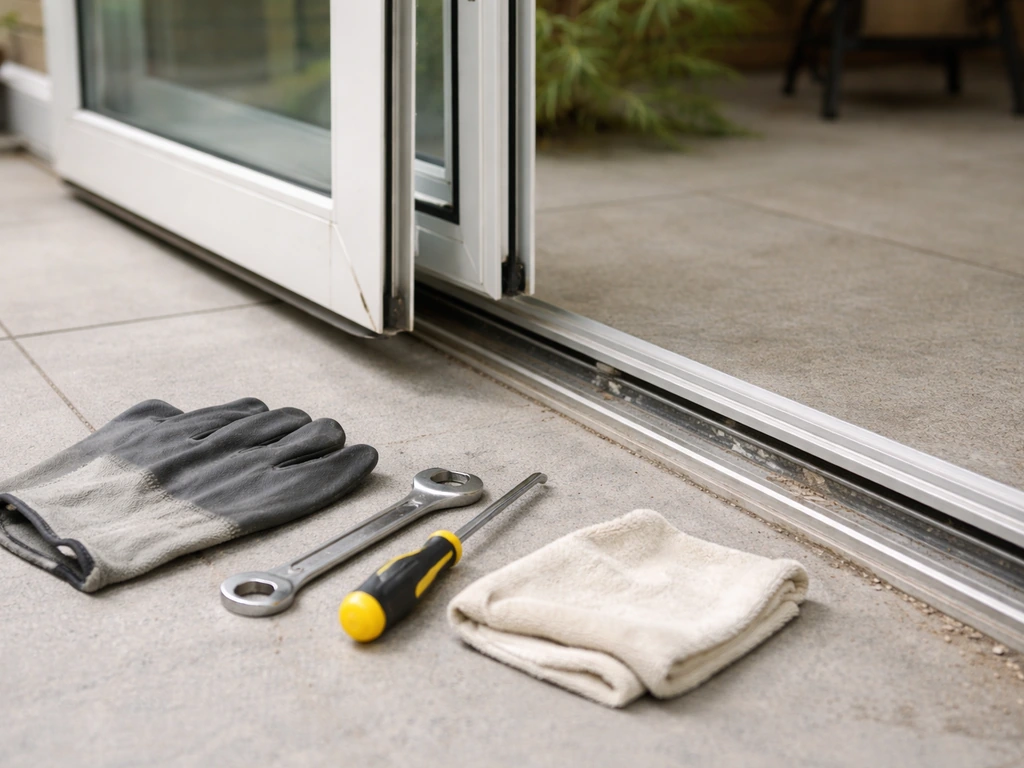
What you'll need
- Phillips and flathead screwdrivers
- Utility knife
- Tape measure
- Replacement weatherstripping (pile, foam, or fin type to match your door's existing seal)
- Staple remover or small pry tool
- Staple gun (if your door uses stapled-in weatherstrip)
- Garden hose with spray nozzle
- Flashlight
- Pipe cleaners or a flexible brush for weep holes
- Silicone-based lubricant for the track
1. Clean and clear everything first
Vacuum and wipe out the door track completely. Packed dirt and debris can hold moisture against the frame and interfere with how the door sits. While you're at it, find the weep holes along the exterior bottom edge of the door frame (they're small slots or holes, usually two to four of them). Push a pipe cleaner or flexible brush into each one gently to clear any blockage. Rinse with a little water and confirm it drains freely to the outside. This step alone solves a surprising number of leaks.
2. Adjust the roller height
With the track clean, adjust the rollers as described above until the top of the panel sits evenly and snug against the head jamb across its full width. Close the door and check for even contact before moving on. If the rollers are cracked or won't hold adjustment, replace them before doing anything else. Continuing with bad rollers means your weatherstripping fix won't hold.
3. Inspect and re-seat the head jamb weatherstrip
If the weatherstrip is in decent shape but has pulled loose or is partially displaced, you may be able to re-seat it without replacing it. Push it firmly back into its channel and press along the full length to ensure it's seated. Close the door and check the contact. If it's still not making consistent contact, replacement is the right call.
4. Replace the weatherstripping
- Open the door and locate the head jamb weatherstripping (the strip running horizontally across the top of the door opening).
- If it's stapled in place, use a staple remover to carefully pull the staples. If it's press-fit into a channel, pull it free from one end.
- Take the old piece to the hardware store to match the profile and pile height exactly. For the interlock strip on the meeting stile area, measure the height carefully.
- Cut the new strip to length. When installing, align the top of the new strip with the head stop or shadow line as reference. This is the same reference point mentioned in This Old House's sliding door repair guidance.
- Press or staple the new strip firmly along its full length. Work from one end to the other and check that there are no bubbles or lifted sections.
- Close the door and check the contact line. It should compress evenly the full width of the head jamb.
- If re-installing a meeting stile or interlock strip, align the top of the new strip carefully before fastening and confirm it runs flush with no overlapping that would prevent full door closure.
5. Adjust or realign the lock hardware
If the latch isn't seating cleanly, check the strike plate or receiver for position. Most are adjustable with a screwdriver. The goal is for the lock to engage with just slight resistance and then pull the door panel tight. If the receiver is obviously bent or the latch bolt is worn smooth, replace both components together. Door hardware is specific to brand and series, so take photos or note the brand before ordering parts.
Water testing and seasonal prevention
Confirming the fix with a hose test
Once your repairs are done, verify the fix before calling it done. Have someone stand inside while you spray the exterior of the door from outside with a garden hose. Start at the bottom and work up in stages, holding the spray in each area for 30 to 60 seconds. When you reach the top, spray directly at the head jamb and the top corners. If no water appears inside after a full run-through, your fix worked. If water still appears, note exactly where it shows up and whether it corresponds to the door seal area or higher up near the siding, then adjust your repair accordingly.
Seasonal maintenance to prevent repeat leaks
Wind-driven rain is the main stress test for a patio door top seal, because it pushes water upward and sideways against the frame in ways that normal rainfall doesn't. Inspect your door's weatherstripping at the start of each fall and spring season. Press it with your finger: it should compress and rebound. Flat or hard weatherstrip heading into winter or a rainy season guarantees problems. Clean the track and weep holes at the same time, and apply a silicone-based lubricant to the track to keep things moving smoothly without attracting debris.
For areas with heavy winter weather, also check the top corners of the door frame for any gaps between the door frame and the surrounding siding or trim. Even a hairline gap in caulk at the top corner lets water channel right to the head jamb. Scrape out any cracked or separated caulk and replace it with a paintable silicone caulk rated for exterior use. This is a 20-minute job that can make a significant difference in how the door performs during the next big storm. If you've been dealing with any drafts around the door, addressing those weatherstripping and seal issues also tends to eliminate the water entry paths, since they share the same gaps.
When to stop DIYing and call a pro
Most top leaks on patio doors are fixable with what's covered above. But there are situations where doing it yourself risks making things worse or missing a bigger problem.
| What you're seeing | What it likely means | Right call |
|---|---|---|
| Soft or spongy wood around the frame or jamb | Rot has set in behind the frame, usually from a long-running leak | Call a pro: rotted framing requires structural repair before a new seal will hold |
| Water appears inside even without rain, or tracks down the wall above the door | Flashing above the door is damaged or missing | Call a pro or a siding specialist: this is a building envelope issue |
| The glass panel is fogged or has condensation between the panes | The insulated glass unit seal has failed | Glass unit replacement, usually done by a door service tech or glazier |
| The door frame itself is visibly bowed, warped, or out of square | The rough opening has shifted, possibly from settling or water damage | Structural evaluation needed before any door repair makes sense |
| Roller adjustment does nothing and the door still drops or binds | Rollers are failed beyond adjustment, or the track itself is damaged | Roller replacement is DIY-friendly; track damage may need a pro depending on severity |
If you spot soft wood or find that water is consistently appearing above the door frame even after fixing all the seals, don't keep patching. Hidden rot spreads fast, and what looks like a weatherstripping problem can turn into a full frame replacement if the underlying moisture damage isn't addressed. Get a contractor to assess the frame and flashing before reinvesting in new door hardware or seals.
For most homeowners, though, a patio door leaking at the top comes down to one afternoon of work: adjust the rollers, replace the head jamb weatherstrip, clean the weep holes, and confirm the fix with a hose test. That covers the vast majority of cases, and it's all work you can do without any specialized skills or tools beyond what's listed above.
FAQ
How can I tell if the leak is getting in through the seal versus coming from above the door opening?
Yes. If you see interior staining only after wind or driving rain, your issue is likely water being forced upward into a small, seal-level gap at the head jamb or a nearby caulk joint. In that case, focus on the top corners and the head weatherstrip contact line rather than assuming the track is the entry point.
If my weatherstrip looks worn, should I replace it immediately, or check alignment first?
Replace weatherstripping only after you confirm the door can press the weatherstrip evenly. If a corner stays slightly lower or the lock does not draw the panel in, new weatherstrip can compress unevenly and fail early. So, run the gap check and lock engagement check before ordering parts.
Can a clogged weep hole make water appear to leak from the top even if the top seal looks bad?
A partially blocked weep hole can cause water to pool in the track, which can then seep out near the sides or top even if the original water hit location was lower. After clearing the weep holes, repeat the hose test focusing first on the bottom track area, then the head jamb, to confirm you fixed the true contributor.
What’s the safest way to adjust a sliding patio door if one corner has a bigger gap?
Don’t. If you raise the rollers until the axle backs out of its slot, you risk the panel dropping or becoming hard to reinstall. Make quarter-turn adjustments, re-check the top gap after each change, and stop as soon as the gap is even and tight across the full width.
What lubricant should I use after cleaning the track, and can I use the same product on the weatherstrip?
Use a silicone-based lubricant on the track as directed, but avoid lubricating the rollers so heavily that it spreads onto the weatherstrip contact areas. Excess residue can attract grit and interfere with the door seating and sealing.
My door seems to close, but the lock feels loose. Could that be why the top leaks?
If the lock does not click positively into the receiver, the door may stay slightly proud of the seal even when the gap at the head looks small. Check that the latch bolt fully seats, inspect for bent or worn strike components, and adjust or replace the receiver and hardware that control that engagement.
Do top leaks sometimes come from failing caulk or trim above the door, not the patio door itself?
Yes, especially in older installs. Pull any separated caulk at the top corners, clean out loose material, and use exterior-rated paintable silicone caulk to re-seal the joint. A hairline opening can channel water right to the head jamb where the door seal alone cannot resist it.
When should I stop DIY troubleshooting and call a contractor?
If you repeatedly find water appearing above the interior frame after doing hose testing, clearing weep holes, replacing or reseating weatherstrip, and adjusting rollers or hinges, stop and get a contractor check for rot and flashing defects. Hidden moisture damage can turn a door-seal repair into a structural repair.
How do I know whether the head jamb weatherstrip is actually beyond repair?
If you can press the head weatherstrip and it feels hard, flat, or crumbly, it likely no longer provides springback and full contact. Also look for pulled-away or torn sections, because even a small separated section can create a leak path at the top corners.
How should I re-test the door after adjustments or weatherstrip replacement to confirm the leak is truly fixed?
After repairs, you can run a hose test, but pay attention to timing and location. Have someone watch for drips that appear up high near the top corners or on the interior glass first, then compare that to the specific spraying zone at the exterior (bottom track, side frame, head jamb and siding just above). This helps distinguish a true seal leak from water tracking behind the unit.
Next Article
Patio Door Fix: Step-by-Step Troubleshooting and Repair
Step-by-step patio door fix guide for stuck, misaligned, loose, drafty sliding doors, plus track, rollers, lock and seal