The right patio door bug seal depends on your door type: sliding glass doors almost always use a brush or fin-style seal seated in a channel along the frame, while screen doors typically use a pile brush seal or a sweep fin along the bottom sill. Either way, buying a replacement seal is pointless if you don't also fix why the seal stopped working in the first place, whether that's a worn-out pile, a misaligned door, or sunken rollers that let the panel sag away from the frame.
Patio Door Bug Seal Guide: Stop Drafts and Insects

Jamie Archer
28 Apr 2026
Why patio door bug seals fail
Bug seals don't usually blow out dramatically. They degrade slowly, which is why you suddenly notice mosquitoes or a draft one summer and can't pinpoint exactly when it started. The most common causes fall into a few predictable categories.
- Compression set: Foam or vinyl seals get squished over years of door cycles and never bounce back. The material hardens or flattens and loses contact with the opposing surface.
- Pile brush wear: Brush-style seals (the fuzzy pile strips) mat down, fray, or develop bare patches. A seal that's lost even a quarter of its pile depth will let insects through.
- Cracked or brittle weatherstrip: UV exposure and temperature swings make vinyl and rubber seals crack, especially at corners and along the bottom.
- Pulled-off edges: Adhesive-backed seals peel away from the channel or frame, leaving sections that look intact but aren't actually touching anything.
- Door misalignment: The seal itself is fine, but the door has sagged or drifted so it no longer presses into the seal. This is very common and very often overlooked.
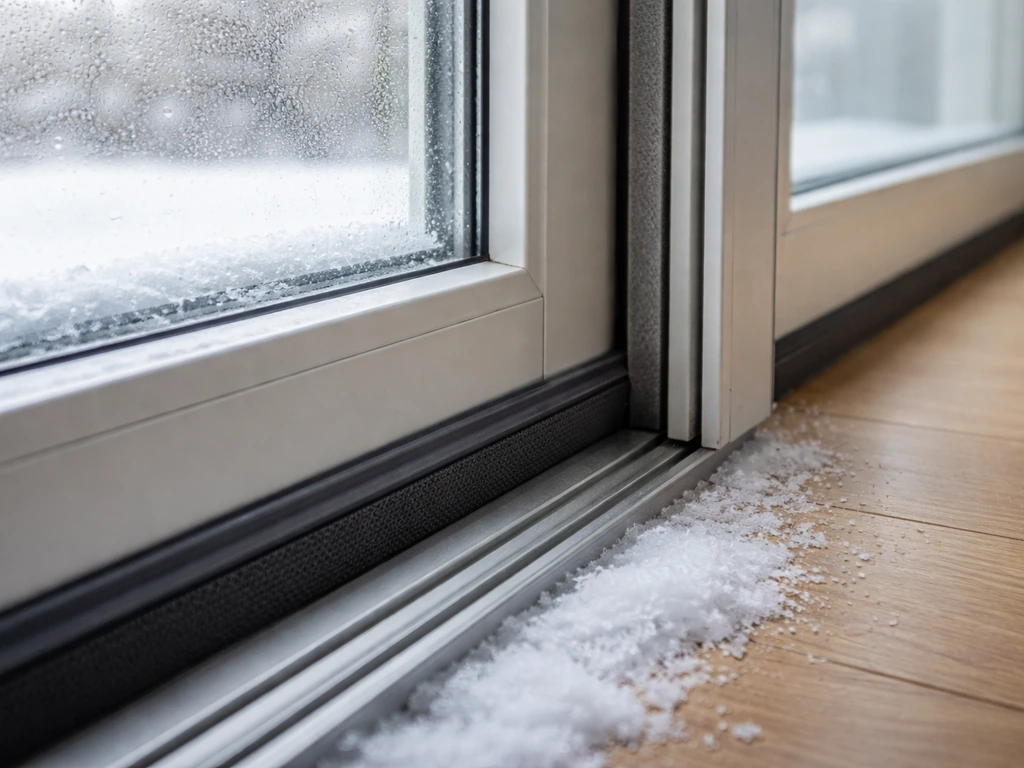
- Clogged weep holes: The small drainage holes at the bottom of your sliding door track back up with debris, trapping water in the track and accelerating seal deterioration from underneath.
The misalignment issue is worth emphasizing because it's the one homeowners most often miss. You can install a brand-new seal and still have a half-inch gap if the door rollers have worn down and let the panel drop. Andersen specifically designs their gliding door lock mechanism to pull the operating panel into the weatherstripping when you close it; if the door isn't tracking right, that contact never happens.
Identify your door type and the seal it needs
Before you buy anything, figure out exactly what you're dealing with. The seal type, dimensions, and installation method are completely different between a sliding glass panel and a screen door, and even within those categories there are variations.
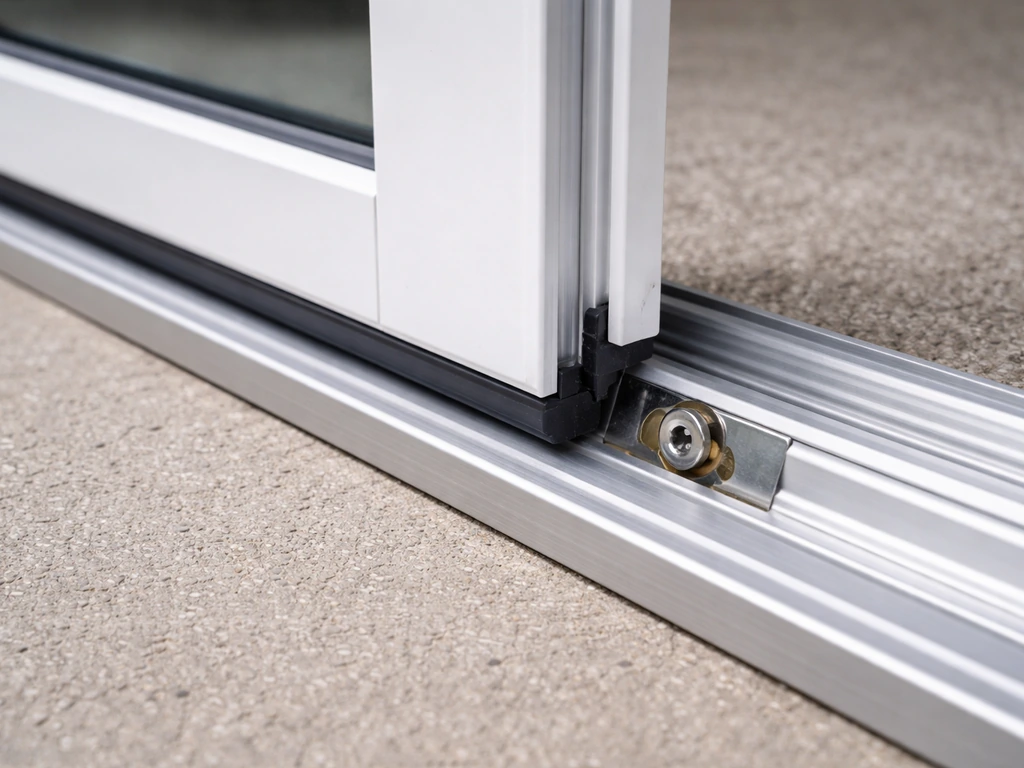
Sliding glass patio doors
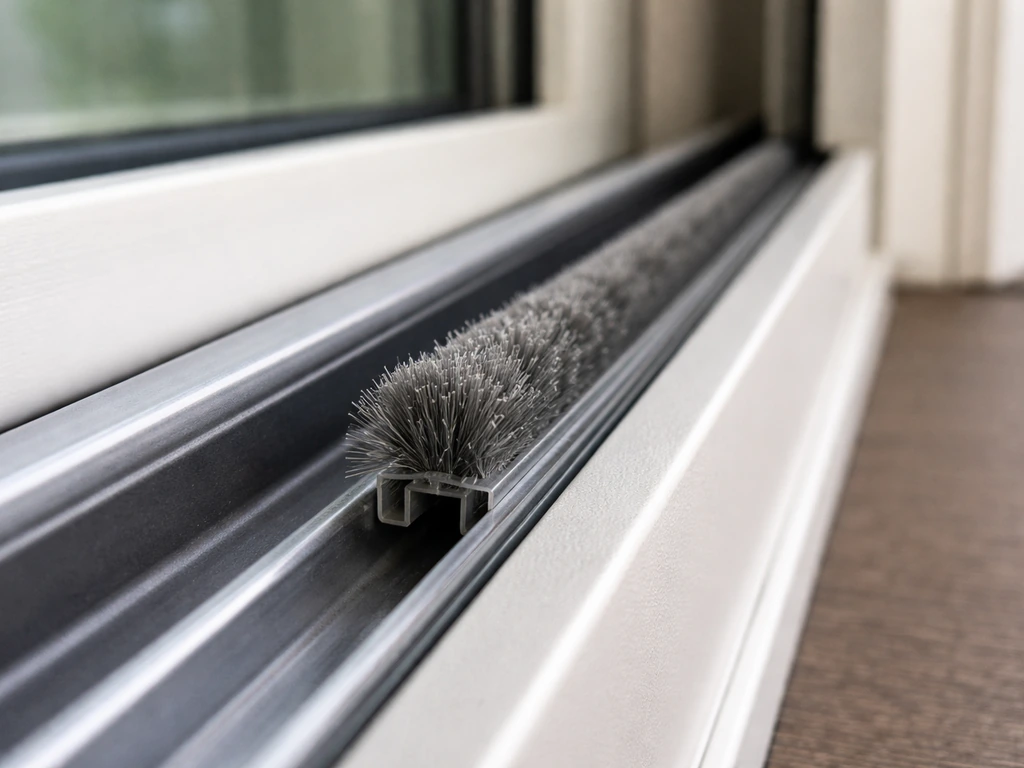
Most sliding glass patio doors use a pile brush seal seated in a T-slot or channel machined into the door frame. The seal has a rigid plastic or metal backing that slides into that channel, and the pile faces outward to press against the adjacent frame or glass panel. Some higher-end versions include a central plastic fin running through the brush pile (called fin-seal or fin-pile technology) that adds a secondary barrier against strong drafts. You need to match the backing width exactly: too narrow and the seal slides or falls out, too wide and you can't seat it without damaging the frame.
Screen patio doors
Screen doors are more varied. The sides and top commonly use pile brush strips similar to sliding glass doors, but the bottom seal is almost always a sweep or fin style: a flexible fin or flap that drags lightly across the threshold to block bugs at floor level. Andersen's screen door learning center specifically calls this a 'sweep fin' that creates an optimum seal along the door sill. Magnetic seals exist on some premium screen doors where the leading edge magnetically snaps shut against the frame, but these are less common for DIY replacement.
| Door Type | Common Seal Style | Installation Method | Key Measurement |
|---|---|---|---|
| Sliding glass door (sides/top) | Pile brush (with or without fin) | Slides into T-slot channel in frame | Backing width + pile height |
| Sliding glass door (bottom) | Sweep or vinyl fin | Screwed or snapped to door bottom rail | Door width + fin length |
| Screen door (sides/top) | Pile brush strip | Channel or adhesive-backed | Pile height + backing width |
| Screen door (bottom) | Sweep fin or brush sweep | Screwed to bottom rail | Door width |
| Screen door (leading edge) | Pile brush or magnetic strip | Channel or adhesive | Door height |
Diagnose exactly where bugs and air are getting in

Don't skip this step. A five-minute diagnosis saves you from buying the wrong seal or replacing a perfectly good one while missing the actual gap.
- The hand test: On a windy day, close the door completely and slowly move your open hand along every edge: top, both sides, and bottom. Feel for air movement. Mark any spot with a piece of painter's tape. Pay extra attention to the bottom corner where the door meets the track, this is where gaps most often appear first.
- The flashlight test (at night): Have someone stand inside with a flashlight pressed against the door edge while you look from outside. Light leaks show you exactly where the seal isn't making contact.
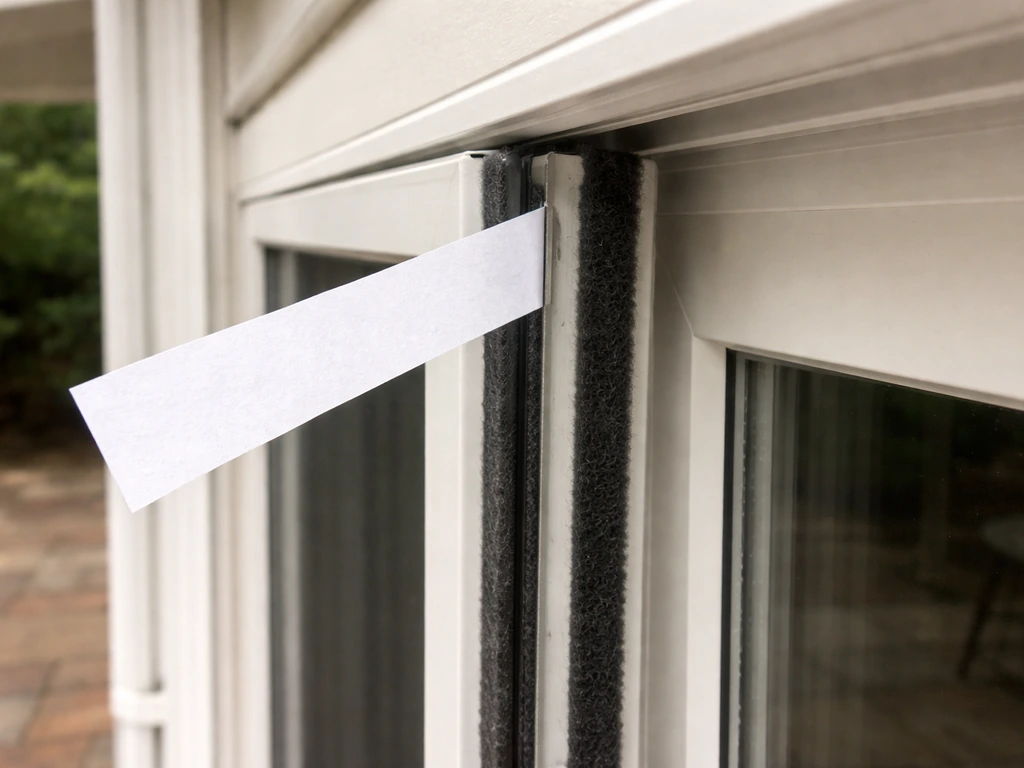
- The paper test: Slide a sheet of paper between the door and the frame all the way around. If it slides freely with no resistance at any point, the seal has lost compression there.
- Check the track weep holes: Look at the bottom exterior edge of the door track for small slots or holes. If they're plugged with dirt, debris, or old caulk, clear them with a stiff wire or a shot of compressed air. Clogged weep holes accelerate seal damage from the bottom up.
- Look for visual wear: Pull out a section of the pile seal and hold it up. Matted, flattened, or bald patches are obvious. For vinyl seals, look for cracks, especially at corners and where the door flexes on opening.
Once you've found the gap, also check whether the door itself is sitting level in the track. Grab the door and try to lift it slightly, then push it toward the frame. If it moves noticeably, the rollers are worn or the door has drifted, and no seal will hold until you fix that. Keep a note of which edges are failing because you'll need that information when ordering replacement length.
Replacement seal options and what to buy
Here's a practical rundown of the four seal types you'll encounter when shopping, what they're best for, and what to watch out for.
Pile brush seals
These are the most common replacement item for sliding glass doors. They come on a spool or in pre-cut lengths. The backing slides into a channel in the door frame, so the critical measurements are: backing width (typically 3.5mm to 7mm), pile height (how tall the brush fibers are), and total length needed. Measure each run separately because the active panel and fixed panel often have different segment lengths. Getting length wrong is one of the most common ordering mistakes.
Fin-seal (fin-pile) brush seals
If your original seal had a thin plastic fin running down the center of the brush pile, you need to replace it with another fin-seal version, not a plain brush. The fin acts as a secondary barrier and the performance difference in drafty or buggy conditions is real. Check the cross-section of your old seal before ordering.
Vinyl and foam compression seals
Used mainly on the door stop or frame face where the door presses flat against a surface rather than sliding past it. These compress when the door closes. They're easy to replace with peel-and-stick versions but the adhesive life is limited, especially outdoors, so the foam or vinyl backer option that fits into a kerf or groove will outlast adhesive-only versions.
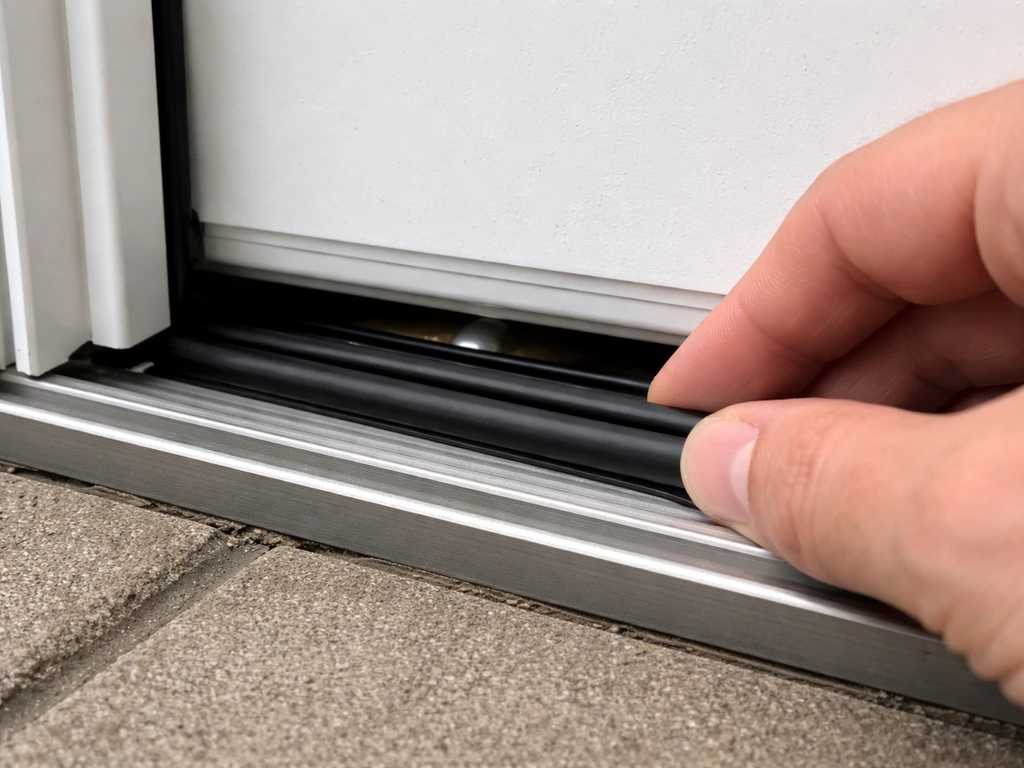
Sweep fins and bottom door sweeps
These attach to the bottom rail of the door and drag or rest against the threshold. They come as a flexible vinyl or silicone fin, a brush sweep, or a combination. Measure the full door width, cut slightly short if needed, and make sure the fin will actually contact the threshold when the door is at the correct roller height.
Magnetic seals
Found on some premium screen doors, typically on the leading vertical edge. The door snaps shut magnetically. Replacement strips usually need to come from the original manufacturer because the magnet placement and polarity have to match exactly. If your screen door originally had a magnetic seal, check the brand before ordering a generic replacement.
How to install a patio door bug seal: step by step
This process applies to a pile brush seal replacement on a sliding glass or screen door. Sweep fin installation follows similar logic but the attachment method is screws rather than a channel. Budget about 45 to 90 minutes for a full seal replacement on one door panel.
Tools you'll need: tape measure, utility knife or sharp scissors, flat-head screwdriver (for prying old seal from channel), needle-nose pliers, mild soap and water, and optionally a rubber mallet or a short block of wood to seat the new seal.
- Measure first, then order. Measure the existing seal runs: top, both sides, and bottom of the door panel. Note the backing width by pulling out a short section and measuring the rigid base with calipers or a ruler. Record pile height as well. Order at least 10% extra length to account for cutting errors.
- Remove the old seal. Slide a flat-head screwdriver along the channel to work the backing free. It should slide out with moderate pressure. If sections are glued in, score around the seal with a utility knife first to avoid gouging the channel. Pull out the full length with pliers if needed.
- Clean the channel. Wipe out the channel with a damp cloth. Remove any old adhesive residue, dirt, or oxidation. A clean channel ensures the new backing seats squarely and doesn't rock or slip.
- Cut the new seal to length. Cut slightly longer than measured, then test-fit and trim to final length. A clean square cut with a sharp utility knife gives the best result. For corner joints, a 45-degree miter cut looks tidy but a straight butt joint at corners also works fine functionally.
- Seat the new seal into the channel. Start at one end and press the backing into the channel, working along the run. Use a rubber mallet and a small block of wood to tap the backing fully home if it's stiff. The pile should stand upright and face the correct direction toward the contact surface.
- Check pile orientation. Before you go further, close the door and confirm the pile is actually brushing against the opposing frame or glass. If you can see a visible gap between the pile tips and the surface they're supposed to touch, your door alignment is the next thing to fix (see the section below).
- Install a new bottom sweep if needed. For sweep fins, align the fin along the bottom rail, pre-drill pilot holes if required, and screw it in place. Adjust the height so the fin touches the threshold lightly when the door is closed but doesn't drag so hard it makes the door hard to open.
- Test the seal. Do the hand test and paper test again. If you still feel air at a specific spot, press the pile into the channel more firmly there or check the door alignment at that point.
Adjust the door so the new seal actually contacts properly
This is the step most DIYers skip and then wonder why their new seal doesn't work. A sliding patio door hangs on rollers that run along the bottom track. When those rollers wear down, the door sags and the seal loses contact with the frame. Roller adjustment is straightforward and takes about 15 minutes.
- Find the roller adjustment screws. On most sliding glass doors, there are two adjustment screws on the bottom edge of the door panel, one near each corner. They're usually covered by small plastic plugs. Pry out the plugs with a flat-head screwdriver.
- Adjust the height. Turning the screw clockwise raises that corner of the door; counterclockwise lowers it. Raise the door until it runs smoothly in the track and sits level. On Pella and similar brands, this is a standard slot-head screw you can adjust with a regular flathead.
- Check the door gap at the top and side frames. With the door closed, the gap between the door edge and the frame should be even top to bottom and consistent on both sides. If one corner is high and the other is low, adjust them individually.
- Test the lock engagement. The lock should engage smoothly without forcing. On Andersen gliding doors, the reachout lock mechanism physically pulls the operating panel tighter into the weatherstripping when you close it. If the lock feels like it's pulling the door inward as you turn it, that's correct. If the lock is hard to engage or the door bows, the roller height needs more adjustment.
- Replace the plugs. Once the door height is set correctly and the seal is compressed evenly, push the plastic plugs back into the adjustment screw holes.
- Adjust screen door rollers the same way. Screen door rollers are adjusted with the same basic principle, usually via screws on the bottom rail. The goal is the same: get the door sitting at the right height so the pile seal and sweep fin both contact their opposing surfaces with light, consistent pressure.
If the door is still misaligned after full roller adjustment, check whether the track itself is bent or has debris packed into it. A damaged track needs to be straightened or replaced, which is covered in more detail in patio door fix resources. Significant frame warping or a severely damaged track is also one of the few situations where a professional visit makes sense over a DIY repair.
Keep the seal working: maintenance and seasonal tuning
A good patio door bug seal should last three to seven years with minimal attention. These habits will keep it closer to the seven-year end of that range.
Twice-a-year track cleaning
Spring and fall, vacuum the bottom track to remove grit and debris, then wipe it down with a damp cloth. blank" rel="noopener noreferrer">Check the weep holes at the bottom exterior edge and clear any blockages with a wire or compressed air. Grit in the track acts like sandpaper on the pile seal every time the door slides, and it accelerates roller wear too.
Check seal compression before summer and before winter
Do the paper test on all four edges of the door before peak bug season (spring) and before cold weather sets in (fall). If the paper slides freely at any point, either the seal needs re-seating in its channel or the door rollers need a small adjustment to restore compression. Catching this early means a five-minute fix rather than a full seal replacement.
Re-seat loose seal sections
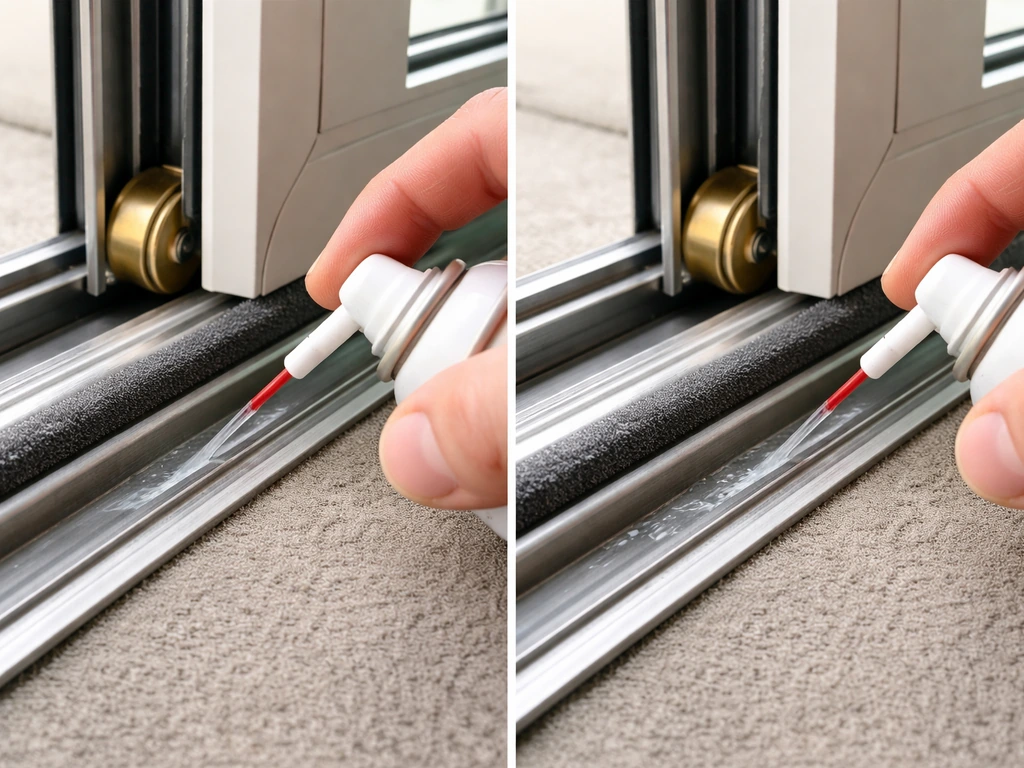
If a section of pile seal has worked its way out of the channel, press it back in before it falls out entirely or gets damaged. Use a block of wood and a mallet to tap it fully home. If the same section keeps working loose, the channel may be slightly worn; a small dab of clear silicone along the backing before pressing it back in will hold it in place.
Watch for signs of water intrusion near the seal
If you're seeing water under or around the door after rain, the bug seal failure and the water intrusion are often related symptoms. A degraded seal lets water track along the door edge and into the interior. If you are seeing water at the top of the door, the seal and alignment there may need attention too patio door leaking at top. This is particularly common at the bottom corners. If you're dealing with consistent water entry, it's worth reading up on patio door leaks when it rains because the fix often involves more than just a new seal, including checking flashing, track drainage, and door-to-frame gaps higher up. If the leaks only show up during wet weather, focus on “patio door leaks when it rains” causes like flashing, track drainage, and door-to-frame gaps beyond the seal. If you suspect deeper patio door issues, this patio door fix guide can help you pinpoint what to check beyond the seal patio door bug seal.
Lubricate the track, not the seal
Apply a silicone-based lubricant to the track and rollers once a year. Do not spray lubricant directly onto the pile seal: it mats down the fibers and reduces the bug-blocking effect. A light coat on the track surface reduces friction, protects the rollers, and means less force on the door when opening and closing, which in turn reduces the compression stress on the seal over time.
FAQ
I installed a new patio door bug seal and I still get drafts, what should I check next?
If the seal is seated but you still feel drafts, the problem is often insufficient door compression, not the seal itself. Run the paper test across each edge, then adjust the rollers to raise the panel slightly so the pile or fin actually contacts the frame or threshold when the door is fully closed.
Can I reuse my old patio door bug seal or re-seat it instead of replacing it?
Yes, but only if the seal is designed to be re-seated. For pile brush types, you can press the backing fully into the T-slot or channel using a block of wood, then re-check contact with a paper strip. If the backing is cracked, too thin, or has lost spring, the seal should be replaced rather than repeatedly pushed back in.
Is it okay to lubricate the patio door bug seal to make it last longer?
Don’t lubricate the pile brush fibers. A silicone-based lubricant is meant for the track and rollers, not the seal, because it can mat the fibers and reduce insect and draft blocking. If you accidentally get lubricant on the seal, wipe it off and allow it to dry before testing.
Can I replace a magnetic patio door bug seal with a generic one?
Magnetic screen-door seals often require an exact match for magnet position and polarity. A generic replacement may close but won’t create a tight edge seal, especially on the leading vertical edge. If your screen had a magnetic strip, use the original brand or take a close-up measurement and orientation of the magnet placement before ordering.
How do I measure patio door bug seal length correctly so I do not buy the wrong one?
Order length by measuring each run that needs to be covered, active and fixed panels included, and then add a small margin for corners and trimming. A very common mistake is ordering the total door width, but the channel lengths needed for each segment are usually different.
My new pile brush seal keeps slipping out of the channel, why does this happen?
A seal that keeps popping out usually points to a channel that is worn, stretched, or contaminated. Clean the channel first, then if the same section repeatedly releases, inspect for channel deformation and consider the backing width match. A small dab of clear silicone along the backing can help hold it in place, but it should not interfere with fiber contact.
Why does my bottom sweep fin not block insects even after installation?
Bottom sweep contact depends on the door’s roller height. If the door sags, the fin can hover above the threshold and bugs will enter at floor level. Adjust rollers first, then confirm the sweep lightly drags or rests across the threshold when the door is fully closed.
What does it mean if the paper test fails mainly at the top corner?
Use the paper test at multiple heights and edges, including the top and both sides. If the paper pulls out at the top after rain or during wind, it can mean alignment or weatherstripping contact issues at that location. Persistent top water or drafts often require more than a bottom seal replacement.
If I see water under the patio door, does it automatically mean the patio door bug seal is bad?
If water appears only after rain, it can still be seal-related because water can follow the door edge and track inward, but the fix may involve drainage and flashing beyond the bug seal. Check track drainage/weep holes and look for gaps higher up before assuming the bottom bug seal is the only cause.
Next Article
How to Seal a Patio Door for Winter: Step-by-Step
Step-by-step how to seal sliding or screen patio doors for winter: adjust, add sweeps and weatherstripping, stop drafts,