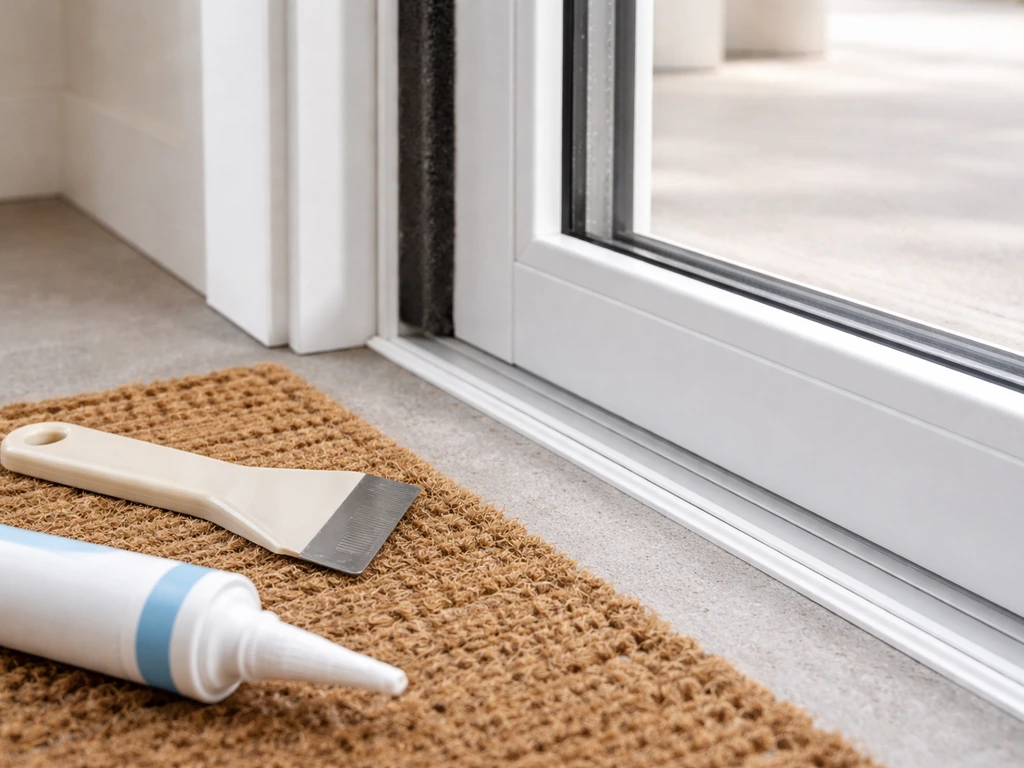
To winterize a sliding patio door, you need to do four things: clean and lubricate the track so the door seals tightly when closed, replace or add weatherstripping along the door frame and sweep, check that the lock and latch actually pull the door panel snug against the frame, and add a secondary layer of insulation (film, draft stopper, or storm panel) if your door is older or single-pane. Done right, this takes a few hours on a weekend and can noticeably cut down on drafts, cold floors near the door, and heating bills all winter.
How to Winterize a Patio Door Step-by-Step Guide

Jamie Archer
27 May 2026
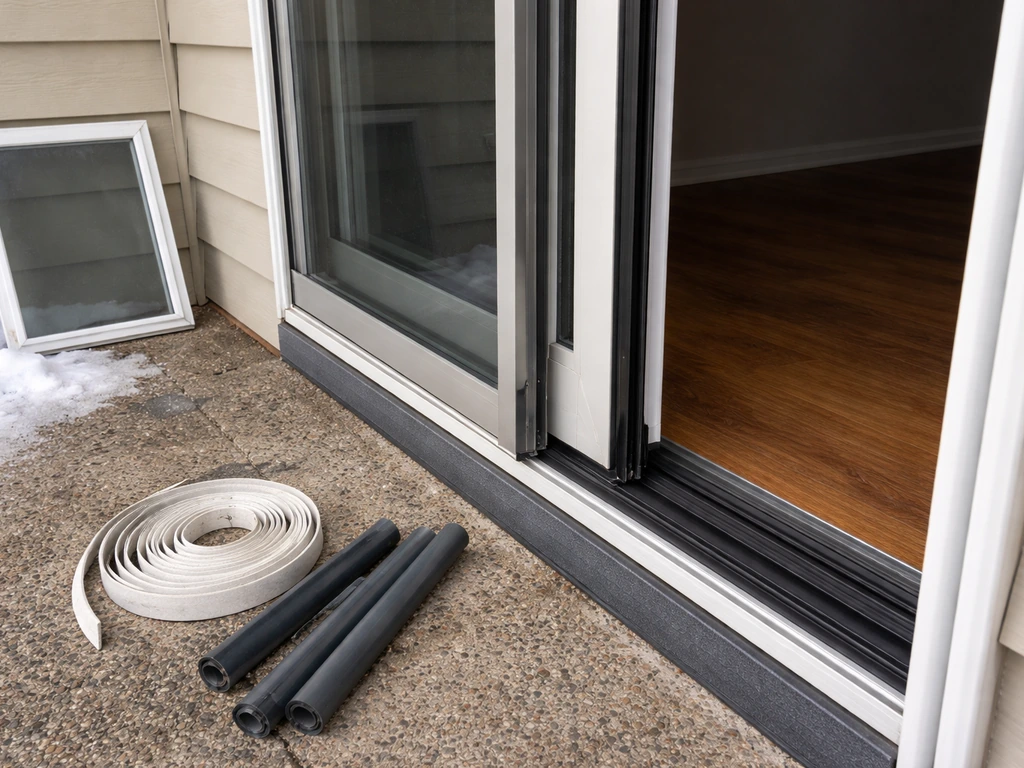
Prep checklist before you start
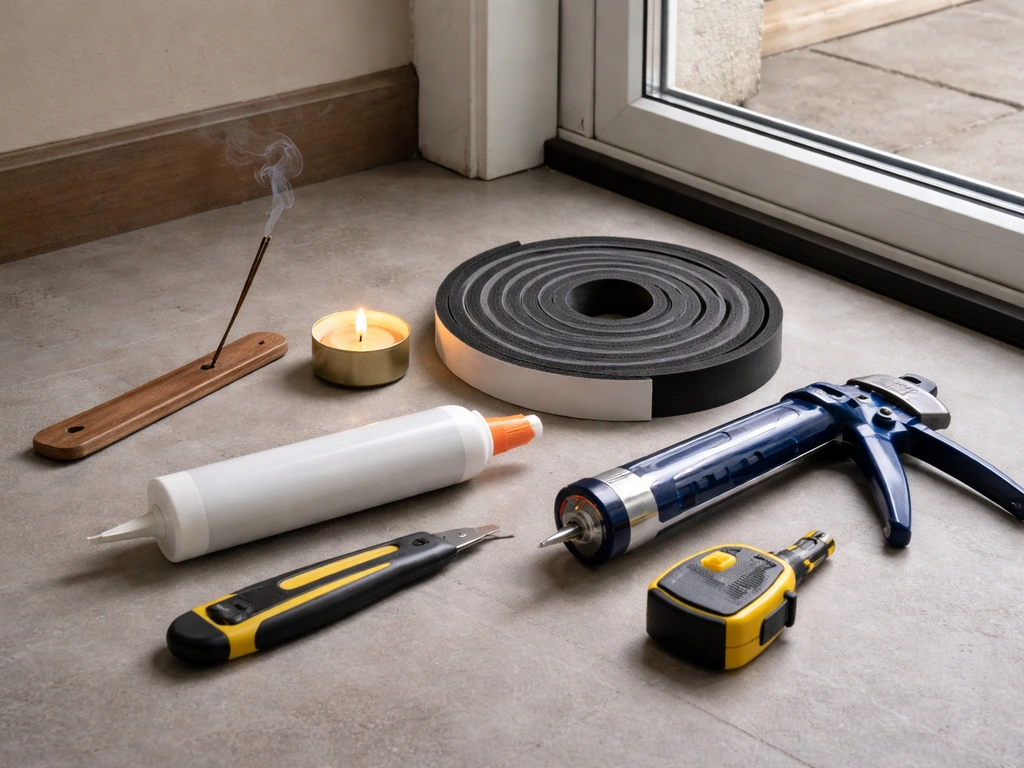
Before you touch weatherstripping or caulk, take 10 minutes to figure out where your actual problem is. Grab a candle or incense stick, light it, and slowly move it around the perimeter of the closed door frame, the bottom sweep, the latch side, and the corners. If the smoke wavers or gets pulled toward the door, that's your air leak. Mark those spots with a piece of painter's tape. This simple test (sometimes called a candle or smoke test) tells you exactly where to focus your effort instead of guessing.
While you're at it, gather everything you'll need before you start. Having tools ready prevents mid-project trips to the hardware store.
- Candle or incense stick (for the draft test)
- Wet/dry vacuum and a non-abrasive track cleaner
- Cleaning rags and a small brush or old toothbrush
- Silicone-based lubricant or vinyl protectant spray (not WD-40)
- Replacement weatherstripping: foam tape, V-strip (tension seal), or pile/fin strip depending on your door brand
- Replacement door sweep or bottom seal if yours is cracked or missing chunks
- Scissors and a utility knife
- Tape measure
- Screwdriver set (Phillips and flathead)
- Door-bottom draft stopper (optional, as backup)
- Insulating window film kit or storm panel (optional, for older or single-pane doors)
Also do a quick visual inspection of the door frame and surrounding area. Look for cracked or missing caulk on the exterior side of the frame, especially at the corners and along the sill. Once the exterior caulk looks solid, you can also focus on protecting your patio door from rain by sealing gaps around the frame and sill protect patio door from rain. Check whether the door panel slides fully closed without binding or leaving a visible gap at the latch side. If you see daylight around the frame at any point, that's a priority fix. Note any issues so you tackle them in order rather than doubling back.
How to weatherstrip a sliding patio door
The weatherstripping on a sliding patio door lives in a few places: along the vertical sides of the door frame (where the sliding panel meets the stationary panel and the frame), along the top of the door panel, and at the bottom as a door sweep or wiper seal. All of it degrades over time from UV exposure, friction, and temperature cycling, and worn weatherstripping is the number-one cause of drafts on sliding doors. If you’re also dealing with drafts or gaps around the frame and bottom sweep, these same weatherstripping basics are key to weatherproof a sliding patio door how to weatherproof a sliding patio door.
Step 1: Clean the track and frame first
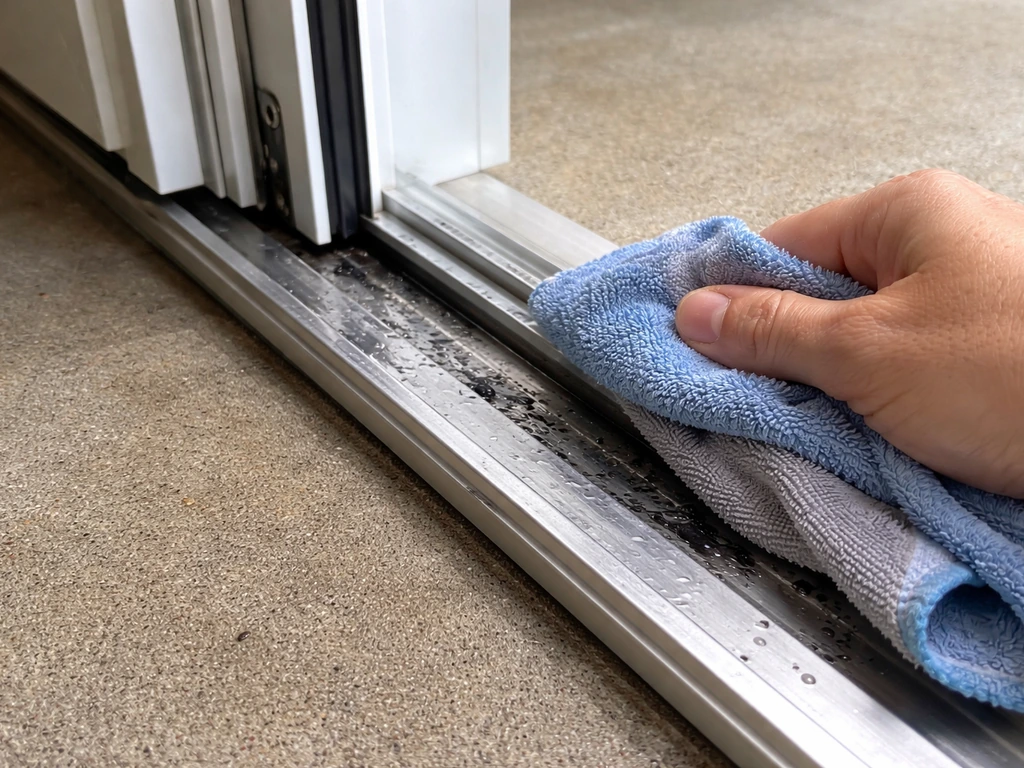
This part gets skipped a lot, but it matters. A dirty or gritty track prevents the door from closing fully, which means even new weatherstripping won't seal properly. blank" rel="noopener noreferrer">Use a wet/dry vacuum to pull out debris from the track channel, then scrub it with a non-abrasive track cleaner and a small brush. Wipe it down with a clean rag. Once it's dry, apply a thin coat of silicone-based lubricant or vinyl protectant spray to the track. Don't use WD-40 or grease-based products; they attract dirt and gum things up over a season.
Step 2: Remove the old weatherstripping
Most patio door weatherstripping is either a pile (brush) strip seated in a groove, a foam tape pressed into the frame channel, or a fin/wiper seal along the bottom. Pile strips pull out of their groove by hand or with a flathead screwdriver. Foam tape peels off, though it usually leaves adhesive residue that needs to be cleaned off with rubbing alcohol before you install new material. Take the old strip to the hardware store or measure it carefully (width and depth of the groove) so you buy the right replacement.
Step 3: Install new weatherstripping
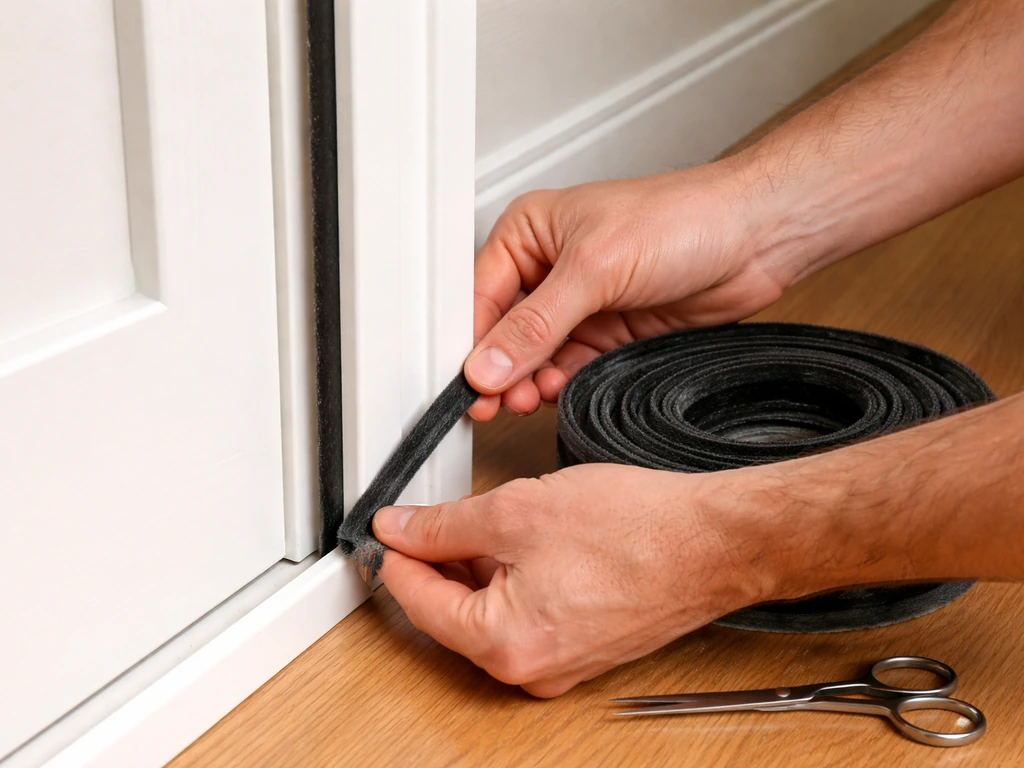
For pile or fin weatherstripping that sits in a groove, cut the new strip to length with scissors or a utility knife, then press it firmly into the channel starting at one end. It should snap in and stay without adhesive. For adhesive-backed foam tape on flat frame surfaces, peel and stick it along the clean, dry frame, pressing firmly as you go. Overlap corners slightly rather than trying to cut perfect miters. Close the door and check the contact: the strip should compress just enough to feel slight resistance when you open it, but shouldn't be so thick that it prevents the door from closing fully.
Step 4: Replace the door sweep if needed
The bottom sweep or wiper seal takes the most abuse and often wears out before the side weatherstripping. If yours is cracked, flattened, or has chunks missing, replace it. Most sliding door sweeps attach with screws to the bottom of the door panel. Remove the screws, slide out the old sweep, cut the new one to the same length, and reinstall. Some doors use a snap-in wiper seal in the bottom track instead; pull the old one out of the channel and press the new one in. After installation, close the door and look at the gap between the sweep and the sill: you want light contact all the way across, with no visible daylight.
Screen door winterization and draft control
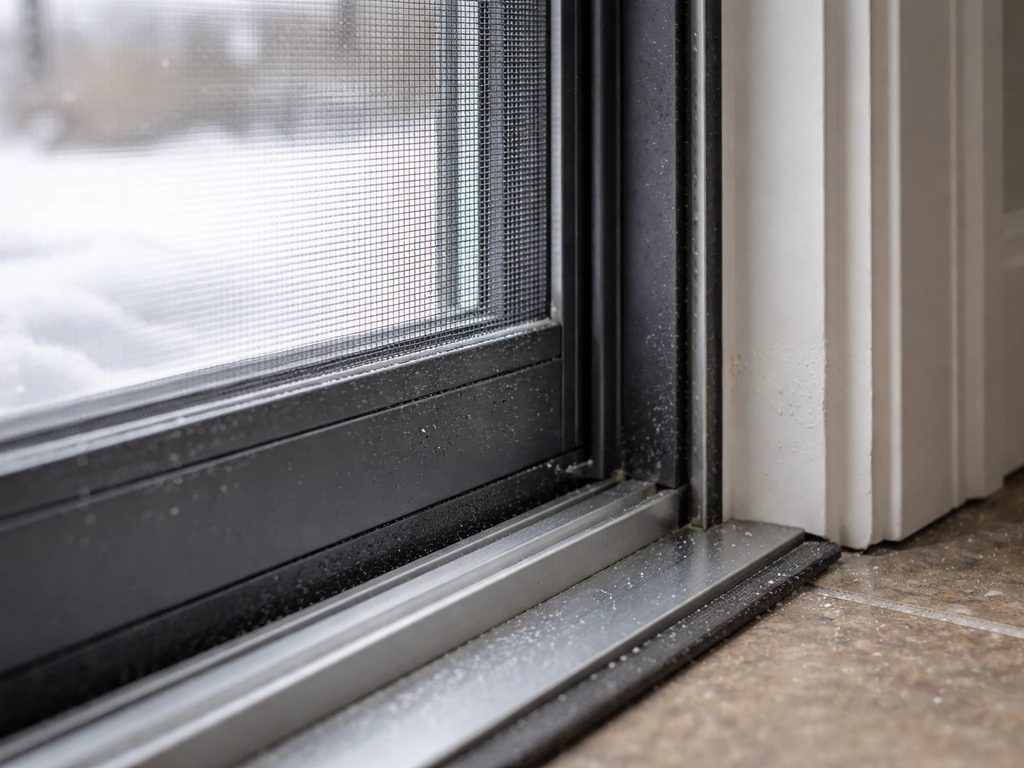
A lot of people focus only on the glass panel and forget that the screen door can also let in cold air, especially if it doesn't fit tightly in its track or has worn weatherstripping of its own. In winter, the easiest option is to remove the screen door entirely and store it in the garage or basement. This eliminates the screen as a source of air infiltration, makes the glass panel easier to access for cleaning and inspection, and reduces wear on the screen's rollers and frame during the harshest months.
If you're keeping the screen door in place through winter (which is fine if you want to air out the house on mild days), check that it rolls smoothly and closes fully against the door frame on both sides. Screen doors have their own set of small pile or rubber strip weatherstripping on the vertical edges. If you feel a draft around the screen frame when the glass door is open, that strip needs to be replaced. The process is the same as replacing weatherstripping on the main door.
Also check the screen door's rollers. Worn or dirty rollers let the door sit unevenly in the track, leaving gaps at the top or bottom. Most screen door roller assemblies can be adjusted with a Phillips screwdriver by turning the adjustment screw on the bottom corner of the door frame. Raising the rollers slightly lowers the door into better contact with the track and the top guide. If the rollers are cracked or the screen frame is visibly bent, replacing the roller assembly is a straightforward repair that costs around $10 to $20 in parts.
Lock, latch, and alignment checks to prevent air leaks
Here's something that surprises a lot of people: a sliding patio door lock isn't just for security. When you engage the latch, it pulls the door panel firmly against the weatherstripping and the door stop on the frame. Sealing your patio door for winter also comes down to making sure the latch pulls the door tight and that the frame and sweep contact the sill evenly seal a patio door for winter.
If the latch isn't engaging properly, or if it engages but doesn't pull the door tight, you can have perfect weatherstripping and still feel a draft. If you still notice leaks after weatherstripping and latch checks, focus on the gap locations and seals around the patio door frame to identify what to repair next how to stop patio door from leaking. This is one of the most common overlooked causes of winter air leaks.
Start by closing the door and engaging the lock. Then try to push and pull the door panel from the inside. It should feel solid with almost no movement. If it shifts, rocks, or you can see the weatherstripping compress unevenly, the door is either misaligned or the latch strike (the piece on the frame that the hook catches) needs adjustment.
Most latch strikes on sliding patio doors are adjustable. Loosen the screws slightly, shift the strike plate inward (toward the interior of the door frame) a millimeter or two, then retighten and test again. You want the latch to hook firmly and the door panel to press snugly against the door stop when locked. If the latch itself is loose, worn, or the hook is bent, replacement latch hardware is available at most home improvement stores for $20 to $50 depending on the brand.
While you're checking the latch, also look at whether the door panel sits correctly in the track. If one corner is lower than the other, the door is misaligned and will have uneven contact with the weatherstripping. Sliding door panels have adjustable rollers at the bottom; use a screwdriver to turn the adjustment screws (usually accessible through holes in the bottom of the door frame) to raise or lower each corner until the door hangs level and the gap along the top and sides is even.
Insulating options: storm panels, window film, and door draft stoppers
If your patio door is single-pane, older double-pane with failed seals (you'll see fogging or condensation between the glass panes), or just in a particularly cold part of the house, weatherstripping alone might not be enough. There are a few practical add-on options that range from cheap and temporary to more of an investment.
| Option | Cost (approx.) | DIY difficulty | Best for |
|---|---|---|---|
| Door bottom draft stopper | $10–$30 | Very easy | Quick fix for gap at the sill; works on any door |
| Insulating window film (shrink film kit) | $20–$50 | Easy | Single-pane or older doors; adds a dead-air layer inside |
| Magnetic or rigid interior storm panel | $100–$300+ | Moderate | Serious cold climates; significant insulation boost |
| Exterior storm door (permanent) | $300–$1,000+ | Harder (may need a pro) | Long-term upgrade; also improves security |
A door bottom draft stopper is the fastest fix. You can get a sliding door-specific draft stopper that attaches to the base of the door panel and drags lightly on the floor or sill as the door moves. It's not a substitute for a proper sweep, but it adds a backup layer on drafty days and takes about five minutes to install. After you address drafts around the patio door, you can also finish your laminate flooring at the door threshold for a clean, finished look finish laminate flooring at patio door.
Insulating window film (the shrink-film kits sold at hardware stores) creates an additional air gap between the glass and the interior of your home. You tape a thin plastic film across the interior of the door frame, then use a hair dryer to shrink it taut. The trapped air layer reduces heat loss similarly to adding a second pane. It's not the most attractive solution, but it genuinely works on older single-pane doors, and you can remove it in spring without damaging anything. It's a good option if you're renting or not ready to invest in new doors or storm panels yet.
Interior magnetic storm panels or acrylic insert panels are a step up in performance and aesthetics. These fit into the door frame on the interior side and create a sealed air gap without blocking access to the door. They're removable in spring, reusable, and noticeably reduce both drafts and condensation. If you live somewhere with sustained cold winters, this is worth the cost over time.
Maintenance tips during winter and troubleshooting common issues
Winterizing your patio door isn't a set-it-and-forget-it project. A couple of quick checks during the season will keep everything performing the way it should.
What to recheck after cold snaps
- After the first hard freeze, repeat the candle test near the door frame and bottom. Thermal contraction can open up gaps that weren't obvious in mild weather.
- Check the bottom track for ice or frost buildup, which can prevent the door from closing fully. Clear it with a plastic scraper and dry the track before applying a fresh thin coat of silicone lubricant.
- Verify the latch still engages smoothly. Cold temperatures can cause metal components to contract slightly, making the latch stiffer or harder to engage.
- If you installed window film, check that the edges are still sealed and the film hasn't pulled away from the tape at the corners.
Troubleshooting common winter problems
Door is hard to slide in cold weather: This is almost always a track issue. Ice, frost, or dried lubricant that has thickened in the cold will cause binding. Clean the track thoroughly and re-lubricate with a silicone spray rated for low temperatures. If the door still drags after that, check roller height adjustment: the door may be sitting too low in the track.
Draft is coming from the center of the door where the panels meet: The interlock seal (the pile strip where the sliding panel meets the stationary panel in the middle of the door) is worn. This is the same pile strip replacement process described above, but focused on the vertical center seal. It's a common spot for air to sneak through and easy to miss during a visual check.
Lock won't fully engage or feels loose: The latch strike may have shifted, or the door panel has dropped out of alignment. Adjust the strike plate inward first. If the latch hook itself feels loose or the handle is wobbly, the latch mechanism may need replacement. Most patio door latch sets are brand-specific; look for the brand name on the hardware or door frame sticker and order accordingly.
Condensation on the interior surface of the glass: Some condensation on a cold morning is normal if indoor humidity is high. Persistent fogging or moisture between the glass panes means the insulating seal inside the double-pane unit has failed. Weatherstripping and film won't fix this; the glass panel needs to be replaced. That said, an interior storm panel or film can slow the heat loss from a failed unit while you plan the repair.
Visible gap at one corner of the door even when latched: The door panel is sitting unevenly on its rollers. Adjust the bottom roller on the low corner to raise that side until the gap along the top rail is even. Once the door sits level, the weatherstripping will compress evenly and the latch will pull the door flush. If roller adjustment doesn't fix it, check whether the frame itself has shifted or the track is warped, which is a case where a pro's eye helps.
Most patio door winterization is DIY-friendly and doesn't require special skills, just patience and the right materials. If you've replaced the weatherstripping, adjusted the rollers and latch, and the door still has significant drafts or the frame shows cracking and rot, that's when a professional assessment makes sense. But for the vast majority of sliding doors, a few focused hours in the fall will keep your home noticeably warmer and your heating costs down through the whole season. You can apply the same weatherproofing mindset when decorating for Christmas, focusing on areas around the frame, sweep, and latch so decorations do not leave new drafts.
FAQ
How can I tell if my new weatherstripping is installed correctly and sealing well?
Aim for contact that slightly compresses the seal when the door is locked, with no visible daylight around the frame. A quick way to confirm is to close the door, run a finger along the weatherstripping from interior to exterior (carefully), then recheck for gaps with the door latched and the lock engaged. If the seal barely touches or you can feel a hard gap at the corners, the strip thickness, placement height, or roller/latch position likely needs adjustment.
What should I do if the door feels harder to close after I replace the weatherstripping?
If the door won’t close fully after installing thicker foam tape or pile, first verify the track is clean and the door rolls freely, then reduce the seal thickness (use the correct replacement size for your groove/depth). Also confirm the latch strike is adjusted so the lock pulls the door panel tight, because a mis-strike can make it look like the weatherstripping is the problem.
Can I just caulk around the frame to stop drafts, and are there any risks?
Don’t seal up a problem by adding caulk or film before you fix drainage issues. If you see cracked exterior caulk or water staining around the sill, clear debris from the weep channels (if your frame has them) and then re-seal exterior gaps. From the interior side, avoid adding thick caulk at random, because trapped moisture can lead to wood rot or mold behind the frame.
Is there a safe way to reuse or upgrade weatherstripping without damaging the frame or losing adhesion?
Yes, but only if the product is compatible with your existing seal type. For pile strips, you generally remove the old strip and press the new one into the groove (no glue required). For foam tape, alcohol can remove adhesive residue, then you must ensure the frame is fully dry before pressing the new tape. Using the wrong adhesive or applying tape to a dusty or damp surface often causes peeling within weeks.
Where are the most common hidden leaks that remain after winterizing a patio door?
If you still feel airflow after the obvious fixes, prioritize these trouble spots: the center interlock seal where panels meet, the corners of the frame, and the area around the latch strike plate. Many drafts come from uneven door seating on the rollers, so confirm the top and side gaps are even while the door is locked, not just when it is sitting “almost closed.”
How should I troubleshoot if my smoke test shows leaks but I already replaced the weatherstripping?
Start with the candle or smoke test again, but now use it with the door fully latched and locked. Also check whether the leak changes when you gently lift the door or press on the sliding panel, because that points to roller height, a warped track, or a latch strike alignment issue rather than the sweep or tape.
Does persistent condensation mean my door needs different weatherstripping, or is it a glass issue?
Sometimes. If the condensation is between panes in a double-pane unit (fogging that doesn’t clear quickly and looks sealed-in), weatherstripping will not fix it because the insulation failure is inside the glass unit. However, adding an interior storm panel or film can reduce heat loss temporarily while you plan the glass replacement.
What lubricant should I use for winter, and how do I prevent the track from getting dirty again?
Use the low-temperature rating on the lubricant as your guide, and avoid heavy grease. Silicone-based spray is typically the safest for track and hardware, but wipe off excess because pooling attracts dirt. If you had frost or ice, let the door thaw fully before lubricating so you do not trap moisture in the track.
Can a temporary draft stopper replace a worn door sweep, and when should I still replace the sweep?
Yes, and it is often the fastest fix for a stubborn draft while you wait for parts. A door bottom draft stopper attached to the base can help on nights when wind pushes air under the sweep, but it should not replace a properly aligned and intact bottom wiper. Also remember to remove or adjust it if it prevents smooth sliding.
If I remove the screen door for winter, what do I need to watch for when reinstalling it later?
If your screen is removed, store it flat and keep the weatherstripping from getting crushed, since compressed pile can lose its ability to seal. When reinstalling in spring, inspect roller condition and the vertical-edge strips, then do a quick draft check around the screen frame while the main door is closed and latched.
Should I adjust rollers before or after replacing the weatherstripping?
In most cases, door roller adjustments should be done before finalizing weatherstripping contact. If the door sits unevenly, new seals may compress on one side and gap on the other, leading to drafts and wear. Make the rollers level, verify latch pull, then fine-tune your seal thickness or placement if needed.
When is it better to adjust the latch strike versus replacing the latch hardware?
If the latch hook does not fully pull the door tight, adjust the latch strike inward first (a small movement, then test). If it still feels loose or the handle wobbles, the latch mechanism may be worn, and forcing it can damage the rollers or frame alignment over time. Order parts based on the brand or model number stamped on the hardware.
Next Article
How to Seal a Patio Door: Step-by-Step DIY Guide
Step-by-step DIY guide to seal a sliding patio door, stop drafts, seal frame gaps, and test for air leaks.