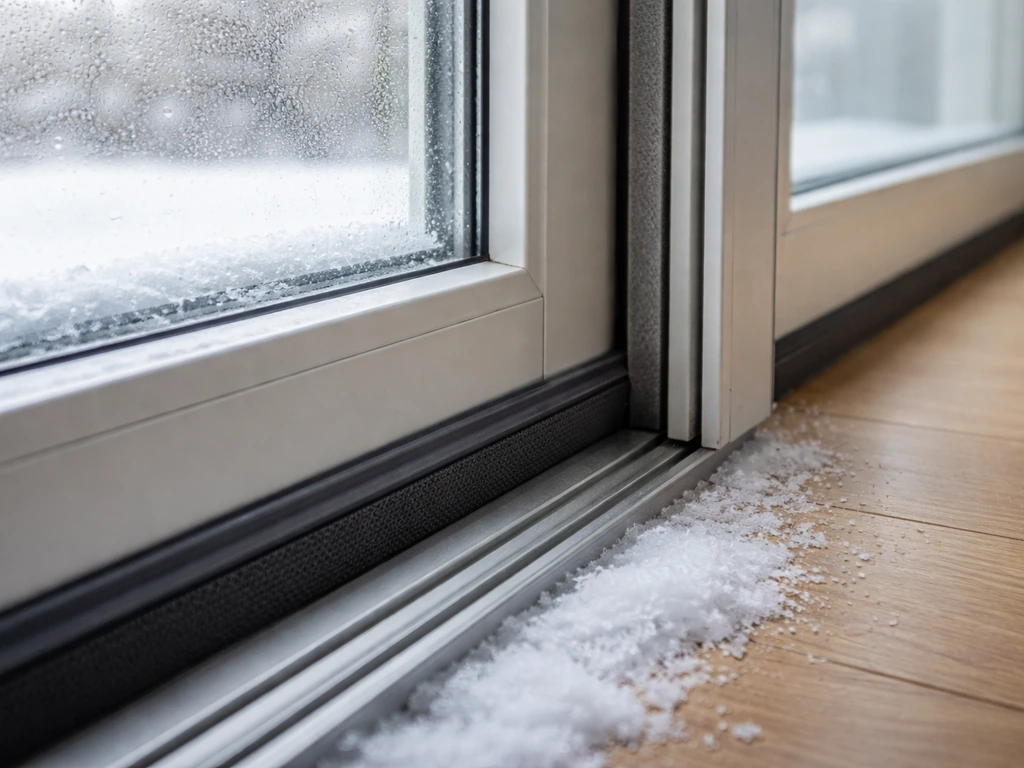
Finishing laminate flooring at a patio door comes down to three things: leaving the right expansion gap (3/8" to 1/2" from every fixed object, including the door track and jambs), undercutting the door casing so planks slide cleanly underneath, and covering that gap with the correct transition piece without pinning the floor down. Get those three things right and the floor will stay flat, the door will still operate, and the joint will look intentional instead of like an afterthought.
How to Finish Laminate Flooring at a Patio Door

Jamie Archer
7 Jul 2026
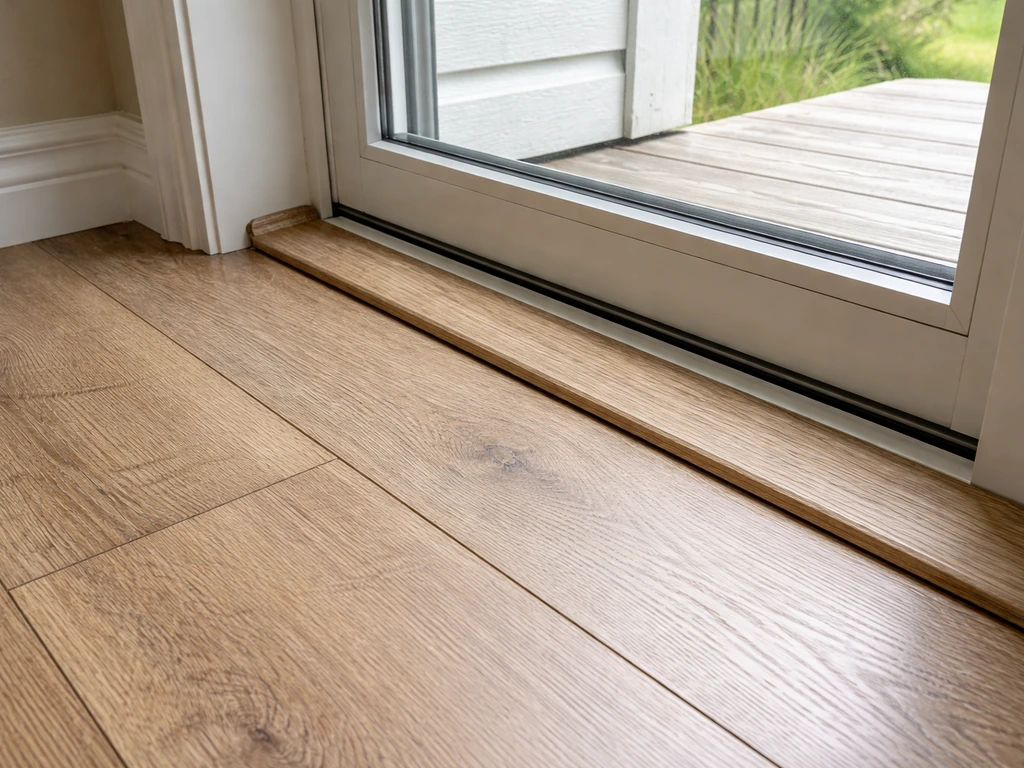
Plan the transition and required expansion gap at the patio door
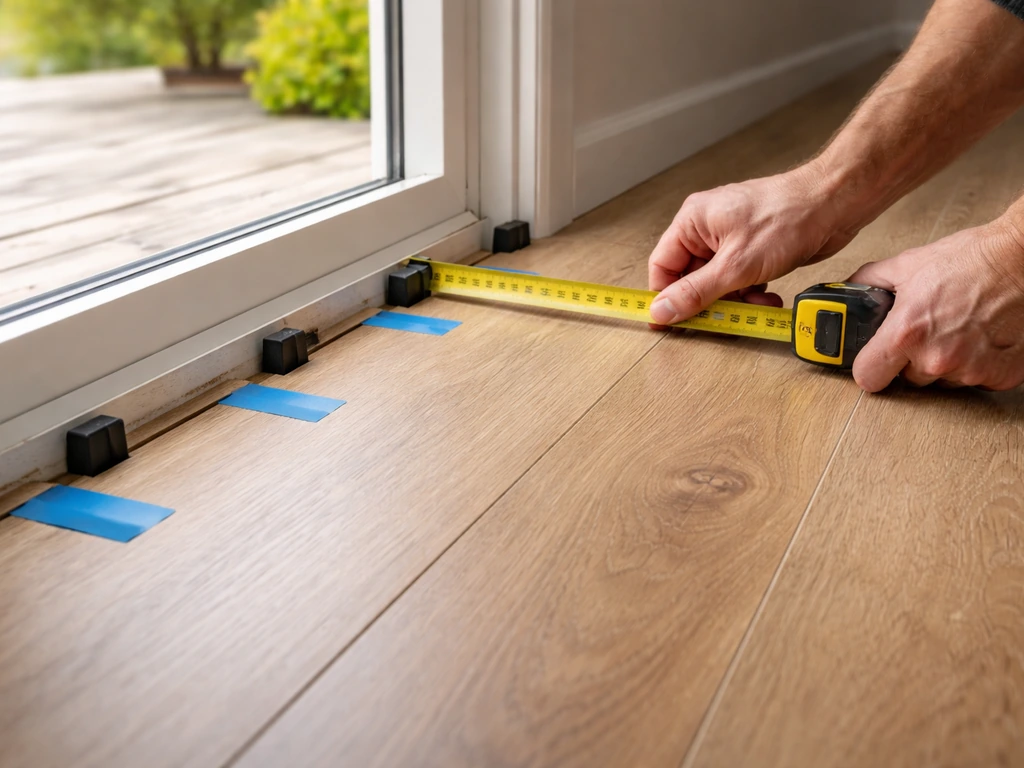
Before you cut a single board, spend ten minutes planning. Laminate is a floating floor, meaning it expands and contracts as a whole unit with humidity changes. If anything locks it in place at the patio door, the pressure has nowhere to go and the floor buckles. Every major manufacturer, including Shaw, Tarkett, Quick-Step, Mohawk, and Pergo, specifies an expansion gap of 3/8" to 1/2" (roughly 8 to 12 mm) at every fixed object, and the patio door threshold and door track count as fixed objects.
Stand at the patio door and think about what you are actually dealing with. A sliding patio door typically has a metal track sitting on or slightly above the subfloor. A hinged patio door usually has a threshold plate or sill. In either case, the laminate cannot butt against these components. You need a gap, and that gap needs a transition piece to cover it cleanly. The three most common options here are a T-molding (for floor-to-floor transitions at the same height), a threshold reducer (when the patio door sill sits higher than your finished floor), and a plain threshold strip (for exterior door openings where the laminate ends and a different material or exterior begins). Measure the height difference between your finished laminate surface and the threshold or track before ordering anything.
Also plan your board layout at this stage. You want the last row of boards at the patio door to be at least 2 inches wide after accounting for the expansion gap. If your layout math puts a sliver of board right at the threshold, shift your starting row by half a board width. A sliver is harder to cut, harder to hold in place during installation, and looks terrible under a transition strip.
Prep subfloor, underlayment, and check door/threshold height
Laminate is unforgiving over a bad subfloor. Any high spot greater than 3/16" over 10 feet will telegraph through the planks and create hollow spots or joint stress. At the patio door specifically, subfloor prep matters even more because this is often where exterior moisture finds its way in. Check the subfloor for soft spots, squeaks, and high points. Grind down high spots with a belt sander or angle grinder and fill low spots with floor-leveling compound. Let it cure fully before laying underlayment.
Underlayment near a patio door needs to address moisture, not just cushioning. A Bestlaminate.com underlayment guide also notes that laminate flooring needs foam underlayment to support cushioning and installation performance foam underlayment is needed for laminate floors. If your subfloor is concrete, you need a vapor barrier regardless of whether your underlayment has one built in. On wood subfloors, a standard foam underlayment with a moisture-resistant facing is usually sufficient, but if you have seen any water intrusion at the threshold, treat it like a concrete situation and add a 6 mil poly vapor barrier. Stop the underlayment at the transition zone rather than running it under the threshold or track. It should not extend past the edge of the laminate.
Now check your door clearance, and do this before you install a single board. Add up the thickness of your underlayment plus the laminate plank (typically 7 mm to 12 mm for the floor, plus 1 to 3 mm for underlayment). The finished floor surface will be that much higher than your subfloor. If the bottom of the patio door currently has less than 1/2" clearance above the subfloor, the door will drag or not close after installation. Quick-Step and similar manufacturers recommend a minimum clearance of 3/8" above the finished floor height. If you are short on clearance, you have two options: plane or grind the door bottom, or use a thinner plank-and-underlayment combination. Deal with this now, not after the floor is in.
Cut and fit laminate around jambs and the patio door track or threshold
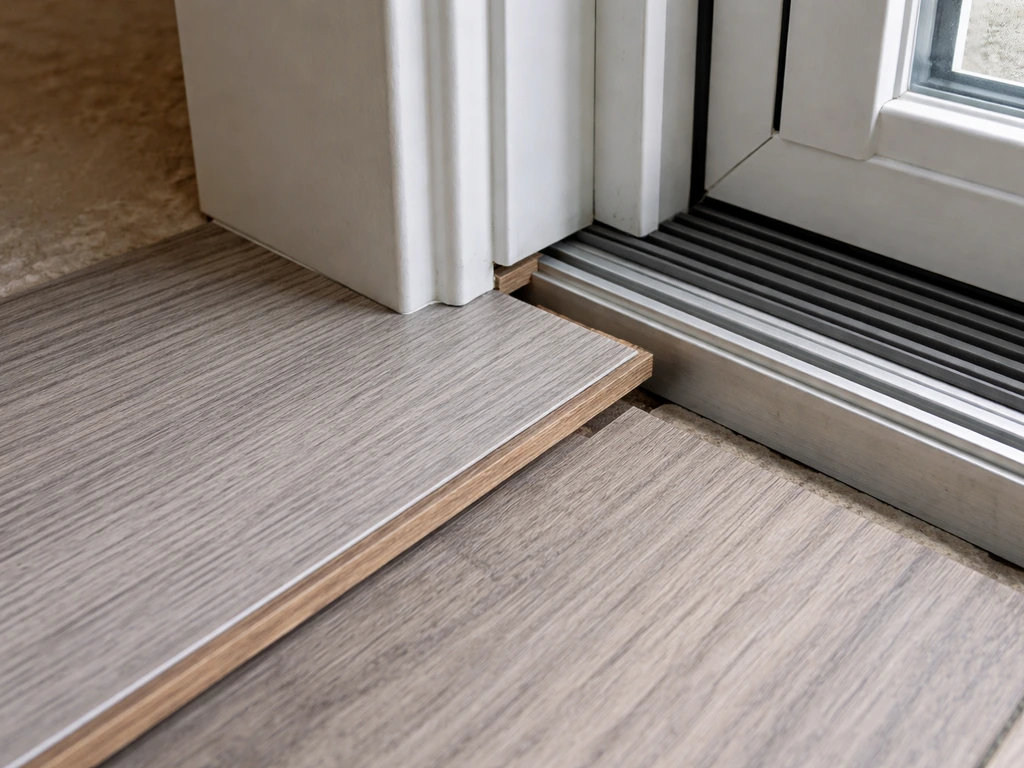
Undercutting the door jamb casing is the move that separates a professional-looking installation from an amateur one. Instead of cutting notches around the casing (which leaves visible gaps and looks rough), you cut the bottom of the casing off so the plank slides cleanly underneath it. Set your oscillating multi-tool or handsaw to the combined thickness of your underlayment plus laminate plank plus about 1/16" for clearance. Use a scrap piece of plank laid on the underlayment as a guide for your saw depth. Work through the casing at the door, then use a chisel to clean out any debris. When done right, the plank disappears under the casing with the expansion gap hidden behind it.
Pergo's installation guide specifically calls out sliding the flooring at least 1/4" underneath the door frame and wall base, while still maintaining the required 3/8" expansion gap on the far side of the casing. That means the casing undercut conceals the gap, not eliminates it. The plank edge is behind the casing, the gap is between the plank edge and the wall or jamb behind it, and everything looks clean from the front.
Fitting around a sliding patio door track is its own challenge. The track is a fixed metal object sitting on the subfloor or threshold, and you cannot slide laminate under it the way you can a door casing. Here you need to measure the exact profile of the track with a profile gauge or by making a paper template, then cut the plank to follow that profile. Leave a 1/4" gap between the plank edge and the metal track on all sides. A Lowe’s laminate installation guide specifies leaving a minimum expansion joint around fixed items, including around pipes, thresholds, and under doors (listed as 5/16" to 3/8") blank" rel="noopener noreferrer">Leave a 1/4" gap between the plank edge and the metal track on all sides.. That gap will be filled and sealed in a later step. Use a jigsaw for these cuts and take your time. A rushed cut here will show.
Choose and install the right finishing trim or transition piece
Picking the wrong transition piece is the most common mistake at patio doors. Here is a quick breakdown of what each type is actually for:
| Transition Type | When to Use It | Key Requirement |
|---|---|---|
| T-molding | Floor meets floor at the same height, or in doorways where both sides are the same flooring | Floats freely in the track; do not nail or glue it to the planks |
| Threshold reducer | Laminate is lower than the patio door sill or an adjacent hard floor | Must allow floor movement underneath; secure only to subfloor |
| Threshold/end cap | Laminate terminates at an exterior threshold and nothing continues on the other side | Leave expansion gap behind it; caulk the exposed edge for weatherproofing |
| Carpet reducer | Laminate transitions to carpet at the same opening | Not appropriate for exterior patio door applications |
For most sliding patio doors, a threshold reducer or a T-molding with a center track is the right call. Mohawk RevWood Plus requires T-moldings in doorways narrower than 32 inches and specifies at least a 3/8" concealed expansion space under the molding. The critical installation rule, called out by multiple manufacturers and Floor Central, is that you secure the track of the transition piece to the subfloor only, never to the laminate planks themselves. The laminate floats freely underneath or alongside the track. If you glue or screw the transition to the floor surface, you have just created a pinch point that will cause buckling.
Installing the track is straightforward. Mark the centerline of your expansion gap, screw or nail the track to the subfloor through the gap, then snap or slide the transition profile into the track. Some tracks use a center channel that the transition clips into from above. The profile should sit flat and cover the gap completely without pressing hard against either floor edge.
Seal and weatherproof the perimeter without restricting floor movement
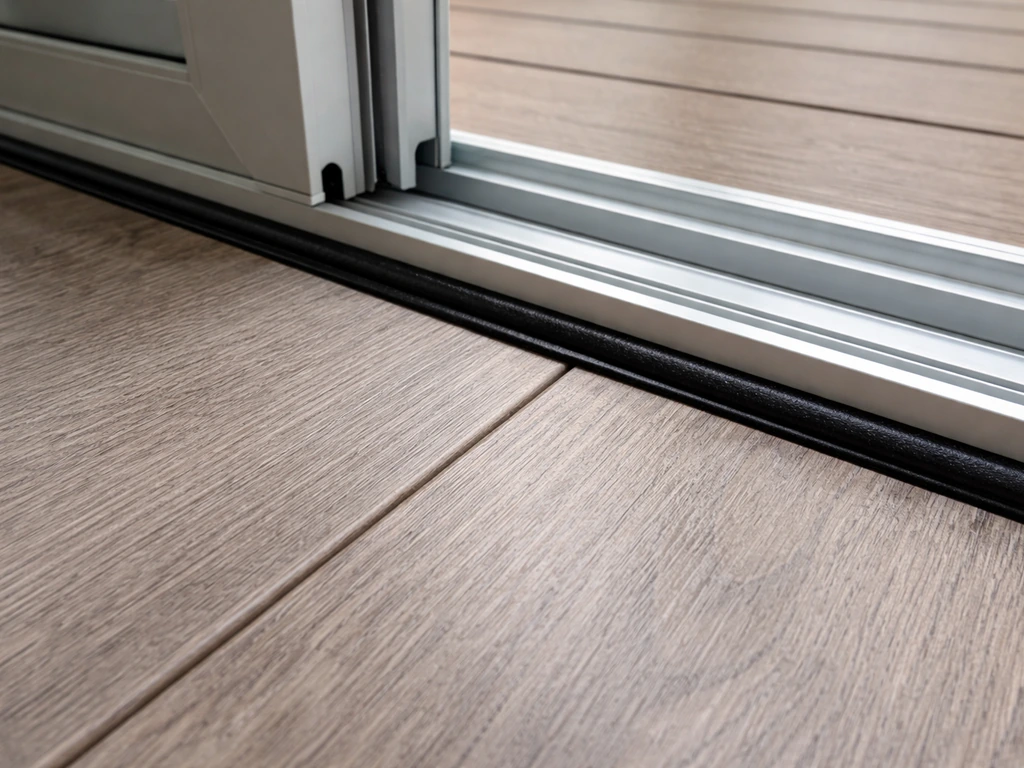
This step is specifically relevant at patio doors because you are dealing with an exterior transition point where rain, humidity, and air infiltration are real concerns. To weatherproof a sliding patio door properly, focus on sealing the expansion-gap area at the track so water stays out without restricting the floor from moving weatherproof the perimeter. However, sealing here has to be done in a way that accommodates floor movement, or you end up right back at buckling problems.
For the gap between the laminate edge and the sliding door track, the Mohawk RevWood Plus installation guide has a clear method: first press a 3/8" compressible PE foam backer rod into the gap, then cover it with a bead of silicone sealant. The backer rod fills the void so you are not asking silicone alone to bridge a wide gap, and it compresses as the floor expands. The silicone stays flexible and keeps moisture from wicking under the planks. Sealing and weatherproofing that perimeter around the door frame and track helps keep rainwater from seeping into the floor edges seal and weatherproof the perimeter to protect the patio door area from rain. Apply the silicone sealant to where the transition molding contacts the door frame or track, not to the plank surface itself.
If you have a hinged patio door with an exterior threshold, the exposed edge of the laminate at the threshold also benefits from a flexible sealant. After you install the patio door transition, seal around the perimeter so drafts and moisture do not ruin your seasonal holiday decor Seal and weatherproof the perimeter. Pergo's Aqua Sealant is one product designed for this exact use: a transparent, elastic silicone that creates a watertight finish around door frames and transitions without cracking as the floor moves. Any paintable silicone caulk rated for exterior use will also work. Run a thin, consistent bead, tool it smooth with a wet finger, and clean up excess immediately.
Weatherstripping and door sweeps on the patio door itself are a separate layer of protection, and they need to clear the finished floor surface without dragging. If the door has a bottom sweep, check that it skims the floor rather than plows into it after your laminate raises the floor height. A sweep that drags hard will eventually pull the transition strip loose or scar the laminate surface. If needed, adjust the sweep height or replace it with a compression-style sweep that conforms to minor height variations. Sealing and weatherproofing the door itself is a topic worth looking into alongside this project, since a well-finished floor paired with a leaky door frame defeats the purpose. For a winter-focused setup, you can also seal the door frame and use weatherstripping and a door sweep so drafts stay out.
Troubleshooting: gaps, buckling, uneven joints, and door interference
Even when you do everything right, issues can show up weeks or months later as seasons change. Here is how to diagnose the most common ones:
The floor is buckling or lifting near the patio door
Buckling almost always means the floor has no room to expand. The first thing to check is whether the expansion gap is actually there. You can prevent this by planning the patio door transition and keeping the required expansion gap, as covered in the section on how to seal patio door. Pull up the transition strip and look. If the plank edge is touching the door track, threshold, or any fixed object, that contact point is forcing the floor to tent upward. You will need to trim the plank edges back to restore the gap, then reinstall the transition. Also check whether anyone accidentally drove a nail or screw through a plank into the subfloor, or whether the transition track was fastened directly to the flooring surface.
Gaps are opening up between boards near the door
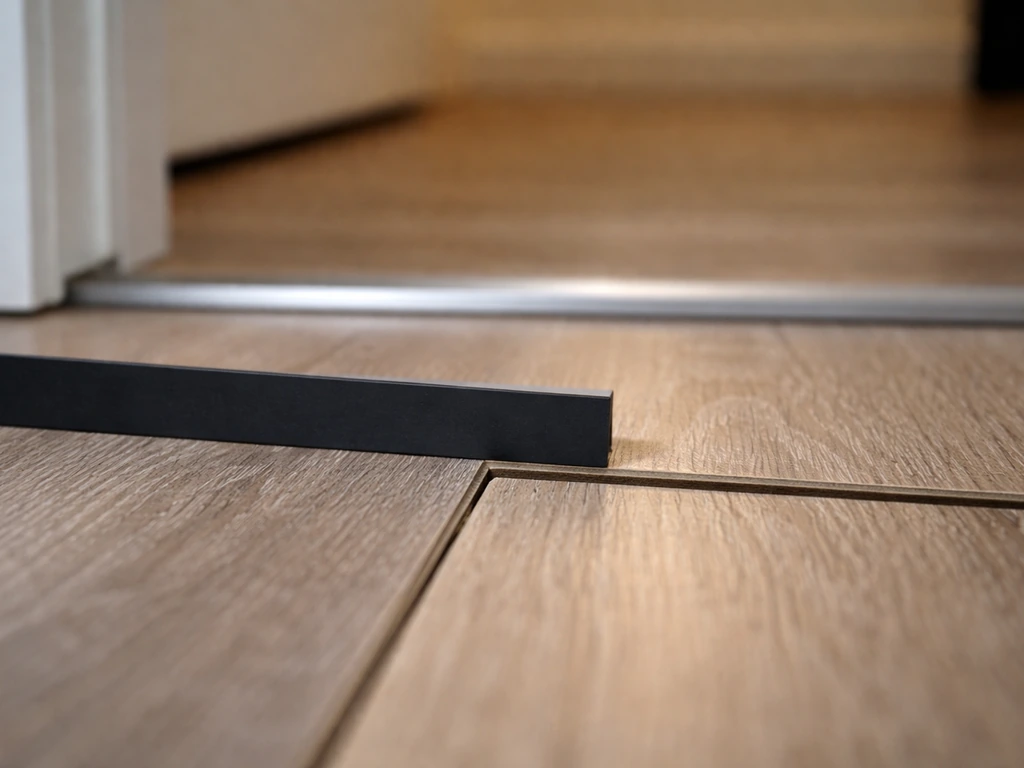
Gaps between boards usually mean the floor contracted and the boards pulled apart, which happens when there is too much moisture variation or the room was not acclimated properly before installation. However, at a patio door specifically, check whether air or moisture infiltration from outside is creating a localized humidity swing. If the door seal is poor, the boards near the threshold will cycle through moisture changes faster than the rest of the floor. Fixing the door's weathersealing is the real solution here, not re-gluing the joints.
Uneven joints or a hump where boards meet the transition
A hump at the transition is usually a subfloor issue. Go back to the subfloor prep section and check for high spots directly under the transition zone. It can also happen if the underlayment is doubled up near the threshold or if the backer rod was overfilled and is pushing the plank up. Pull the transition, remove the backer rod if needed, and check that the subfloor is flat in that zone.
The patio door is dragging or hard to slide after installation
If the door was clearing fine before and drags now, the finished floor height is the issue. Measure the actual clearance between the door bottom (or sweep) and the new floor surface. If it is less than 1/8", you either need to plane the door bottom, raise the door on its rollers, or replace the sweep with a lower-profile version. Sliding patio doors with adjustable rollers can often be raised 1/4" to 3/8" by turning the adjustment screws at the base of the door panel, which is a much easier fix than planing. For hinged patio doors, removing the door and planing the bottom is the reliable fix.
The transition strip keeps popping up or moving
If the transition profile keeps coming loose, the track underneath is not secured well enough to the subfloor, or the clip channel has worn out. Unsnap the profile, add screws to the track every 8 to 10 inches, and snap the profile back in. If the profile itself is bent or damaged, replace just the profile, not the whole track. Never use construction adhesive to glue a transition strip directly to the laminate surface as a shortcut. It will hold temporarily, then either tear the laminate surface or lock the floor in place and cause buckling. If you are also preparing for colder weather, follow the steps in our guide on how to winterize patio door systems before the temperatures drop.
FAQ
Should I leave the expansion gap at the patio door even if I am adding silicone or caulk around the track?
Yes. The sealant must accommodate movement, so you seal the perimeter and the transition contact points, not the laminate to the metal or threshold. If you “fill and glue” the gap so the plank edge cannot shift even slightly, buckling can still happen. Use a compressible backer rod where the gap is meant to move, then finish with flexible silicone.
What if my subfloor is slightly out of level, but not enough to exceed the 3/16-inch over 10 feet rule?
Still check flatness specifically in the transition zone. Patio door areas often act like a stress concentrator, so even small local high spots can create a noticeable hump under the transition. Use a straightedge to verify the subfloor is flat within that doorway footprint, then correct only the local problem area.
Can I install laminate under the fixed door track on a sliding patio door?
Usually no. The track is a fixed metal object, and the laminate needs clearance so it can float. Your approach should be to cut the plank profile to match the track and leave the specified gap between the plank edge and the metal, then seal or fill that perimeter using the transition method described in the article.
How do I know whether to use a threshold reducer versus a plain threshold strip at the patio door?
Use the height difference between the laminate finished surface and the threshold or track. If the threshold sits higher, a reducer lets you slope smoothly into the exterior sill without crushing the transition area. If the surfaces are essentially level, a plain threshold strip or the appropriate T-molding style is typically cleaner and avoids unnecessary steps.
What’s the correct order of operations if I need to undercut casing and also fit a transition track?
Do casing undercuts first, then verify plank spacing and fit, and only then install the transition track and profile. This prevents you from measuring and cutting planks to the wrong clearance if the casing removal changes how the plank edge sits near the opening.
How far should the last row of planks extend under or toward the patio door casing without pinning the floor?
You want the plank to slide under the casing enough to hide the joint, while still maintaining the required expansion gap at the fixed edges on the other side. The casing undercut conceals the gap behind it, but it does not remove the need for clearance elsewhere, especially at the opposite jamb or wall-side fixed point.
What should I do if the transition track is too tight and the laminate cannot expand into the gap?
Loosen the installation path by removing the profile and confirming the gap measurement at installation time, not after the profile is snapped in. If the track itself is binding against planks, the track may be fastened in the wrong position, or the planks may have been cut too wide. Re-cut the plank edge or reposition the track so the laminate has free movement.
Should I acclimate laminate indoors before installation when the patio door area gets heavy temperature swings?
Yes, especially when the patio door is frequently opened or the exterior wall is exposed. Local humidity swings near the threshold are a common cause of gaps appearing later, so acclimating in the room where it will be installed reduces early expansion and contraction problems.
When diagnosing buckling, how can I confirm whether the expansion gap is truly free?
After removing the transition profile, run a thin feeler or spacer along the plank edge to confirm there is actual air between the plank and the fixed track or threshold. Also look for fasteners that might have driven through the plank into the subfloor, since that creates a hidden “lock-in” point even when the visible gap looks correct.
Can I replace only the transition profile if it is damaged, or do I have to replace the whole track?
Often you can replace only the profile if the track channel is intact. Unsnap the profile, inspect for warping or deformation, and re-seat it using proper subfloor-fastened track alignment. Replace the profile if the clips or locking channel are compromised, but do not glue it down to the laminate as a shortcut.
What’s a safe way to handle the door sweep or bottom clearance after finishing the patio door flooring?
Test the door operation after installation and after the transition is seated. If the door drags, adjust the roller or sweep height if your hardware allows it, and avoid cutting or sanding the laminate edge as the first fix. Plan for at least a small clearance above the finished floor height so expansion does not cause scraping.
Next Article
How to Seal a Patio Door for Winter: Step-by-Step
Step-by-step how to seal sliding or screen patio doors for winter: adjust, add sweeps and weatherstripping, stop drafts,