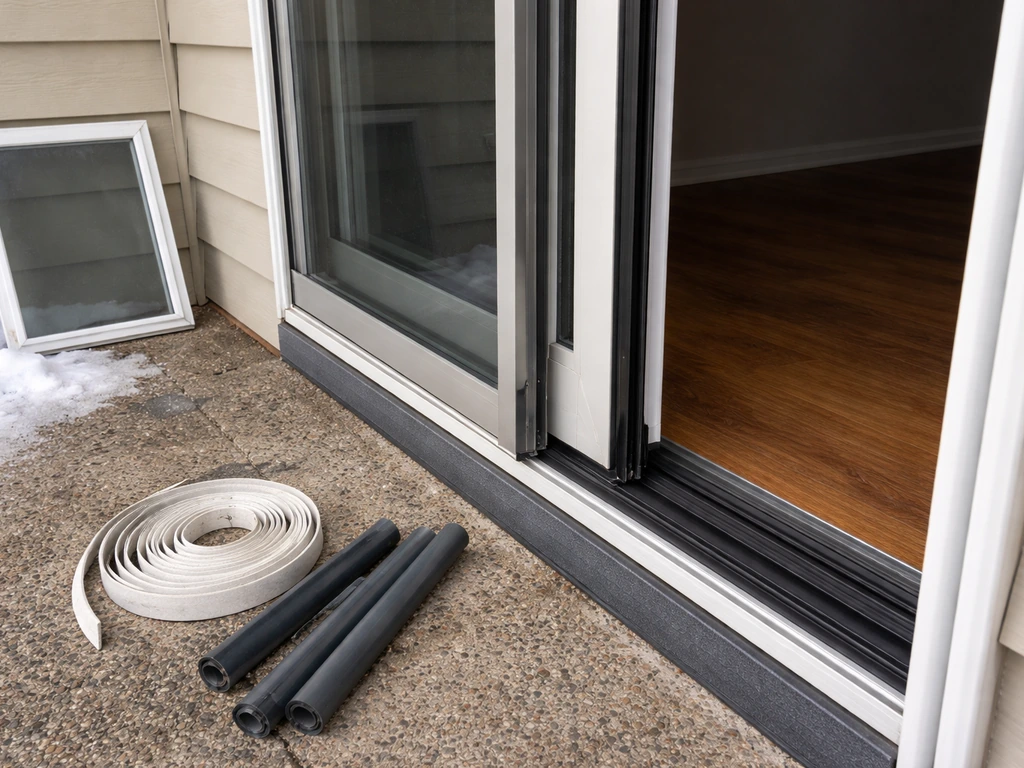
To weatherproof a sliding patio door, you need to work through four things in order: get the door aligned and closing tightly against its seals, replace any worn weatherstripping or door sweeps, seal exterior gaps in the frame with the right caulk or backer rod, and clean the track and weep holes so water drains out instead of pooling inside. If you are dealing with persistent drafts or water intrusion, this is the practical guide to how to seal patio door gaps step by step. Skip the roller adjustment and jump straight to new weatherstripping, and you'll be back doing this again in a year. The steps below walk through the whole process, from diagnosis to final maintenance. If you are also working on the flooring transition near the patio door, see how to finish laminate flooring at patio door for the right underlayment and trim details so your seal work holds up.
How to Weatherproof a Sliding Patio Door Step by Step

Why sliding patio doors leak in the first place
Sliding patio doors have more potential failure points than a hinged door because so many components have to work together to hold a tight seal. The most common culprits are worn or compressed weatherstripping along the door panel edges, a sagging door that's no longer pressing evenly against those seals, a dirty or damaged track that prevents the door from closing flush, a threshold seal or door sweep that's cracked or missing, and gaps in the exterior caulk around the frame where it meets the house. Corner joints in the frame are especially prone to small cracks that let in both air and water. Blocked weep holes compound water problems because any rain that gets past the outer seal can't drain out of the track the way it was designed to.
Misalignment is often the root cause that makes everything else worse. If you are trying to stop a patio door from leaking, start with these checks, then move on to seals and track drainage once the door is aligned Misalignment is often the root cause. When the rollers wear down or the door sags, the panel tilts slightly and lifts away from the weatherstripping at the top or bottom. You end up with a visible gap on one corner that no amount of new seal tape will fix until the door is re-leveled. Lock and latch problems fall into this category too: if the latch receiver isn't adjusted correctly, the lock doesn't pull the door tight against the frame seal even when it appears engaged.
How to find exactly where air and water are getting in
Before spending money on parts, spend ten minutes diagnosing. You want to pinpoint the actual entry points rather than replacing everything at once.
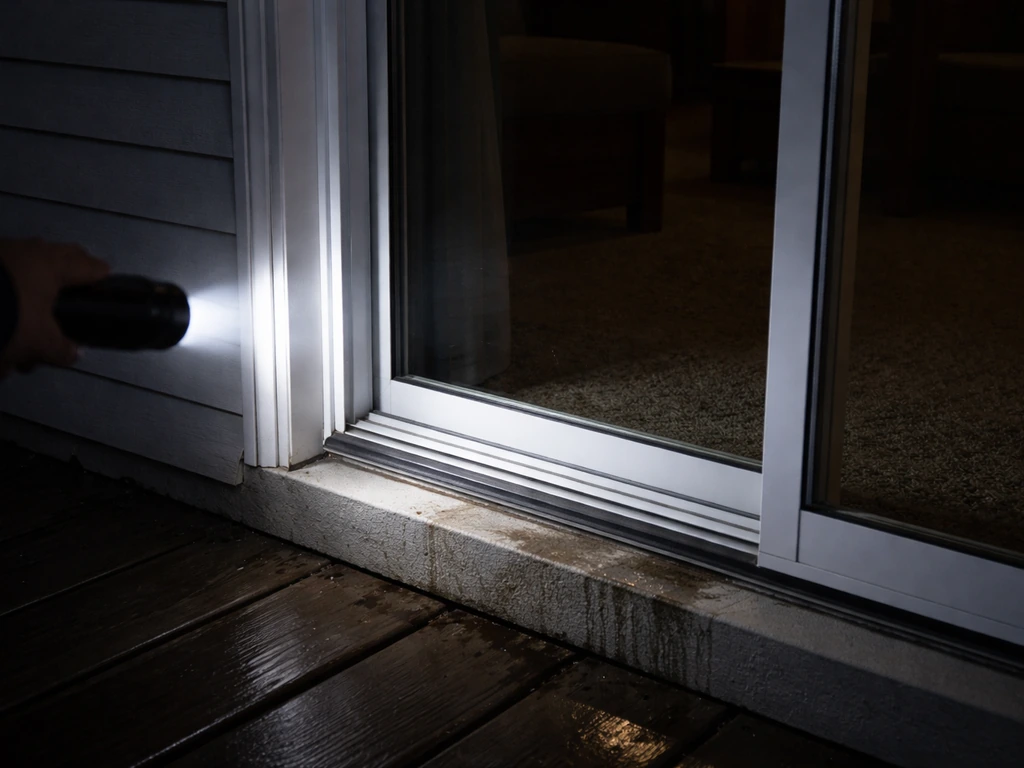
- The flashlight test at night: have someone hold a bright flashlight along the exterior perimeter of the closed, locked door while you watch from inside in a dark room. Any gap large enough to let in meaningful air will show light.
- The paper test: close the door on a sheet of printer paper at multiple spots around the perimeter (sides, top, bottom). If you can pull the paper out without resistance, the seal isn't making good contact at that spot.
- The hand test on a windy day: run your hand slowly around the door frame, lock area, and bottom track while the door is closed and locked. You'll feel air movement at any gap wider than about 1/16 inch.
- Water test for rain leaks: use a garden hose on a low-pressure setting and slowly work from the bottom of the door upward, watching from inside for where water first appears. This helps separate a frame/caulk leak from a threshold or sweep problem.
- Check the corners: grab a flashlight and look closely at the four corner joints of the door frame where the horizontal and vertical members meet. These joints crack first and often go unnoticed.
Write down or mark with painter's tape exactly which spots failed each test. This gives you a repair list that's specific to your door rather than a general checklist.
Adjust the rollers and alignment before anything else
If the door is sagging, tilted, or not closing flush, fix that first. Replacing weatherstripping on a misaligned door is wasted effort. Most sliding patio doors have roller adjustment screws at the bottom of the door panel on each side, accessible through small holes or slots. Turning the adjustment screw clockwise raises that corner of the door; counter-clockwise lowers it. Pella specifies the goal as an equal reveal (the visible gap between the door panel and the frame) along both the top and the sides, with the top of the movable panel sitting within about 1/8 to 1/4 inch of the frame's head channel.
- Locate the roller adjustment holes, usually at the bottom corners of the door panel. You'll need a Phillips or flathead screwdriver, sometimes a hex key depending on the manufacturer.
- Close the door and check the reveal along the top. If one corner is lower, go to that side and turn the adjustment screw clockwise in small increments (a quarter-turn at a time).
- Open and close the door after each adjustment to check operation and recheck the reveal.
- Once the top reveal is even, check that the door panel sits flush against the frame seal on both the latch side and the hinge side when closed.
- If the rollers are visibly cracked, flat-spotted, or won't hold adjustment, they need to be replaced before any alignment work will stick.
After getting the door level, check the latch receiver. Andersen's guidance notes that after adjusting rollers, you may need to reposition the latch receiver so the lock engages at the correct height and actually pulls the door panel snug against the seal. Pella's lock strike documentation makes the same point: if the door has moved vertically, the strike may now be in the wrong position for full engagement. Most latch receivers have slotted mounting screws that let you shift them up or down a few millimeters to match the new door position.
Replace weatherstripping, door sweeps, and threshold seals
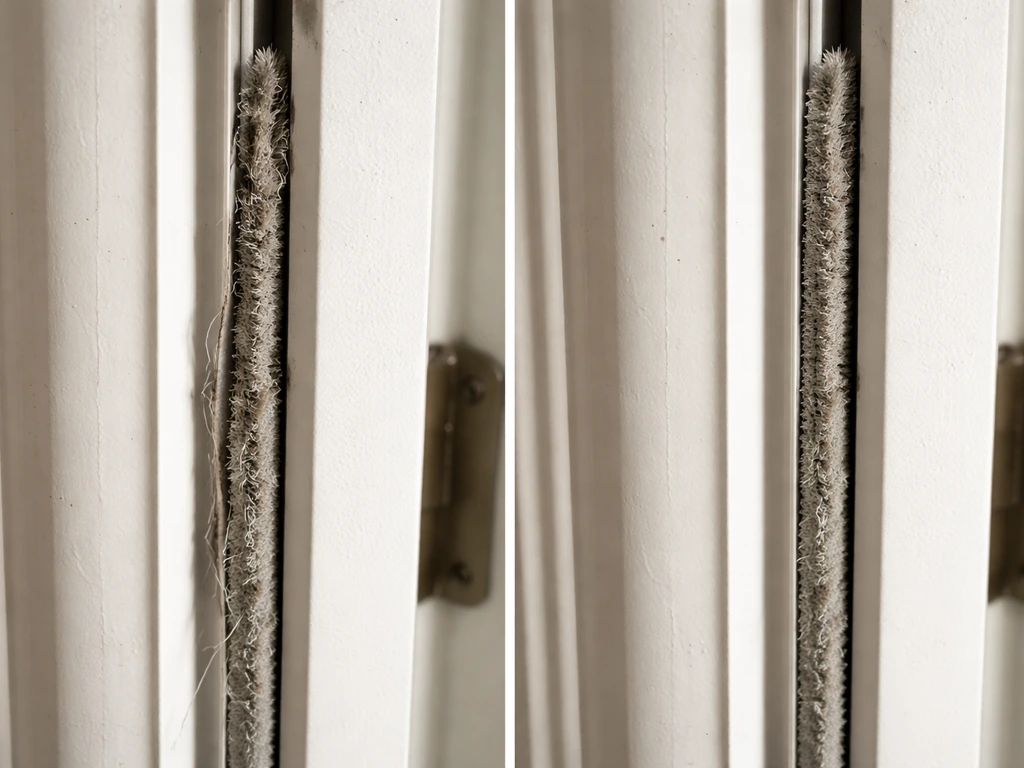
Once the door closes flush and the latch engages correctly, assess the condition of every seal. Weatherstripping that's compressed flat, cracked, or pulling away from its channel won't seal no matter how well the door is aligned.
Weatherstripping on the door panel and frame
Sliding patio doors typically use a pile (fin-style) weatherstrip in the meeting stile channel and foam or rubber compression strips around the frame perimeter. Pile weatherstrip is sold by the foot at most hardware stores; take a sample of the old strip with you to match the pile height and width. To replace it, pull the old strip out of its channel (it's usually press-fit or has a small spine that slides into a groove), clean the channel with a rag, and press the new strip in. For compression foam tape on the frame, peel off the old adhesive-backed foam completely, wipe the surface with isopropyl alcohol so the new tape sticks properly, and press the new foam in.
Door sweeps and bottom seals
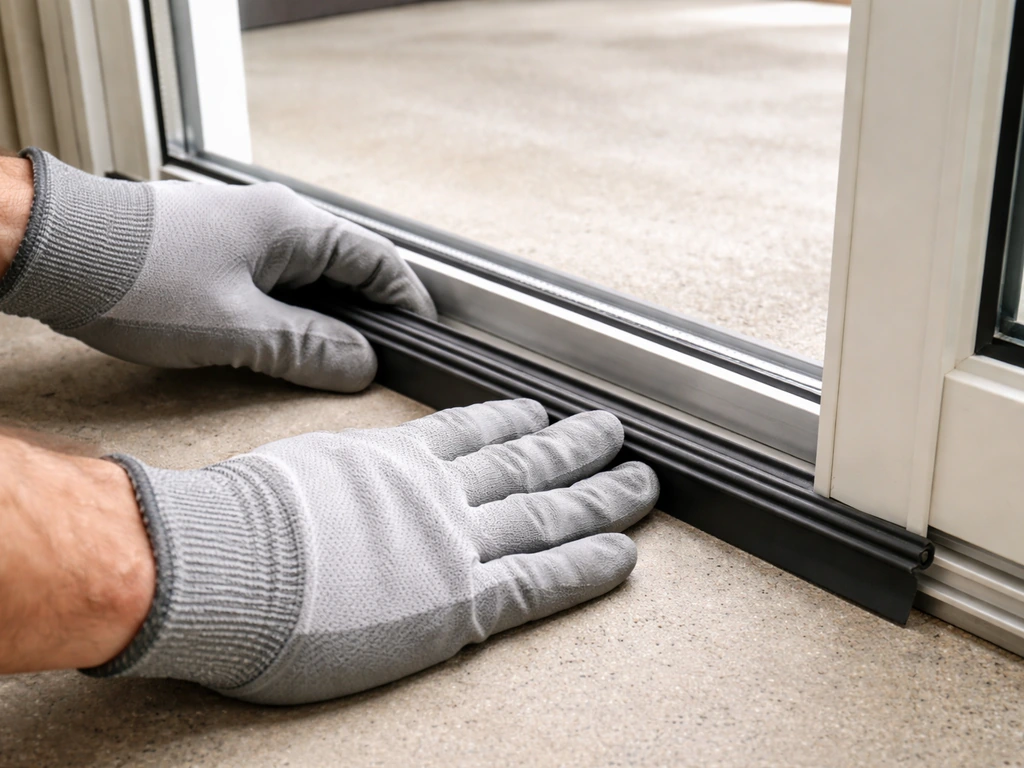
The door sweep or bottom rail seal is what bridges the gap between the door panel and the track at the bottom. If it's worn through or torn, you'll feel a strong draft low on the door. Most replacement sweeps are available from the door manufacturer or a full-service hardware store using your door's brand and model. Remove the old sweep (usually held by screws along the bottom rail), clean the rail surface, and attach the new one. Make sure it makes light contact with the track surface when the door is closed without dragging hard enough to slow operation.
Threshold seals
The threshold is the horizontal piece at the bottom of the door opening that the door slides over. Some thresholds have a replaceable rubber or vinyl seal insert on their top surface. If the insert is compressed or cracked, pry it out and press in a replacement. If the threshold itself is cracked, warped, or has gaps at the corners where it meets the side jambs, that's a caulking job covered in the next section.
Seal exterior gaps the right way
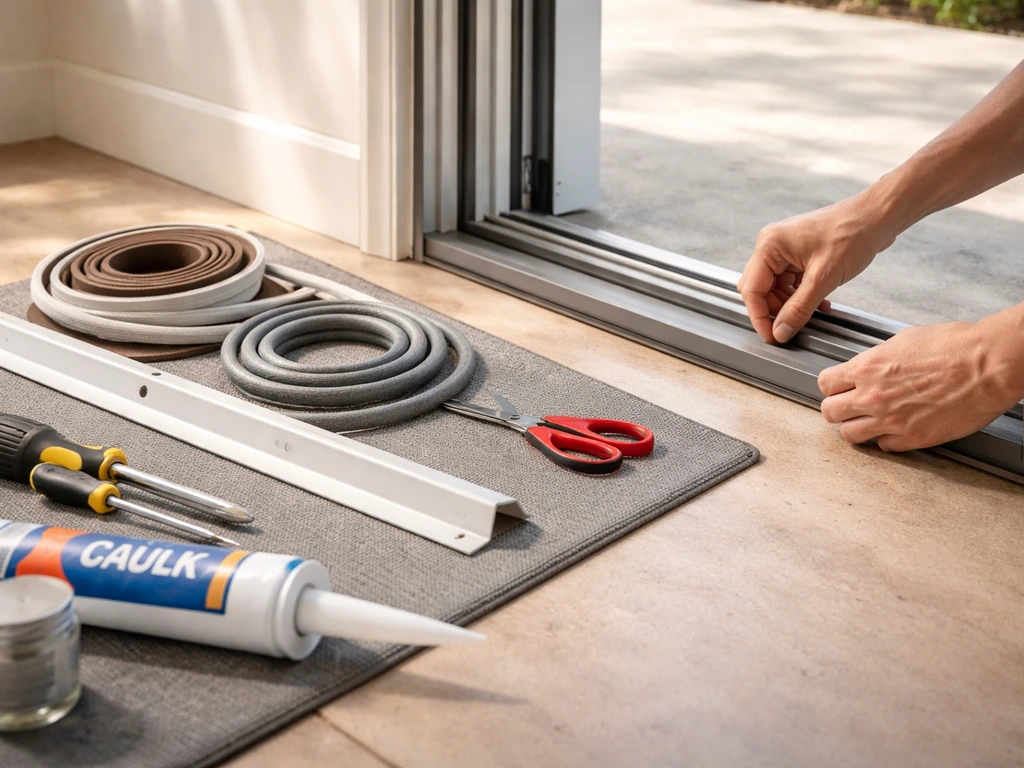
Exterior caulking around a patio door frame is where a lot of DIYers make two common mistakes: using interior or low-grade caulk that fails within a season, and sealing over gaps that are too wide for caulk alone. The rule from ENERGY STAR is straightforward: blank" rel="noopener noreferrer">caulk is the right tool for gaps of 1/4 inch or less. For gaps larger than that, you need backer rod first.
Choosing the right sealant
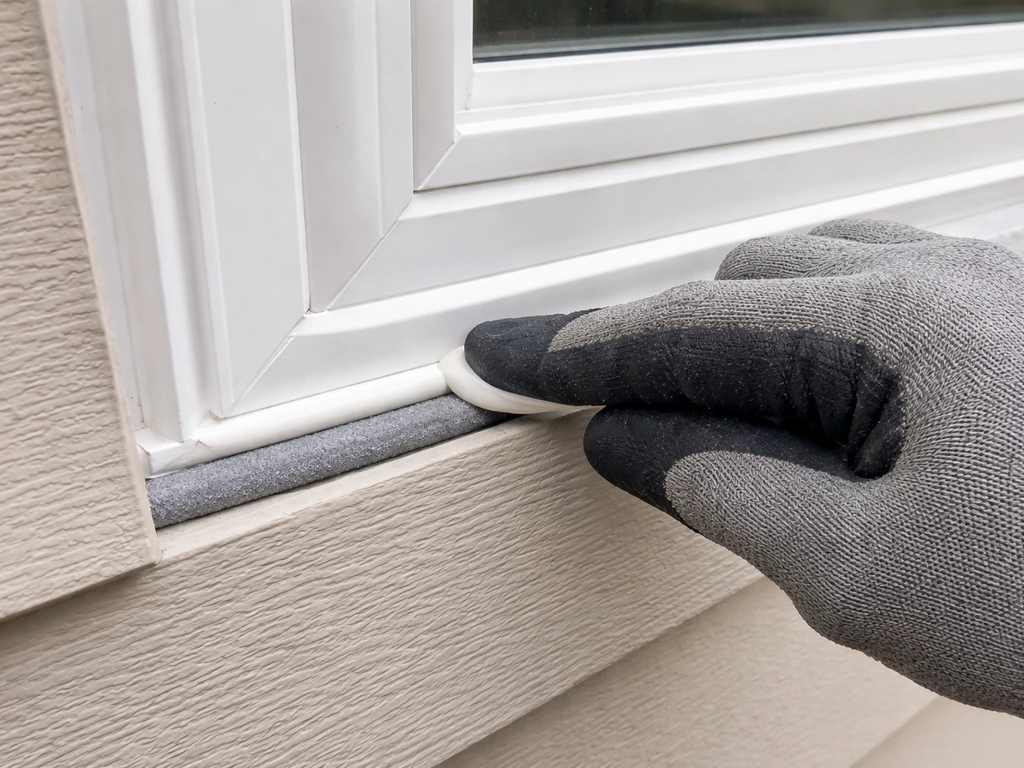
Use a paintable, exterior-grade polyurethane or siliconized acrylic latex caulk for the frame-to-house joint. Pure silicone is durable but hard to tool and can't be painted, which matters if your siding needs to match. For the joint between the door frame and stucco or masonry, use a sealant rated for those substrates. Check the product label for UV resistance and the expected service life (look for 25 to 50 years for exterior applications).
Using backer rod for larger gaps
Backer rod is a closed-cell foam rope that you press into a gap before caulking. It serves two purposes: it fills the void so you're not wasting expensive sealant filling a deep gap, and it controls the depth of the caulk joint to create the right shape for long-term flexibility. The Building America Solution Center and JLC field guides both specify the goal of an hourglass-shaped sealant profile, which only happens when the caulk depth is roughly half to two-thirds the joint width. Choose backer rod that's slightly wider than the gap so it stays in place under light compression. Press it in with a blunt tool until it sits about 1/4 inch below the surface, then apply caulk over it.
What not to seal
Never caulk over the weep holes in the bottom track or sill. These small openings are intentional drainage points; Andersen and Milgard both include them in their design documentation specifically to let water that enters the track channel drain to the exterior. Blocking them causes water to back up inside the frame and eventually leak into the house or rot the rough framing. Also avoid sealing the interior side of the bottom sill all the way around if the door system uses that path for drainage.
Application steps
- Remove all old caulk with a caulk removal tool or utility knife. Leaving the old layer is the most common cause of new caulk failing quickly.
- Clean the surface with a stiff brush and wipe with a dry cloth. The surface needs to be dry and free of dust.
- For gaps over 1/4 inch, press backer rod in first.
- Cut the caulk tube at a 45-degree angle to match the joint width. Apply in one smooth continuous pass rather than starting and stopping.
- Tool the bead with a wet finger or caulk tool to press it into both sides of the joint.
- Check the bottom exterior corner joints where the frame meets the sill plate, as these are common failure points that are easy to miss.
Keep the track clean and drainage clear
A dirty track is not just an annoyance that slows the door. Grit and debris prevent the door from closing fully into the frame, which creates tiny gaps along the entire bottom weatherstrip. Milgard recommends vacuuming the track to remove loose debris before wiping, since dragging a wet cloth through a track full of dirt just packs it in tighter. Milgard recommends periodic maintenance for sliding patio doors, including vacuuming and cleaning the tracks to remove dirt and debris and inspecting and cleaning the weep holes so the drainage system keeps working properly vacuuming the track to remove loose debris. After vacuuming, wipe the track with a damp cloth and a mild detergent, then dry it.
Weep holes typically sit at the bottom of the outer track channel, either as small slots or round holes in the sill. Milgard notes that cleaning them takes about five minutes and the tool you need is often just a straightened paper clip or small wire. Probe each weep hole to make sure it's open and water can flow through freely. Do this at least once a year, ideally before rainy season. While you're at it, check that the track isn't deformed or dented in a way that would block the door from seating fully.
For lubrication, avoid WD-40 on tracks and rollers because it attracts and holds dirt. Use a dry silicone spray or a PTFE-based lubricant applied to the track and the top of the rollers. Wipe off any excess. A light coat once or twice a year is enough to keep rollers spinning freely and the door closing with consistent pressure against its seals.
Lock and hardware adjustments that actually help sealing
The lock on a sliding patio door isn't just a security feature. When it engages, it pulls the door panel toward the fixed frame, compressing the weatherstripping. A lock that's misaligned, worn, or only partially engaging is leaving the door panel slightly proud of the seal, and you'll feel air around the latch side as a result.
Check the latch and receiver for wear and alignment. Andersen's latch receiver service guide describes an adjustment screw (turned clockwise) that draws the receiver plate inward to improve lock engagement. Pella's lock strike documentation similarly describes repositioning the strike vertically after roller adjustments. In both cases, the goal is the same: when the lock is fully engaged, the panel should be held firmly against the perimeter seal with no gap visible along the latch side. If you can see or feel the panel flex away from the frame when you push the latch side, the receiver needs to move inward.
Also check the handle for any looseness. A wobbly handle often indicates worn interior hardware or loose mounting screws. Tighten mounting screws first; if the handle still feels sloppy, the latch mechanism itself may need replacement. From a security standpoint, a lock that engages fully also tends to seal better, so these goals align.
Seasonal weatherproofing checklist
Running through this list twice a year (once before winter, once before summer storm season) will catch problems before they become expensive. For winter performance, focus on the seals that stop drafts and keep water from getting under the door, then confirm drainage is clear so moisture can exit once before winter. The full sealing and winterizing process for a door in rough shape can take three to four hours; if everything is in good condition and you're just doing maintenance, plan on about 45 minutes.
| Task | Frequency | Time needed |
|---|---|---|
| Vacuum and wipe track clean | Every 3 months | 10 minutes |
| Clear weep holes with wire or pick | Every 6 months | 5 minutes |
| Inspect weatherstripping for compression/cracks | Every 6 months | 10 minutes |
| Lubricate track and rollers | Every 6 months | 10 minutes |
| Check roller adjustment and door reveal | Annually | 20 minutes |
| Inspect exterior caulk for cracks or separation | Annually | 15 minutes |
| Test lock engagement and latch receiver alignment | Annually | 10 minutes |
| Replace worn weatherstripping or door sweep | As needed (typically 3–5 years) | 30–60 minutes |
| Re-caulk exterior frame joints | As needed (typically 5–10 years) | 60–90 minutes |
If you're heading into a hard winter, the most impactful things you can do in order of priority are: get the door aligned and closing flush, replace any weatherstripping that's visibly compressed or cracked, and make sure the exterior caulk is intact at the corners and bottom. Once the door is properly sealed, you can decorate a patio door for Christmas without worrying about drafts getting in how to decorate a patio door for christmas. For more detailed cold-weather prep specific to insulation and stopping heat loss, the winterizing process goes a few steps further than standard weatherproofing.
When to stop DIYing and call a professional
Most of what's described above is genuinely within reach for a homeowner with basic tools and a few hours. But there are situations where calling a pro saves time, money, and frustration.
- The door frame itself is rotted, warped, or pulling away from the rough opening. This is a structural repair that requires reframing, not just new seals.
- You see water staining or soft drywall inside the wall beside the door frame. Water has been getting past the flashing and into the wall cavity, which means the problem is bigger than the door itself.
- The rollers won't hold adjustment no matter how many times you set them. The roller housing or the track may be deformed and need professional assessment.
- The door is a multi-panel or pocket sliding system with complex hardware. These systems have much tighter tolerances and manufacturer-specific adjustment requirements that are hard to navigate without experience.
- The glass unit has a broken seal (fogging between panes). That's a glass replacement job, not a weatherproofing fix.
- You've replaced the weatherstripping, adjusted the rollers, re-caulked, and the door still drafts significantly. At that point, a pro can assess whether the door system itself is beyond economical repair and needs replacement.
For leaks specifically tied to rain coming under the door or through the sill area, the fix may involve correcting improper flashing or the sill's slope rather than anything about the door panel itself. That's worth having someone with waterproofing experience look at, since a bad repair there can push water deeper into the wall.
FAQ
How can I tell whether my sliding patio door is leaking air versus leaking water?
Use a calm, dry day for the air check (hold a lit incense stick or tissue at the corners and latch side to see where it moves) and a rain or hose test for the water check (spray low along the exterior frame, then watch the track, threshold area, and interior floor for a delay of a few minutes). Air leaks usually show up immediately around seals, water intrusion often follows track drainage issues or blocked weep holes.
What’s the fastest way to identify the exact entry point before buying parts?
Do three targeted tests: close the door with a thin flashlight inside and look for light leaks around the top and sides, then run a fingertip along the seals to find places where the seal contact feels uneven, and finally check the track area for pooled moisture after a brief water rinse. Mark each spot with painter’s tape so you replace only what fails.
Can I just replace new weatherstripping tape if I feel a draft, even if the door isn’t level?
It usually won’t hold. If the door is sagging or tilted, one corner will lift away so the new strip still won’t compress evenly. Fix alignment first (rollers and latch receiver), then replace weatherstripping, and only then re-check for visible gaps.
Why do I still feel a leak after I replaced the bottom door sweep?
The sweep might be the wrong length or installed too low or too high, so it either drags or leaves a gap. Re-close the door and confirm the sweep makes light contact with the track without resistance, also inspect the threshold insert (rubber or vinyl) for cracks or compression since drafts often move from there into the track area.
How do I know whether my caulk joint should use backer rod instead?
Measure the gap width. As a rule, caulk is intended for joints up to about 1/4 inch, for anything wider press in closed-cell backer rod first. This also prevents the caulk from shrinking too much and cracking because the joint depth is wrong.
Is it safe to seal around the bottom of the track to stop drafts?
Usually no, you should not seal over the weep holes in the outer track channel and you should avoid sealing the interior drainage path if your door design uses it. If you block those openings, water that does get past the seals can’t drain out and may leak inward later.
What should I do if the latch engages but the door still isn’t pulling tight to the seal?
Reposition the latch receiver or strike so the lock pulls the panel inward at the correct height. Even small vertical shifts can leave the panel slightly proud of the weatherstrip, which shows up as a draft near the latch side even though the door appears locked.
Can I lubricate the rollers with WD-40 to stop sticking, and will that help weatherproofing?
Avoid WD-40 on tracks and rollers because it tends to attract and trap dirt. Use a dry silicone or PTFE-based lubricant, then wipe excess. Better lubrication helps the door close fully into the seals, but it won’t fix worn weatherstripping, misalignment, or failed threshold inserts.
How often should I clean and check weep holes to prevent leaks?
At least once per year, ideally before rainy season, and quicker if you live near trees or in a dusty area. Probe each weep hole to confirm it’s open, and if the track looks dented or deformed, that can prevent proper door seating even with clean drainage.
What if the door is aligned, seals look new, but I still get water under heavy rain?
The issue may be flashing, the sill slope, or water-management at the exterior wall rather than door seals. If the leak correlates with rain patterns coming from above or the side of the frame, have a waterproofing professional inspect the installation, because a small flashing error can push water deeper into the wall.
Are there signs I should stop DIY work and call a pro?
Call a pro if you find rot or soft wood around the threshold or frame, repeated leaks after re-caulking, cracked or warped threshold components that don’t seat properly, or track/sill damage like dents that cannot be corrected. These often indicate underlying drainage or structural problems, not just weatherstripping wear.
How to Winterize a Patio Door Step-by-Step Guide
Step-by-step winterize sliding patio door: fix drafts, adjust locks, replace weatherstripping, seal screen, add storm op