A straightforward patio door replacement takes a pro crew 5 to 7 hours on the day of install. A DIYer working with one helper should plan for a full day, roughly 8 to 10 hours, assuming the framing is solid and the door arrives on time. If you want a step-by-step overview of how to install patio doors, focus on measuring the rough opening, prepping the sill, and setting the unit plumb and level.
How Long Does It Take to Install or Replace a Patio Door

Jamie Archer
7 Jun 2026
If you're installing a patio door in a wall where there wasn't one before, add another half day to a full day for the extra structural work. If you are installing patio doors in a wall where there wasn't one before, plan for the added framing and structural work before you measure and order the unit.
Either way, the actual install day is rarely the longest part of the project: ordering a standard sliding glass door adds 1 to 2 weeks of lead time before you can even pick up a drill.
The full timeline: install day vs. the total project
It helps to separate two things people mean when they ask how long this takes: the install day itself, and the complete project from decision to done. They're very different numbers.
| Scenario | Install Day (Pro) | Install Day (DIY) | Total Project (including lead time) |
|---|---|---|---|
| Standard sliding door replacement (same opening) | 5–7 hours | 8–10 hours | 1–3 weeks |
| New install where a window was | 6–8 hours | 10–12 hours | 2–4 weeks |
| New install in a wall (no existing opening) | 1–2 days | 2–3 days | 3–5 weeks |
| French/hinged patio door replacement | 5–8 hours | 8–12 hours | 2–4 weeks |
Lead time is the hidden schedule killer. Standard sliding glass door sizes typically ship in 1 to 2 weeks, but custom sizes, specialty glass, or high-end brand systems like Andersen can push that to 4 to 6 weeks. Don't schedule your demolition day until the door is physically in your garage.
DIY vs. hiring a pro: what actually changes the clock
A pro crew of two experienced installers can knock out a replacement sliding door in 5 to 7 hours because they've done it dozens of times and aren't second-guessing any step. At $65 to $85 per hour per worker, you're looking at roughly $650 to $1,200 in labor alone. A DIYer with one helper doing it for the first time will realistically take 8 to 10 hours, mostly because the level-check-shim-recheck cycle takes longer when you're learning the rhythm of it.
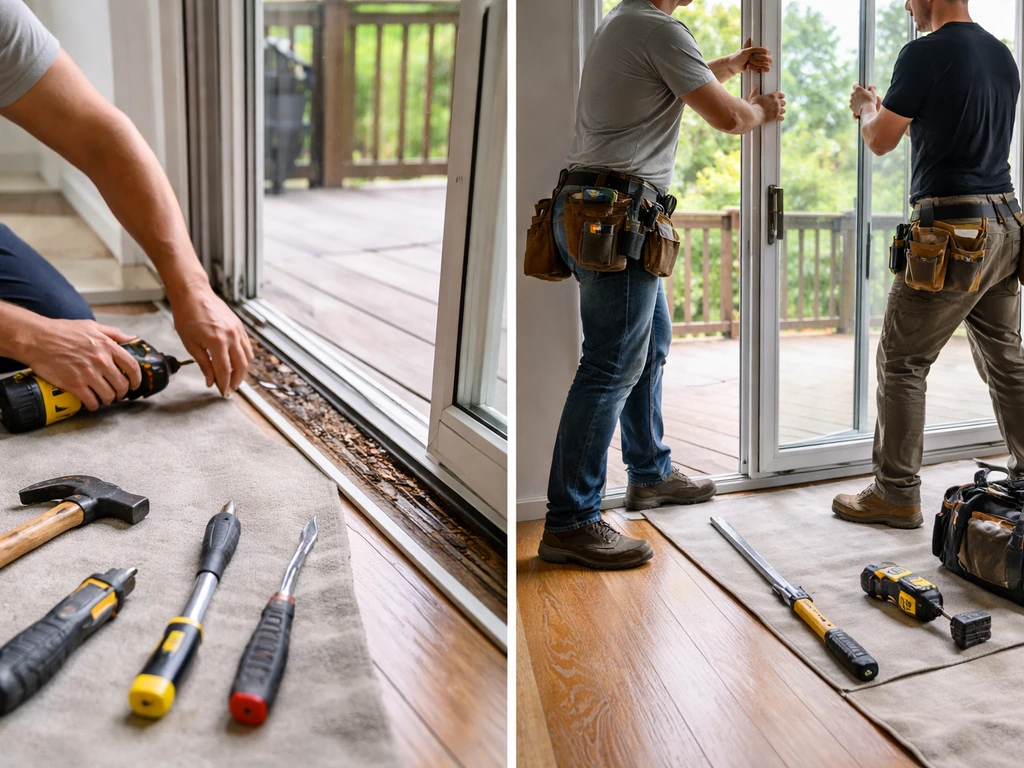
Several factors push the clock in either direction regardless of who's doing the work. A helper is not optional on install day: a standard sliding glass door unit is heavy and awkward, and trying to hold it plumb while shimming solo is a fast way to damage the frame or the door.
- Door size and weight: larger multi-panel units take longer to maneuver and fasten
- Condition of the existing framing: solid framing with a square opening cuts hours; damaged or out-of-square framing adds them
- Door type: a sliding glass door is faster than a French door or a specialty hinged unit because there's no hinge-setting involved
- Number of helpers: two people minimum; three makes the lift and shim phase faster
- Whether painting, staining, or custom trim is required: adds time after the door is physically set
- Accessibility: tight interior spaces, second-story deck doors, or difficult exterior access all slow the job
How long each phase actually takes
Breaking the project into phases gives you a realistic schedule rather than one number that hides where your time actually goes.
Measuring and ordering (1–3 hours, then 1–6 weeks of waiting)
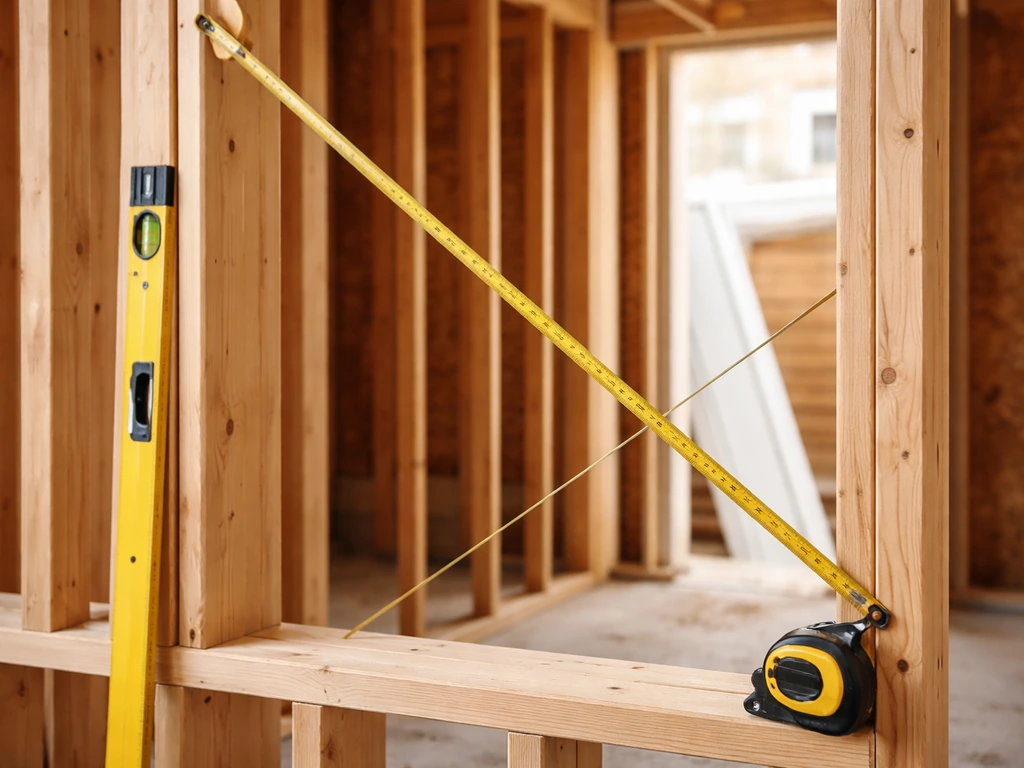
Measure the rough opening width and height carefully, following the manufacturer's dimensional specs. The rough opening is typically 0.5 to 1 inch larger than the door unit on each side to allow for shimming. Get this wrong and you're either forcing a too-large unit or re-framing for a too-small one. Once you've confirmed the size, order the door and don't rush this step: lead times for standard sizes run 1 to 2 weeks, and getting the measurements wrong means starting the wait over.
Removing the old door (30–90 minutes)
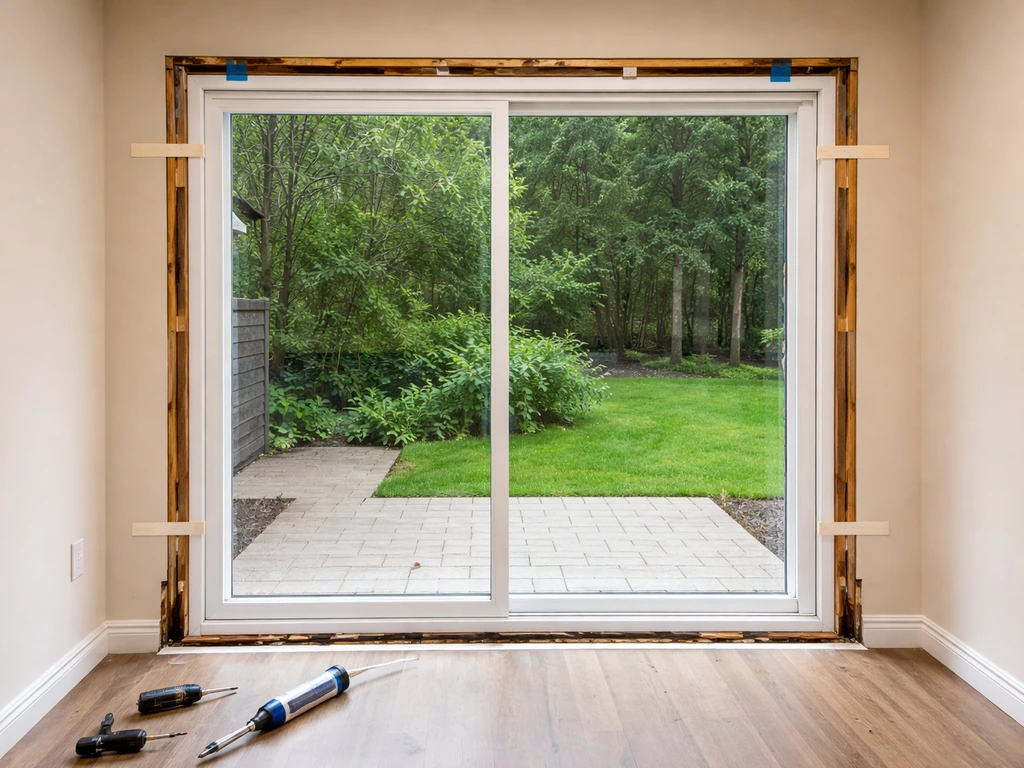
For a straight replacement, removing the old sliding glass door unit typically takes 30 to 60 minutes if it comes out cleanly. Budget 90 minutes if there's old caulk, adhesive flashing, or rotted sill material to deal with. Pull the panels first, then work the frame out carefully. This is also when you find out whether the framing underneath is solid or whether it's been quietly rotting for years.
Prepping the rough opening (30 minutes to 3+ hours)
This phase has the widest time range because it depends entirely on what you find. In a best-case scenario, the framing is square, the sill is clean, and you're installing a sill pan and self-adhesive flashing in about 30 to 45 minutes. In a problem-case scenario, you're sistering damaged studs, replacing a rotted sill plate, or shimming an out-of-square opening back to level, which can easily eat 2 to 3 hours. Don't skip the sill pan flashing step: it's the primary defense against water intrusion at the door base, and fixing a water-damage callback later costs far more time than doing it right now.
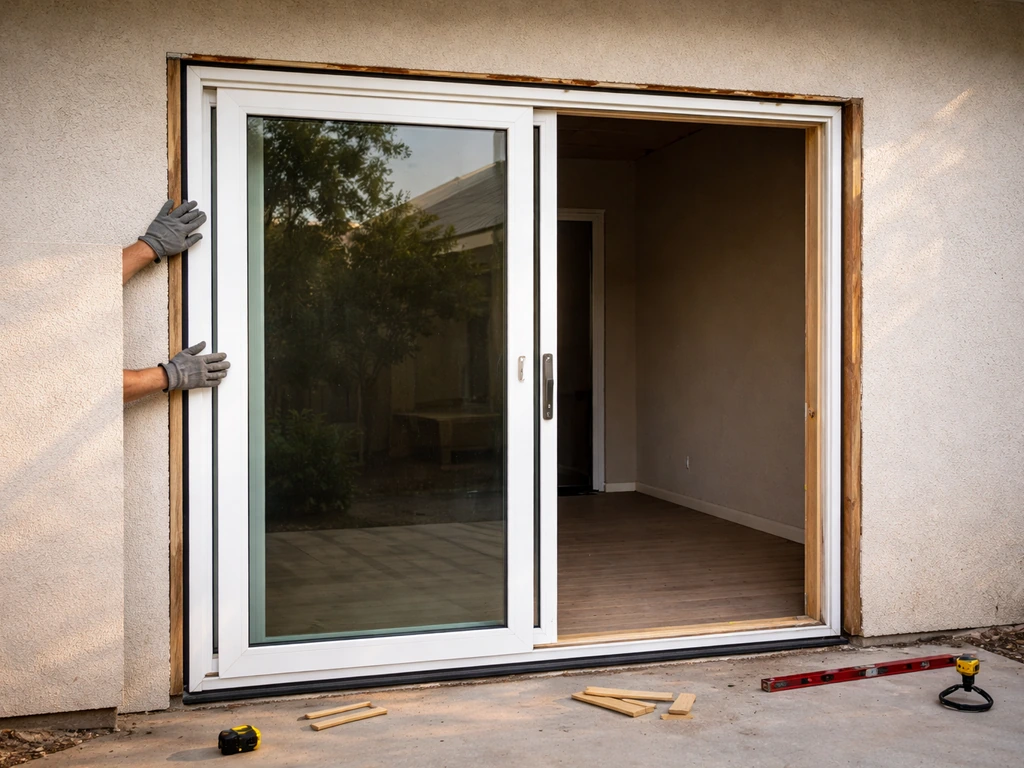
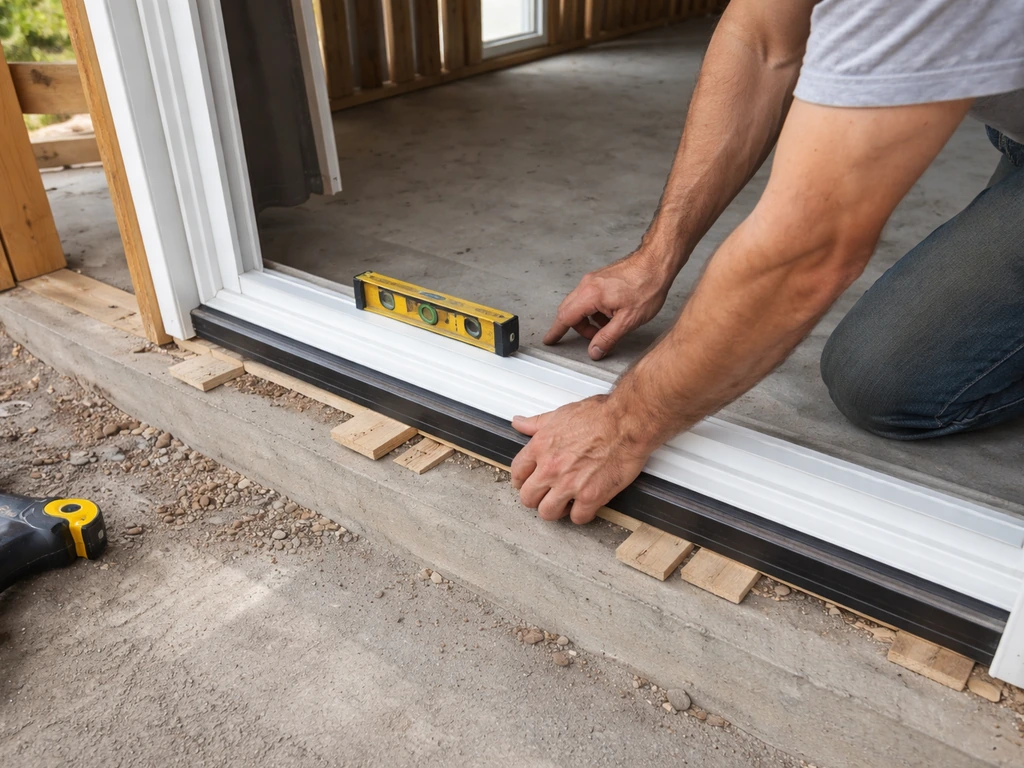
Setting and fastening the door unit (1.5–3 hours)
This is the core of the install. You're lifting the unit into the opening, centering it, and then shimming the sides plumb and the sill level while checking that the frame is square diagonally. The diagonal measurement check is non-negotiable: if the diagonal measurements aren't within about 1/8 inch of each other, the door won't operate correctly no matter what you do afterward. Once it's plumb, level, and square, you fasten through the frame into the rough framing. Budget 1.5 hours if everything goes smoothly, up to 3 hours if shimming takes multiple rounds of adjustment.
Sealing and insulating (1–2 hours, plus cure time)
After the door is fastened, you seal the interior gap with low-expansion foam designated for windows and doors. If you plan to add a portable air conditioner later, make sure the patio door setup leaves enough room for the exhaust hose and any window or panel adapters After the door is fastened.
Standard foam like Dow's Great Stuff Pro Window and Door lists a full cure time of about 8 hours, and Andersen's installation guide explicitly says to allow the foam to cure completely before proceeding to trim. That means if you foam in the afternoon, you're doing trim work the next morning. On the exterior, you're running backer rod and sealant around the perimeter, and the brickmould or exterior casing covers the remaining gap.
If you're wondering specifically how to install patio doors in a brick wall, the exterior framing and waterproofing details matter as much as the door itself. Cold weather slows both dispensing and cure, so in winter installs, plan accordingly.
Interior trim and finish (1–2 hours)
Once foam is cured, install interior casing and any trim the door system requires. If you're painting the trim to match, add drying time between coats. This phase is where personalizing or accessorizing the door adds open-ended time, so have a clear plan before you start.
Post-install adjustments that always take extra time
The door being physically installed doesn't mean the job is done. Most sliding patio doors need operational tuning that can add anywhere from 20 minutes to a couple of hours depending on how well the initial installation went.
Rollers and track alignment
Almost every sliding glass door has adjustable roller height at the bottom of the panel. After the door is hung, slide it back and forth a few times. It should glide smoothly with light resistance and stay parallel to the frame the whole way. If it drags or drifts toward the frame, adjust the rollers with a Phillips screwdriver through the access holes at the bottom of the panel. This is a quick fix when the door is properly installed, usually 10 to 15 minutes, but if the track itself is twisted because the sill isn't level, you're back to shimming.
Lock and latch alignment
The latch and strike plate need to align precisely for the lock to engage without forcing it. Most sliding door locks have a small amount of adjustability in the strike plate position. Test the lock before you call the job done. If you have to lift or shove the panel to get it to lock, the rollers need more adjustment or the strike plate needs to be repositioned. This is usually a 15 to 20 minute fix, but it's an important one for both security and daily usability.
Screen door installation and adjustment
If your door came with a screen panel, plan an extra 30 to 45 minutes to hang it and adjust its rollers. Screen doors are lighter and more flexible than the main panel, so they're easier to deal with, but the adjustment process is the same: check that it rolls smoothly, seals against the pile weatherstrip on both sides, and latches securely. A screen that doesn't seat properly against the weatherstrip is a bug problem, not just an annoyance.
Draft and weatherstrip check

Do a draft check before you put your tools away. On a windy day, hold your hand along the door perimeter and around the frame. Any air movement means the sealing didn't work or the weatherstrip isn't compressing properly. Most weatherstrip issues come down to the panel not being tight enough against the door jamb at the lock side, which is a roller-height adjustment. Foam or caulk failures at the frame perimeter are less common but fixable with a bead of sealant.
Common delays and how to handle them
Out-of-square rough opening
This is the most common delay in older homes. Check the opening with a level on all four sides and measure diagonally before the door arrives. HomeTips recommends checking that the opening is very close to perfectly square by using level and plumb checks, including plumb sides and level top and bottom. If the diagonal measurements differ by more than about 1/4 inch, you'll need to shim aggressively or reframe part of the opening. Discovering this on install day can add 2 to 4 hours. Discovering it beforehand means you show up prepared.
Damaged framing or rotted sill
Old patio doors often have water damage underneath them from years of improper sealing. When you pull the old door and find soft, dark wood at the sill or along the king studs, you have to stop and fix it before the new door goes in. Minor rot can be stabilized with epoxy consolidant and filler; anything more than a few inches of affected material should be cut out and replaced. Framing repairs can add a half day or more and may require a second trip for materials. This is also the point where calling a pro makes the most sense if you've never replaced structural framing.
Drafts after installation
If you feel air coming in right after installation, the most likely causes are foam that didn't fill the cavity fully, missing or compressed weatherstrip, or exterior caulk that wasn't tooled into the joint properly. Work through them in order: check the weatherstrip first (it's the fastest fix), then probe the foam gaps from the interior, then inspect the exterior caulk line. Overfilled foam that bowed a jamb slightly is a less common but real problem: follow the manufacturer's instructions on how much to fill each pass, and don't go back to add more foam until the first pass has cured.
Wrong door size or dimension mismatch
If the door unit arrives and doesn't fit the rough opening, you have two options: modify the framing to accommodate the unit, or return the door and reorder. Neither is fast. This is why pre-order measurement is worth doing twice and confirming with the manufacturer's rough-opening specs before submitting the order. Installing a patio door where a window was, or installing in a wall with no existing opening, involves more complex sizing work that deserves its own careful planning.
Your next steps starting today
Whether you're replacing an existing door or putting one in fresh, the moves you make this week determine whether install day is smooth or a scramble. Here's what to actually do right now based on where you are in the process. If you want to see a real walkthrough, search YouTube for how to install French patio doors so you can compare steps with your own setup French patio doors installation walkthrough on YouTube shot-by-shot.
- Measure the rough opening today: width, height, and both diagonals. Write them down and check them against the manufacturer's rough-opening specs before ordering anything.
- Inspect the existing framing and sill for rot, soft spots, or water staining. Use a screwdriver to probe the sill plate. Do this now so repairs don't surprise you on install day.
- Check the opening for square and plumb using a level. If it's significantly off, factor in shimming time or framing repair in your schedule.
- Order the door as soon as you've confirmed the size. Build 1 to 2 weeks of lead time into your calendar for standard units, and double that for custom sizes.
- Gather tools before the door arrives: drill, level, hammer, wood shims, pry bar, low-expansion window and door foam, backer rod, exterior sealant, self-adhesive flashing tape, and a caulk gun.
- Line up a helper for install day. This is not optional for a full sliding glass door unit.
- Schedule install day for after the door is physically on-site, not when it's estimated to arrive. Delivery delays happen.
- Plan for foam cure time: if you're doing the foam sealing in the afternoon, you won't be doing trim until the next morning. Build that into your schedule or use it as a stopping point for day one.
If your framing inspection turns up significant rot or your opening is badly out of square, this is the right moment to decide whether to bring in a pro for the framing repair and let yourself handle the rest, or to hand the whole job off. A 5 to 7 hour professional installation is a reasonable value when the alternative is a two-day DIY project with structural complications you haven't dealt with before. On a clean, square opening with solid framing, though, this is a very manageable DIY job for a homeowner who's comfortable with basic carpentry and has a full day to commit.
FAQ
Do I need to wait after the door is installed before I can use it? How long?
If the goal is “have it usable,” you typically need to add roughly one extra morning after foam is applied (plan about 8 hours cure time, plus time for trim). Even if the installers are done the same day, trim, caulk bead tooling, and any paint usually require more time than the hardware install itself.
How long does it take if I also need to install a screen panel?
Yes. If your door came with a screen panel, many first-timers underestimate how long it takes to seat weatherstripping correctly and get the screen rollers adjusted. Budget about 30 to 45 minutes in addition to the main door install so you can test smooth rolling and secure latching.
In winter, how does the installation time change?
Cold weather can extend the timeline because window and door foam cures more slowly. Plan to keep the area warm enough for proper cure (or wait longer before trim and exterior sealing), since rushing foam cure is a common reason for gaps, drafts, or needing rework.
What happens if the rough opening is out of square when the door arrives?
If your rough opening is off by more than the typical tolerance (especially diagonal out of square), you may need aggressive shimming or even partial re-framing. Discovering this at install time can add hours, so re-measure diagonals before the door arrives and treat that as part of your schedule planning.
How long does it take if the old patio door has water damage underneath?
Most “extra time” comes from demolition discoveries. If you hit rotted sill material, you might need to stop, repair framing, and possibly get a second material trip. In that case, plan for a half-day or more beyond a standard replacement timeline.
Why do DIY patio door installs often take longer than expected?
A DIY day can become a multi-day project if you don’t account for the heavy unit handling and the shim-recheck rhythm. If you cannot reliably keep the unit plumb, level, and square without a second person, expect slower progress and rework risk, not just longer time.
Can I still make the door work if the diagonal measurements are off by a little?
If the diagonal check fails badly, you cannot “shim your way out” reliably for proper operation, which can force rework of the opening. Make diagonal measurements part of the pre-check, and if you’re more than about a quarter inch off, plan to add substantial time for structural correction.
What should I do if the ordered patio door doesn’t fit the rough opening?
If the door does not fit the rough opening, you usually have to modify framing or return and reorder, both of which add uncertainty. The safest time-saver is confirming the manufacturer’s rough-opening specs twice before placing the order, especially when replacing a non-matching unit or adding a new opening.
How long should I budget for roller and lock tuning after installation?
Tuning is often overlooked. After the unit is fastened, roller height and strike plate alignment can take 20 minutes to a couple hours, and issues can repeat if the sill was not level or if foam gaps affect frame alignment.
Does finishing work like casing and painting affect the total time?
If you plan to paint or stain trim, schedule drying time between coats, and factor it into your “project complete” date. The door can be installed the same day, but finishing usually extends the timeline beyond the install crew’s 5 to 7 hour window.
Next Article
How to Install Patio Doors: Step-by-Step DIY Guide
Step-by-step guide to install patio doors in an existing opening, align, seal, fit hardware, and fix sticking or gaps.