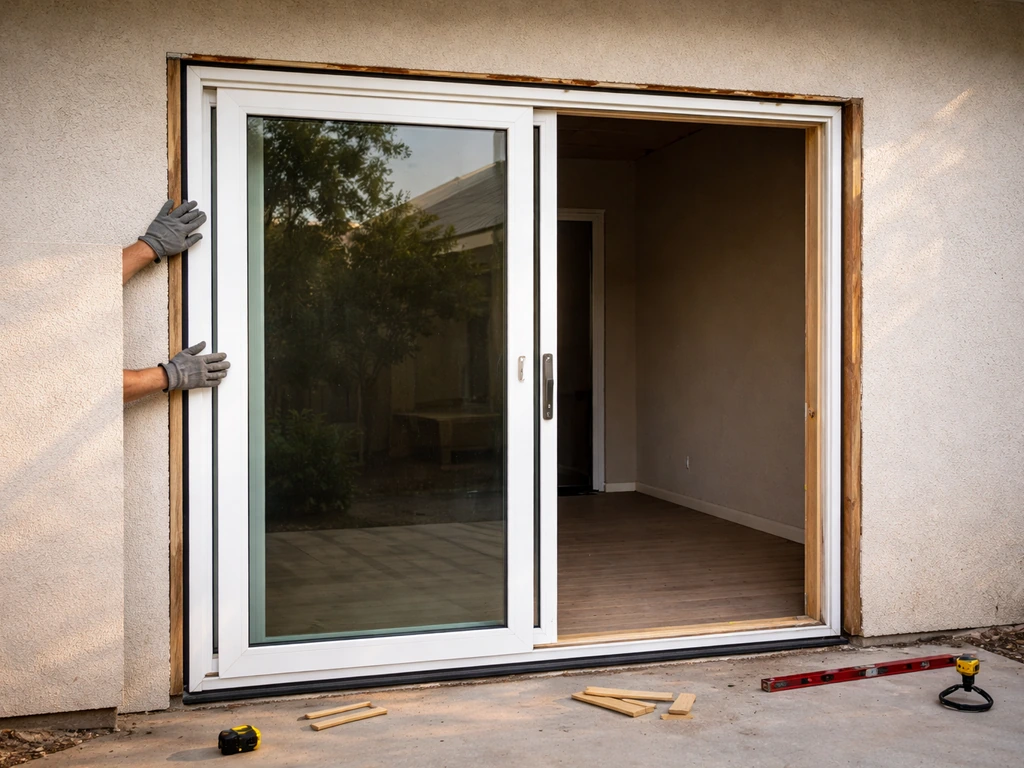
Yes, you can install a patio door where a window used to be, and it's one of the more satisfying DIY projects you can take on. The core challenge is that a window opening is almost never the right size for a patio door out of the box, so you'll need to evaluate the framing, likely modify the rough opening (especially at the sill), and then follow a precise sequence for setting, leveling, and weatherproofing the new unit. Done right, you'll end up with a door that operates smoothly, seals against drafts, and lasts decades. Done wrong, you'll be chasing leaks and sticky tracks for years.
Installing a Patio Door Where a Window Was: DIY Guide

Jamie Archer
28 Jun 2026
Assessing the Existing Opening Before You Order Anything
The first thing to check is whether the rough opening can realistically accept a patio door without a major structural rebuild. A patio door installation usually takes a few hours to a full day for a straightforward replacement, and longer if you have to modify the rough opening.
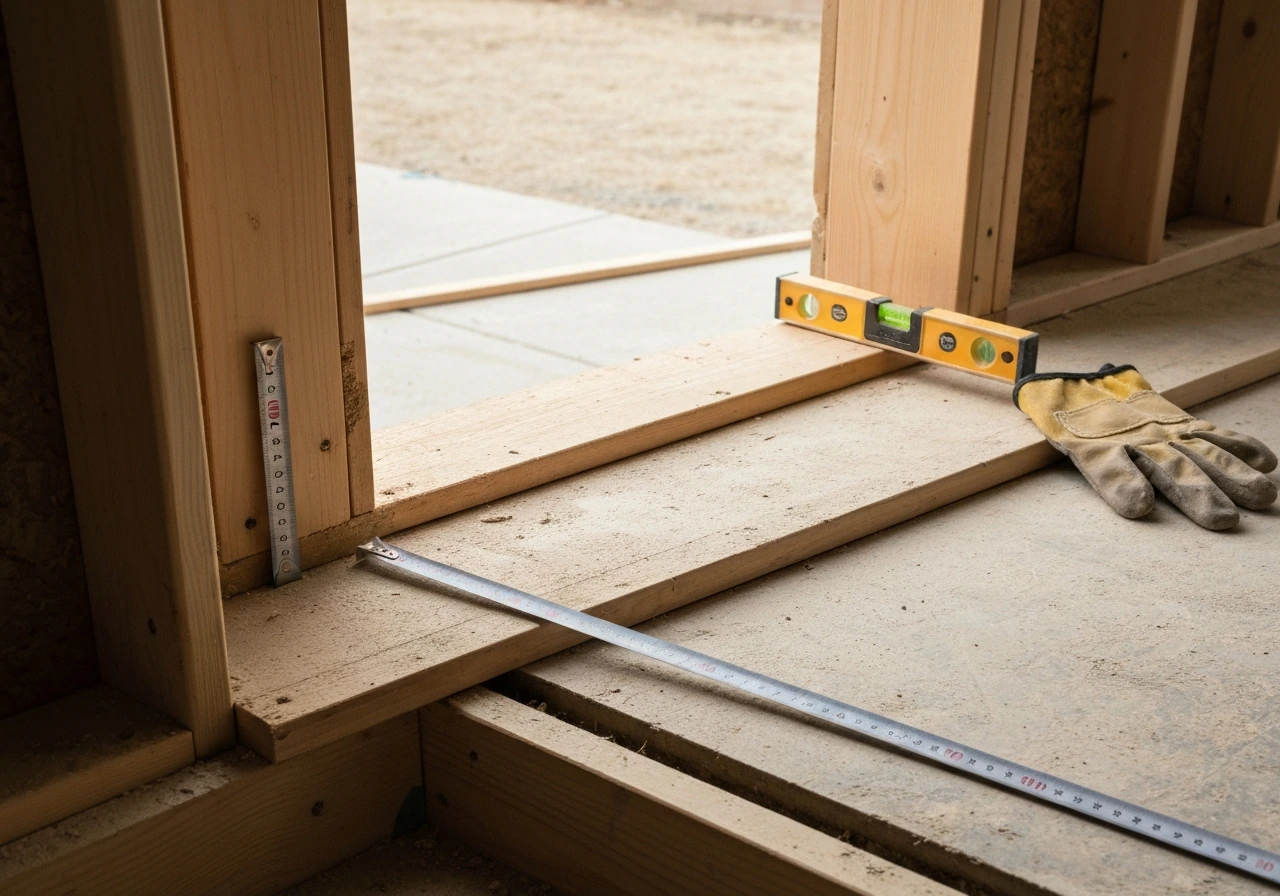
Grab a tape measure and get the width and height of the existing rough opening, measured from the inside faces of the framing members (jack studs on each side, header above, rough sill below). Write down both dimensions. Then check your target patio door's specs: the rough opening needs to be the door unit's frame size plus roughly 1/2 inch to 3/4 inch of clearance total to allow for shimming and leveling.
This is product-specific, so pull the exact rough opening table from your manufacturer's installation instructions before assuming anything fits. Rough opening fit is [product-specific](https://www. homedepot. com/catalog/pdfImages/13/13e632f3-7ce8-4233-8dcc-e9712d35b49f.
pdf), and manufacturers’ installation instructions require determining the rough opening and door frame size and allowing room to shim on each side of the unit.
The sill height is the real issue when converting a window to a patio door. A window sits anywhere from 18 to 40 inches off the floor; a patio door needs to sit at floor level. That means the existing rough sill needs to come out, and the framing below it needs to be removed so the door can reach the subfloor. This is structural work.
Check whether there are cripple studs below the current sill and confirm the header above is sized to carry the load across the new, taller opening. If the header looks undersized (a 2x4 flat header where you'd expect doubled 2x10s or an LVL beam, for instance), this is the moment to either upgrade it or call a structural carpenter. Don't skip this check.
While you're in there, look at the framing condition. Rot, insect damage, or warped king studs will cause alignment problems later and need to be fixed before the door goes in. Also check whether the wall is load-bearing: exterior walls usually are, which means the header above the opening is carrying real weight. If you're widening the opening significantly, you may need a permit and an engineer's sign-off. A straight swap to a similarly sized door unit in the same location is much simpler than doubling the opening width.
Choosing the Right Patio Door Type and Specs
Most homeowners converting a window opening choose a sliding patio door, and it's usually the right call. If you need a portable AC in the space, you can position and seal the exhaust hose at the door opening so the unit vents properly without leaving big gaps sliding patio door.
Sliding doors don't swing into the room or out onto a deck, they tend to be more affordable than hinged French doors, and their hardware is simpler to install and maintain. That said, if the opening is wide enough and you want a more traditional look, hinged French doors or a swing-style single patio door are valid options. The rough opening size you end up with largely dictates what door unit will fit.
| Door Type | Typical Min. Opening Width | Swing/Clearance | Best For |
|---|---|---|---|
| Sliding patio door | 60 in (5 ft) standard unit | None required | Most window conversions, smaller openings |
| French/hinged patio door | 60–72 in typical | Requires in/out swing space | Wider openings, traditional aesthetics |
| Single swing door | 36–38 in rough opening | In or out swing | Narrow openings, tight spaces |
When you're shopping for the unit, pay close attention to the NFRC label. The U-factor tells you insulation performance (lower is better) and the SHGC (solar heat gain coefficient) tells you how much solar heat passes through. If your door faces south or west and summers are hot, a lower SHGC matters. If you're in a cold climate and want passive solar warmth, a higher SHGC on a south-facing door can actually help. ENERGY STAR-rated doors meet minimum thresholds for your climate zone, and if you're financing the project, some utility rebates require that label.
For frame material, vinyl and fiberglass hold up best in wet climates and require the least maintenance. Wood is beautiful but needs regular sealing. Aluminum is durable but transfers heat easily, which hurts energy performance. Match the frame material to your climate and how much maintenance you're willing to do. Also confirm the door comes with a nail fin (or installation flange) if your wall is wood-framed with sheathing, because that fin is how you tie the door into the water-resistive barrier system around the opening.
Removing the Old Window and Prepping the Rough Opening
Before you touch anything, check the age of your home. If it was built before 1978, the existing window trim or surrounding painted surfaces may contain lead-based paint, and the EPA's Renovation, Repair and Painting (RRP) Rule requires lead-safe work practices when disturbing those surfaces. If the home predates the mid-1980s and you find old insulation or floor tiles in the wall cavity, suspect asbestos and have suspect material tested before you cut into it. Neither of these is a reason to panic, but both are reasons to do a quick check before you start swinging a pry bar.
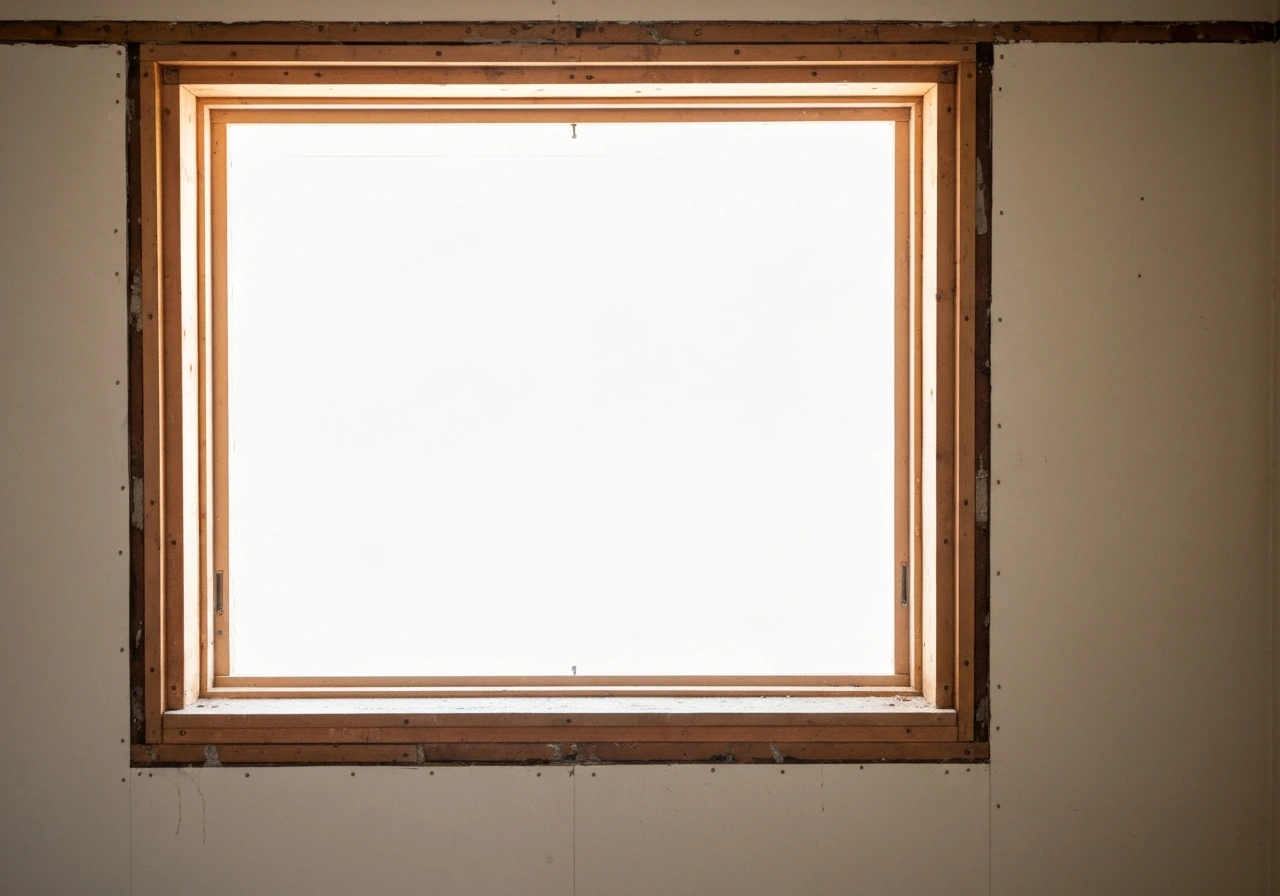
With safety sorted, remove the interior trim and then the window unit itself. Most windows are either nailed through a flange on the outside or screwed through the interior frame. Cut any exterior caulk line with a utility knife before prying to avoid tearing the sheathing wrap. Once the window is out, strip back the housewrap or building paper around the perimeter at least 6 inches so you can integrate new flashing properly. Pull the existing rough sill framing if the door needs to reach the floor, remove cripple studs below the opening, and confirm the rough opening dimensions match what your door's instructions require.
Now frame the new sill. For a sliding patio door, the bottom of the rough opening typically sits at the subfloor level or very close to it, with a sill plate nailed flat. Square up the opening: check the diagonals (they should be equal), check the sides for plumb, and check the sill for level. A sill that's out of level by even 1/4 inch will cause the sliding panel to roll toward one side under its own weight. Shim the sill plate if needed, but use composite or pressure-treated material, not standard dimensional lumber, since that sill area will see moisture over time.
Installing the Patio Door: Level, Plumb, and Secure
Read your manufacturer's installation instructions completely before setting the door. If you want a visual walkthrough, search for a video on how to install French patio doors and follow the steps alongside your manufacturer’s instructions how to install french patio doors youtube. This is not optional. Products like Pella's nail-fin sliding doors have specific rules, like "do not shim above the door," that differ from general framing advice. If you improvise, you risk voiding the warranty and creating a unit that binds or leaks.
- Install the sill pan system first. Most manufacturers include or require a sill pan that sits in the rough opening before the door frame. Follow the sill pan manufacturer's instructions exactly, especially around the corners where water is most likely to infiltrate. Shim the pan so it's level and slopes very slightly toward the exterior if the design allows it.
- Apply a continuous bead of sealant where the sill nailing fin will contact the sheathing and sill pan, per your manufacturer's spec. This sealant line is your last defense against water running under the door.
- With a helper, tip the door unit into the opening from the exterior side. Slide it back until the nailing fins are flush against the sheathing. Do not drag the door unit along the sill, as this can displace the sealant bead.
- Check level across the sill immediately. Use a 4-foot level. Adjust with shims placed under the sill frame at the jack studs. Once the sill is level, check both sides for plumb. Then check the head for level. The door frame should be square, not just level and plumb independently.
- Shim behind each fastener location before driving screws. This is critical: shimming behind screws (not just at corners) prevents the frame from flexing inward when fastened, which would bow the frame and cause the panel to bind. Do not over-tighten.
- Fasten the nailing fins to the sheathing per the instructions, then add structural fasteners through the frame and shims into the jack studs and header. Secure into structural members, not just the installation flange.
- Install the door panels. For a sliding door, set the fixed panel first (it drops into the outer track), then set the operating panel. Test operation before you permanently close up the wall.
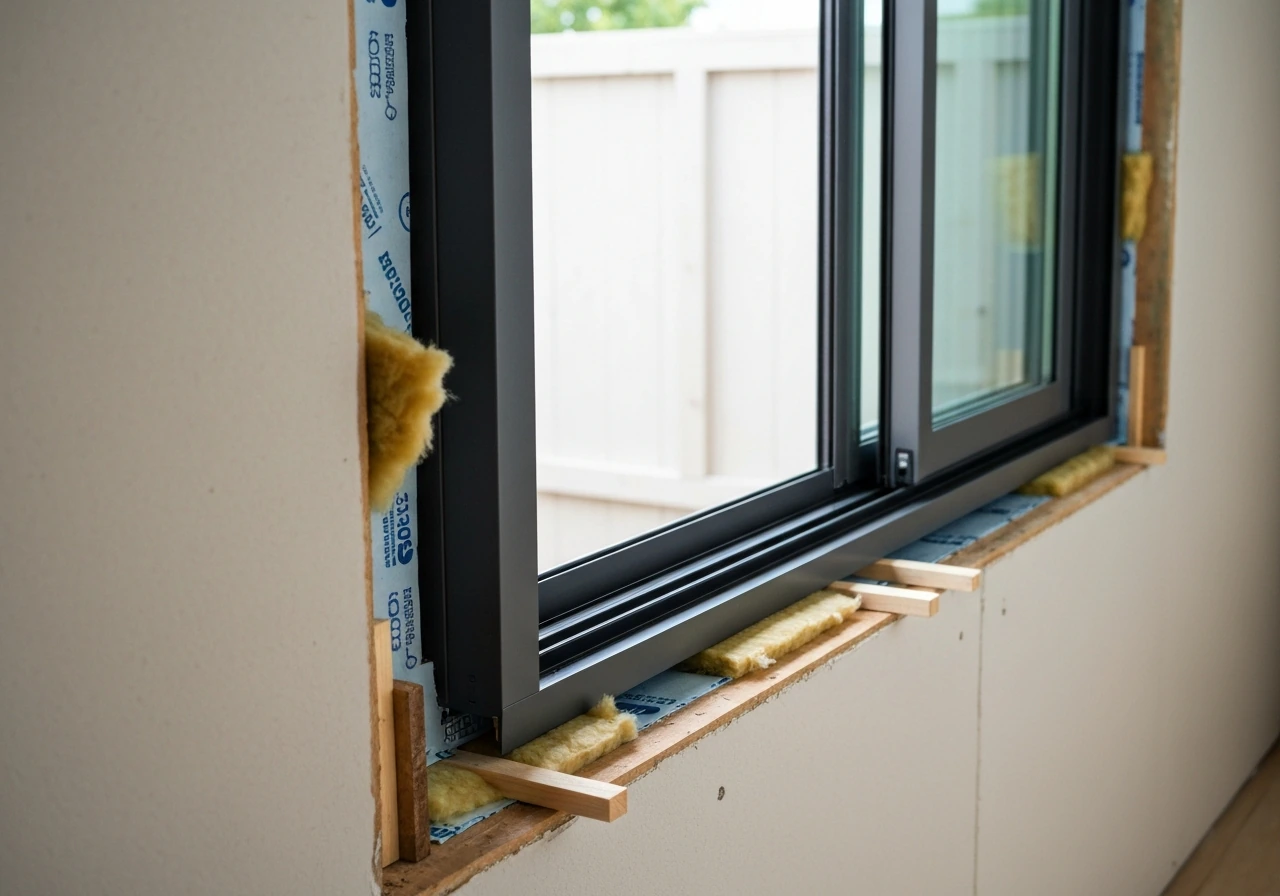
Once the door operates smoothly, check the gap around the frame perimeter inside the rough opening. You'll fill this gap with low-expansion spray foam (not the high-expansion type, which can bow the frame). Fill in sections, not all at once, and keep a level handy to confirm the frame isn't moving as the foam cures.
Weatherproofing and Insulating the Perimeter
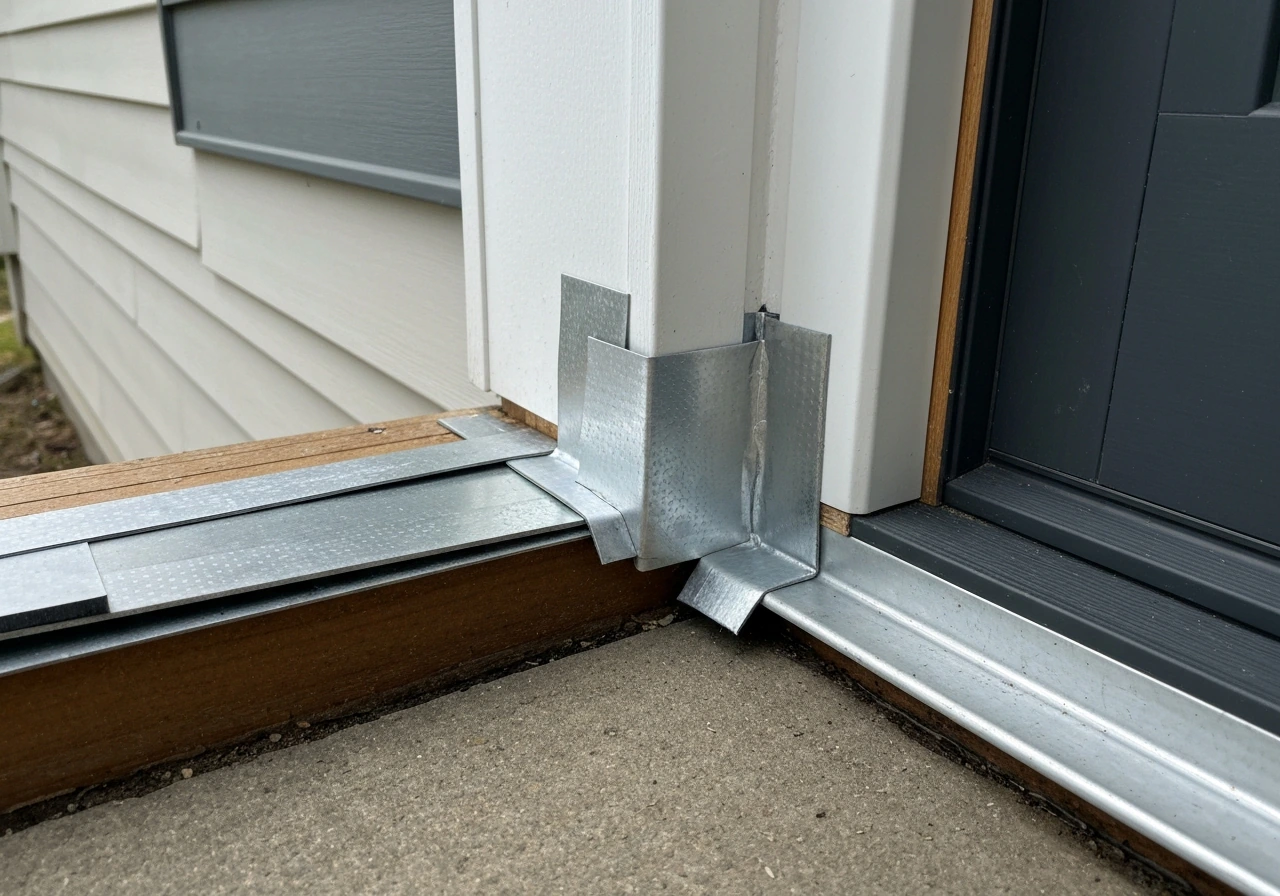
This is where a lot of DIY installations fall apart, and it's almost always because the flashing sequence gets done out of order. Think of flashing like shingles: each layer has to lap over the one below it so water always runs away from the wall, never behind it.
- Sill flashing goes in first, before the door unit. It should extend past the rough opening width and integrate with the housewrap beneath it.
- After setting the door and fastening the nailing fins, tape the side fins to the housewrap using flashing tape compatible with your housewrap (check the adhesive compatibility). Run the tape from the bottom up, lapping each piece over the previous one.
- The head flashing goes on last, lapping over the top edge of the side flashing tape and under the housewrap above the opening. This "Z" sequence is what makes the system waterproof.
- Seal the exterior perimeter of the door frame with a paintable, non-hardening sealant (not silicone alone on most materials; use a siliconized latex or polyurethane product rated for exterior use). Run a continuous bead, tooled smooth, leaving no gaps at corners.
- On the interior, once spray foam has cured, trim any excess flush with the framing and then seal the interior perimeter with acoustical sealant or caulk before installing trim.
Pay extra attention to the corners of the sill pan and where the pan meets the side jambs. This is statistically where most patio door leaks originate. Anecdotal reports from homeowners consistently point to the bottom track area as the leak source, often because the sill pan corners weren't sealed or the sill fasteners were left out. If your door came with a pre-formed sill pan with integrated corners, use it. If you're building a pan from flashing material, form the corners carefully and test them before the door goes in.
Finishing Steps: Trim, Operation, Locks, and Screens
With the door installed and weatherproofed, install interior trim (casing) to cover the gap between the door frame and the drywall. Use finish nails into the frame, not just the drywall. If there's a significant gap because the old window was narrower than the new door, you may need to patch drywall or add jamb extension material to bring the door frame flush with the interior wall surface before casing.
Now test every function of the door deliberately, not just a quick slide. Open and close the operating panel several times and confirm it rolls smoothly without drifting. Adjust the roller height if the door drags or lifts off the track; most sliding doors have an adjustment screw at the bottom of each roller that raises or lowers the panel relative to the track. The panel should glide with light finger pressure and stop solidly when it meets the stop on the frame.
Check the latch. Close the door and engage the lock handle. The latch should catch the keeper without lifting or pushing the panel. If it doesn't, the keeper is adjustable on most units: loosen the keeper screws, shift it slightly, and re-tighten. A latch that requires force to engage is a lock that won't get engaged regularly, which is a security problem.
For security, the factory latch on most sliding patio doors is not sufficient on its own. Add a secondary security bar in the track to prevent the door from being forced open, and add anti-lift pins or an anti-lift lock to prevent the panel from being lifted out of the track from outside. For example, Ideal Security’s sliding patio door security bar includes an anti-lift lock feature designed to reduce lift-out risk when the door is locked. Products like a security bar with integrated anti-lift lock are inexpensive and take about 20 minutes to install. They're worth doing during the finishing stage rather than as an afterthought.
Install the screen door last. Set it in the track the same way as the fixed panel, then check that it slides smoothly and the latch or handle works correctly. Confirm the screen sits flush with the door frame when closed, with no gaps at the edges that would let insects in.
Common Problems After Installation and How to Fix Them
The door drags or is hard to slide
This is almost always a roller issue. The adjustment screws at the bottom corners of the panel control roller height. Turn them clockwise (usually) to raise the panel slightly off the track, which reduces drag. If adjusting the rollers doesn't fix it, check whether the frame bowed during installation. Run a straightedge along the side jambs. If the frame is bowed inward, the foam or fasteners overtightened the frame. In that case, you may need to back out a fastener, re-shim, and re-drive it at the right torque.
There's a draft after install
Run your hand around the entire perimeter on the interior side with the door closed. If you feel air at the frame-to-rough-opening junction, the foam wasn't applied fully or shrank during cure, which happens with cheap foam. Cut out the problem area and refill. If the draft is coming through the door itself at the meeting rail or weatherstripping, check whether the panel is seated correctly against the weatherstripping when locked. If the weatherstripping is compressed unevenly, the roller height needs adjustment. If the weatherstripping is torn or compressed flat, replace it. This is a common maintenance item on older sliding doors but shouldn't be needed on a brand-new installation unless the door shipped with damaged seals.
Water is leaking at the base of the door
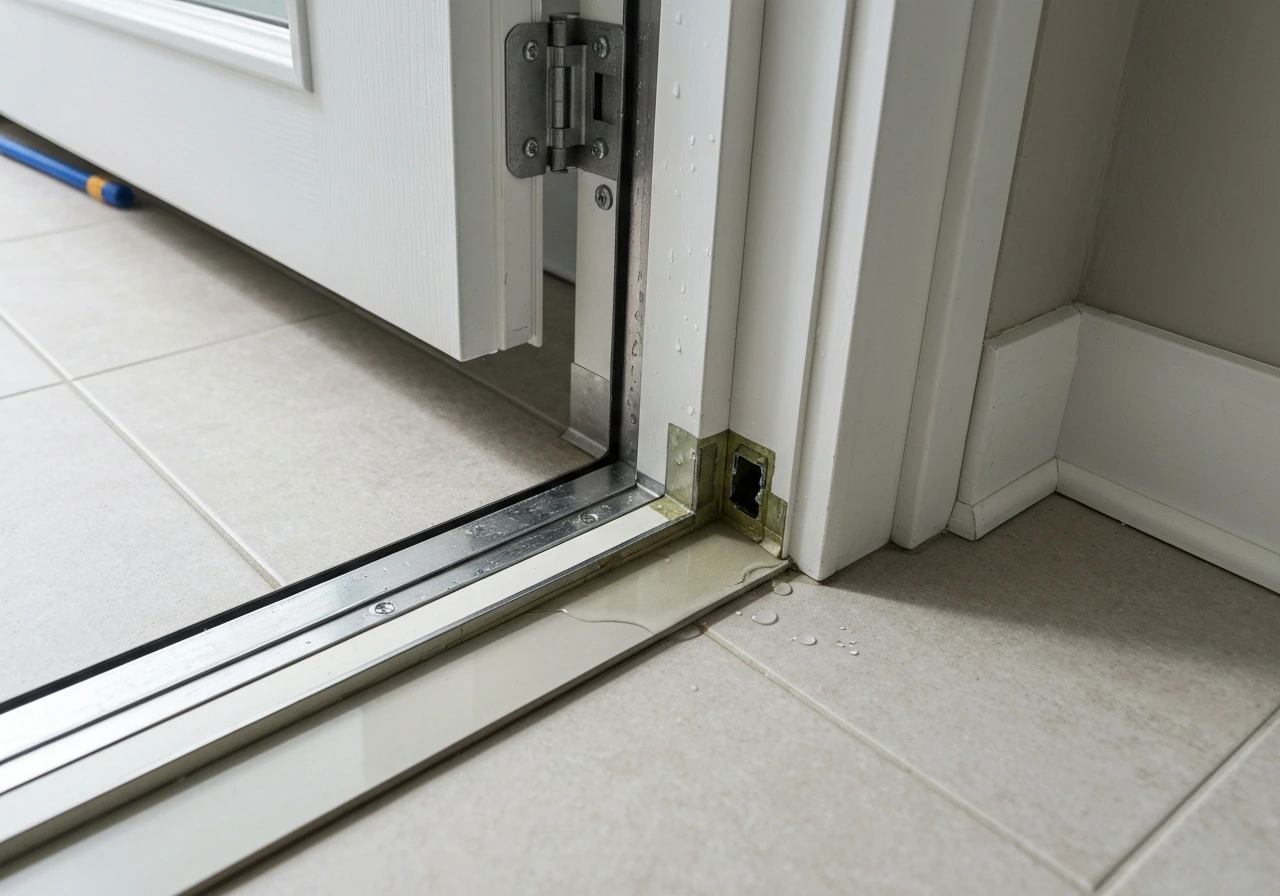
This is the most common serious problem and almost always comes down to the sill pan installation. If water is appearing inside at the bottom track, the sill pan corners were not sealed, the pan wasn't integrated properly with the flashing below, or the exterior sealant at the sill has a gap. Start by inspecting the exterior caulk line at the sill. Run a hose over the door for a few minutes and watch where water enters.
Trace it upstream. In many cases you'll find a gap at a corner or a fastener hole that wasn't sealed. Re-caulk and re-test. If water is coming through the track weep holes (which is normal in heavy rain), make sure those weep holes are clear and not blocked by debris.
The lock won't engage or the handle feels loose
A handle that feels sloppy usually means the mounting screws backed out during shipping or installation. Open the panel and tighten the handle hardware from the interior side. If the latch won't catch the keeper, the keeper position needs adjustment: most keepers have two screws that allow lateral movement. Shift the keeper toward the latch until there's a positive, solid catch with no slop. If the latch itself is broken or the cam mechanism stripped, replace the handle set (they're inexpensive and sold at any home improvement store for most standard door brands).
The door isn't square and the panel gaps are uneven
If there's a wide gap at the top of the meeting rail and the panels nearly touch at the bottom (or vice versa), the frame isn't square. This is a framing or installation problem. If you catch it early, before the foam cures and trim is installed, you can still adjust: remove the side fasteners, re-shim the offending corner, and re-fasten. If the project is fully closed up, it's a harder fix that may require removing interior trim and the foam to access the shims. If you're uncomfortable doing that, this is a reasonable point to call a door installer to assess whether a shim adjustment is feasible or whether the frame needs to come out and be reset.
Most problems that show up after a patio door installation trace back to something that could have been caught during the install: a sill that was 1/4 inch out of level, a shim that was missing behind a fastener, or a sealant line that had a gap. The good news is that if you work methodically through the steps above and check level and plumb at every stage, you'll avoid the vast majority of them. If you do hit a problem you can't solve, a window and door installer can usually diagnose it in a single visit without having to redo the whole job.
FAQ
Do I need to remove the old window frame too, or can I just mount the patio door over it?
In most cases you should remove the window unit and its rough-sill framing as needed, then install the patio door into a true, code-compliant rough opening. Leaving parts of the old frame in place can cause the new door to sit off-level or off-square, which leads to binding tracks and poor sealing, and it also interferes with proper integration of the nail fin or installation flange with the housewrap.
What should I do if my measurements show the patio door will be too small for the existing opening (or too big)?
If you are short, you cannot safely “fill the gap” with foam alone, because you still need solid shim locations and a correctly supported frame. If you are over, you usually need to reframe and adjust the header or side framing, not cut corners in the field. Use the manufacturer’s rough opening table and verify clearance for shimming and leveling, including the sill requirement at floor level.
My window was higher than patio floor level, but can I just build up the interior floor instead of lowering the sill?
You generally want the door threshold to land at the designed floor height, because adding height inside can create trip hazards, reduce clearance for weatherstripping, and still leave the exterior sill structure wrong for a sliding door. If the project requires major sill removal, talk through the plan with the door installer or a structural carpenter to confirm you are addressing load-bearing framing correctly.
How do I know the wall framing is load-bearing and whether I need a structural change?
If the exterior wall carries floor or roof loads, it is often load-bearing. If you plan to significantly widen the opening or change the height, check for an appropriately sized header above the new opening and look for cripple studs below the old sill. When the header seems undersized or the change is substantial, treat it as structural work and involve a structural carpenter or engineer before cutting more wood.
Can I install the patio door if the opening isn’t perfectly square?
You can correct minor out-of-square during shimming, but the target needs to be very close because sliding doors are sensitive to sill level and frame squareness. A sill that is off by about 1/4 inch can cause the panel to roll toward one side. If the framing is far out, it is usually safer to re-shim and re-set the opening before the door and foam go in.
What type of foam should I use, and how do I avoid bowing the frame?
Use low-expansion spray foam rated for window and door installation. Apply it in sections, with the door frame held at the correct position while you work, and avoid overfilling. High-expansion foam can bow the frame, which later shows up as sticky operation, uneven weatherstripping compression, and gaps.
Should I caulk the nail fin or installation flange area right away?
The order matters. Your flashing and sealing strategy should follow a shingle-lap concept so water flows outward and never behind the housewrap or behind the door frame. Instead of “random caulking,” plan the water management layers first, then use sealant only where the instructions specify, especially at the sill pan corners.
If I have a pre-formed sill pan, do I still need to seal the corners manually?
Yes, you should confirm the corners are properly integrated and sealed according to the door and sill pan instructions. Even with pre-formed pans, leaks commonly occur when sealant coverage is incomplete, fasteners are omitted at the sill, or the pan corners were not integrated correctly with the flashing below.
How can I tell the difference between a normal weep hole issue and a true leak?
Weep holes can allow water to drain during heavy rain, but you should not see soaking water inside the structure at the bottom track in normal conditions. If water appears inside after a hose test or light rain, inspect the exterior caulk lines at the sill and run water to trace where it enters, often finding gaps at corners or around fastener holes.
What is the correct way to test for drafts after installation?
With the door closed, run your hand around the interior perimeter and also do a short visual check for uneven compression at the weatherstripping. If you feel drafts at the frame-to-rough-opening junction, the foam or sealant integration likely has a gap or shrinkage. If drafts come mainly through the meeting rail area, it can indicate the panel is not seated correctly or roller height is off.
My sliding patio door drags. Should I adjust rollers immediately, or is there something else to check first?
Adjusting roller height is usually the first step, using the manufacturer’s adjustment points, because it directly changes how the panel contacts the track. If adjustment does not solve it, check for frame bowing by running a straightedge along the side jambs. If the frame is bowed from over-tightening or foam pressure, you may need to reset and re-shim rather than keep forcing roller adjustments.
How do I adjust the latch if it won’t catch smoothly?
Start by adjusting the keeper location, loosening its screws and shifting it until the latch catches without lifting or pushing the panel. A latch that requires force is a problem for both security and day-to-day use. If the latch mechanism itself is damaged or stripped, replacing the handle set is often faster than trying to fix worn internals.
Is a secondary security bar or anti-lift lock always necessary?
It is strongly recommended for sliding patio doors because factory latch systems are often not enough on their own for anti-force and anti-lift protection. Install an add-on security bar in the track and consider anti-lift pins or an anti-lift lock, ideally during finishing so the hardware aligns correctly and does not interfere with track operation.
What finishing mistakes commonly cause problems with the door after the project looks complete?
Gaps that weren’t addressed before casing, rushed trimming that blocks or twists weatherstripping, and foam application done without checking frame movement are frequent culprits. Also, verify the frame is not pulled or bowed when installing trim and that interior nails go into the frame where required, not only into drywall.
If something goes wrong, when is it still possible to fix it yourself without redoing the whole door?
Early problems, like minor out-of-square, can often be corrected before the foam cures fully and before interior trim makes shimming inaccessible. If you already have weatherproofing and trim closed up, fixes may require removing interior casing to access shims or sealant. If the door binds, leaks persist, or the frame appears bowed, a window and door installer can usually diagnose quickly and tell you whether a full reset is needed.
Next Article
How Long Does It Take to Install or Replace a Patio Door
Get realistic timelines for replacing or installing a sliding or hinged patio door, plus after-install checks and delays