To seal a sliding patio door, you need to tackle three different zones with three different materials: replace worn weatherstripping along the sides and top where the door moves, install or adjust a door sweep at the bottom where the door meets the threshold, and apply exterior caulk around the fixed frame where the door jamb meets the house wall. If you are finishing laminate flooring that ends at a patio door, plan the expansion gap and handle the transition trim so the floor can move without buckling finish laminate flooring at a patio door. Get those three zones right and you'll eliminate almost every draft and water intrusion problem a sliding patio door can throw at you.
How to Seal a Patio Door: Step-by-Step DIY Guide

Jamie Archer
16 May 2026

Where sliding patio door leaks actually come from
Before you buy anything or pull out a caulk gun, spend ten minutes finding out exactly where your door is leaking. Most people guess wrong and end up re-doing the job. There are five common leak sources on a sliding patio door, and each one has its own fix.
- The door's side channels: The vertical weatherstripping that presses against the door panel as it slides wears down or peels away over time, leaving a gap along the full height of the door.
- The top rail: A foam or pile weatherstrip runs along the top of the sliding panel. When it compresses or falls out, cold air spills in from above.
- The bottom gap: The door sweep or bottom-rail weatherstripping is either worn, missing, or the door has sagged off its rollers so there's a visible gap between the panel and the threshold.
- The latch/lock side: The point where the sliding panel meets the stationary panel (the 'meeting stile' area) is a common cold spot. There's usually a fin seal or pile strip here, and it's one of the first things to go.
- The frame perimeter: This is the gap between the door's outer frame and the house wall itself—sealed with caulk from the exterior, not weatherstripping. If that caulk has cracked or pulled away, air and water get in behind the frame.
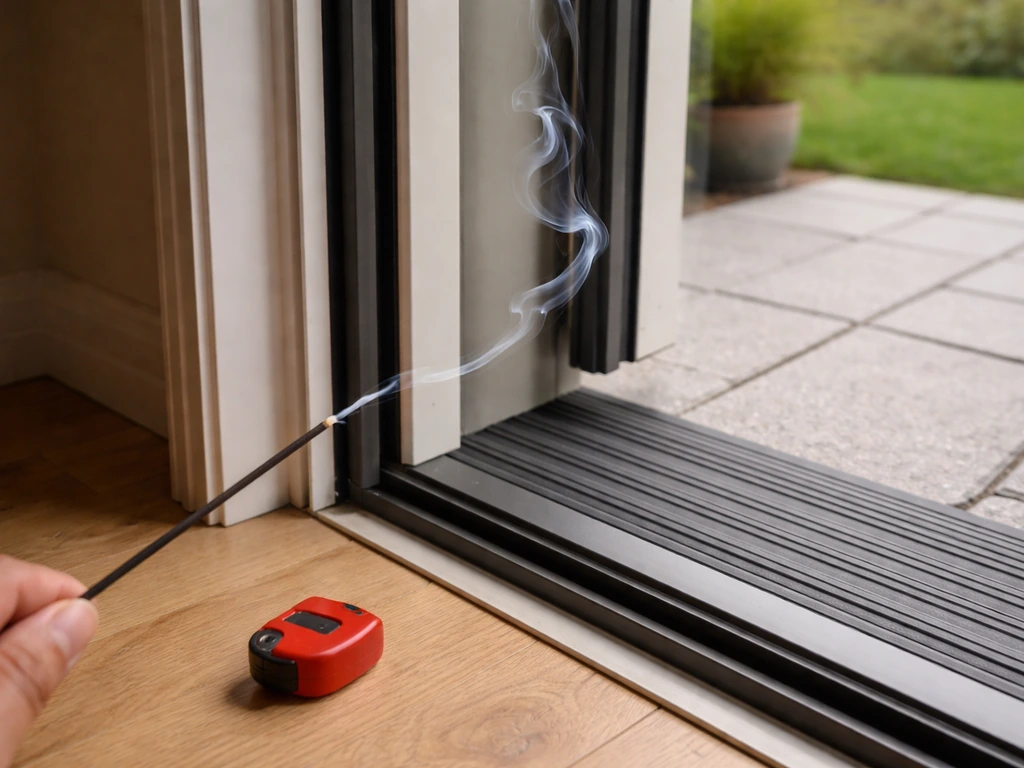
You can confirm exactly where air is sneaking in using a smoke pencil (sometimes called a draft detector). Hold it near each zone on a windy day or with a fan blowing from outside, the smoke will deflect toward any active air leak. This approach aligns with ASTM E1186 air leakage site detection methods and takes about five minutes. A cheaper trick: run a lit stick of incense around the frame perimeter and along each door edge. If you want a more rigorous diagnosis, a blower door test (done by a weatherization contractor) depressurizes the house and pinpoints every infiltration point, but that's usually overkill for a single patio door.
One thing most people overlook: check the weep holes in the sill track. These are small slots or holes along the bottom of the door track designed to drain water out to the exterior. If they're clogged with debris, water backs up inside the track and looks like a leak from below. Use a thin wire or toothpick to clear them. And whatever you do, don't caulk over them, that's a common mistake that traps water and causes rot.
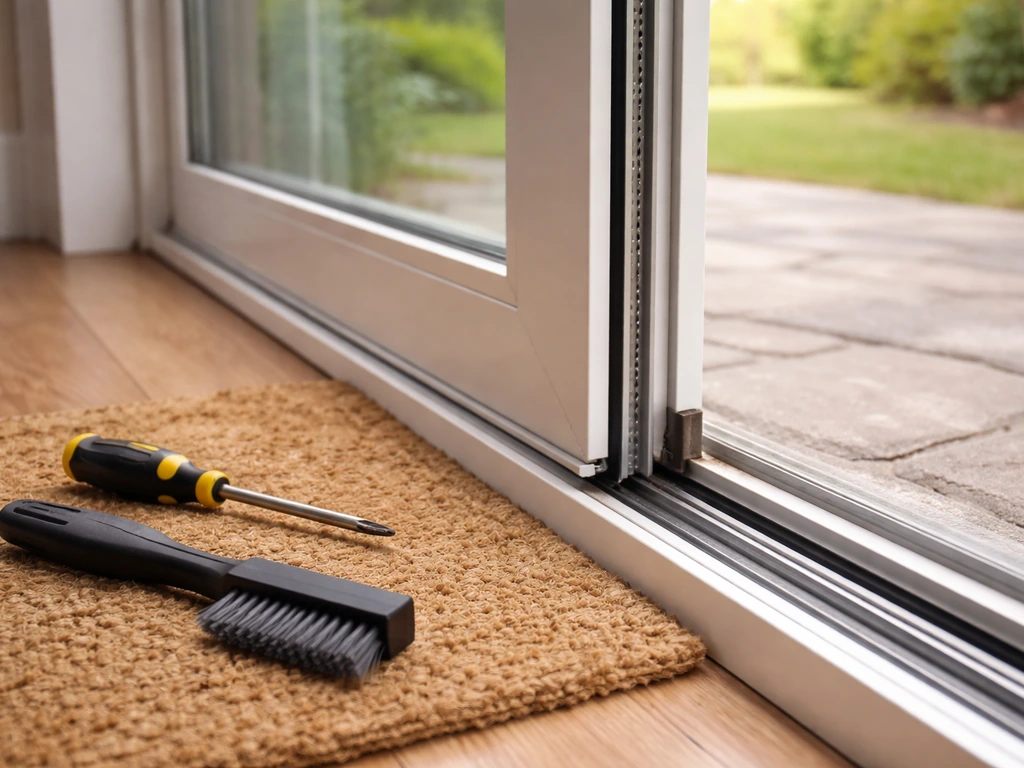
Clean, inspect, and measure before anything else
Good prep makes the difference between a seal that lasts years and one that peels off in a season. This part takes about 20 to 30 minutes and it's not glamorous, but skip it and you'll regret it.
- Clean the track: Vacuum out the sill track first, then wipe it down with a damp cloth and mild detergent. Dirt and old grease on the track surface will prevent new weatherstripping from adhering and will also clog your weep holes.
- Clean the door frame surfaces: Any surface that's getting new weatherstripping or caulk needs to be clean and dry. Use rubbing alcohol on the channels where adhesive-backed weatherstripping will go—it removes grease and residue that would kill the bond.
- Inspect existing weatherstripping: Pull back or press the existing strips and look for compression, tears, missing sections, or places where it has pulled away from its channel. Weatherstripping that's flattened out permanently won't spring back and needs replacing.
- Check door alignment: Lift slightly on the door panel handle and look for excessive play. A door that sags on its rollers won't close tightly against the frame regardless of how good your weatherstripping is. Most sliding doors have adjustment screws at the bottom of the panel (accessible from inside) that raise or lower the rollers. If the door drags or won't close flush, fix alignment before you seal.
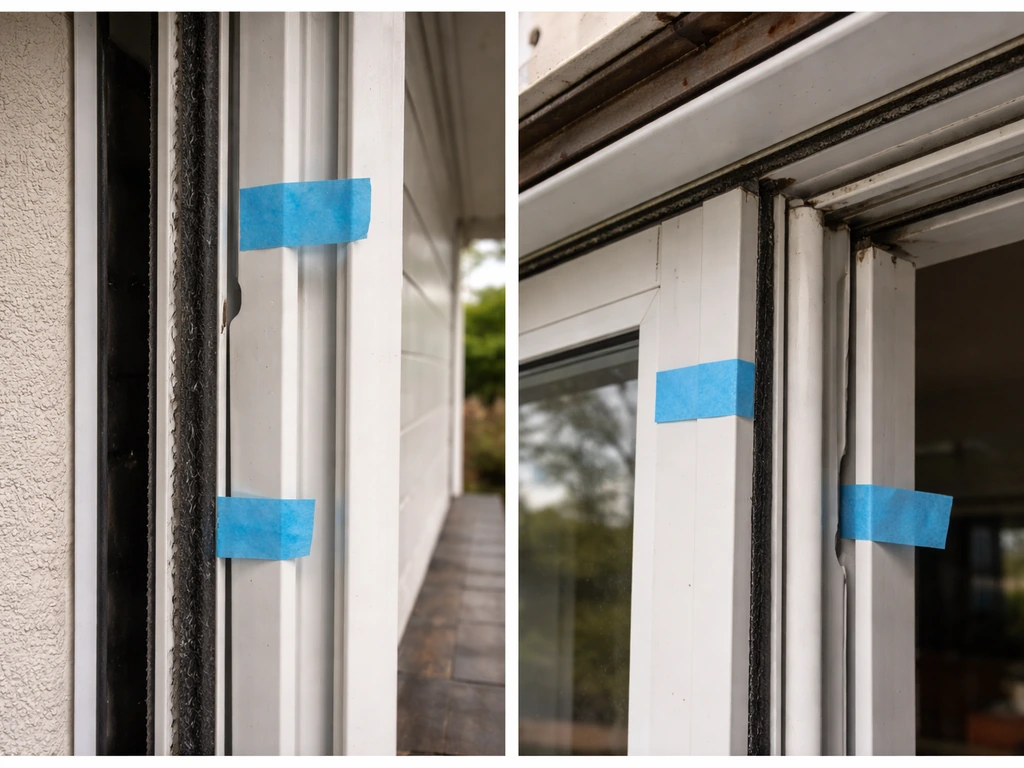
- Measure gaps: Use a feeler gauge or a folded piece of paper to check how large the gaps are at each zone. A gap wider than 1/4 inch at the frame perimeter will need backer rod before caulking. A gap at the bottom that you can slide a credit card through means your door sweep needs replacing or your rollers need adjustment. Write down measurements so you buy the right thickness of weatherstripping.
Picking the right sealing materials
The Department of Energy draws a clear line here: caulk is for stationary gaps (frame to wall), weatherstripping is for moving interfaces (door edges, top, bottom). Using caulk where weatherstripping belongs, or vice versa, won't work. Here's what to buy for each zone.
Weatherstripping for the door sides, top, and meeting stile
EPDM rubber is the best all-around choice for sliding patio doors. It handles a temperature range of roughly -40°F to 170°F, lasts about 7 to 9 years, and holds up to UV and moisture better than foam tape. For the side channels, you want a compression or fin-seal strip that matches the existing channel width, measure the channel carefully because profile dimensions vary by manufacturer. For the meeting stile (where the sliding panel meets the stationary panel), a pile weatherstrip (the fuzzy kind) is typically what's used from the factory, and it's what you should replace it with. Pile handles the sliding contact without generating drag.
Door sweep for the bottom
A door sweep is a flat aluminum retainer that holds either a brush strip or a flexible fin/blade and mounts to the bottom of the door panel. The sweep contacts the threshold as the door closes, sealing the bottom gap. For a sliding patio door, look for a sweep designed specifically for sliding panels, they're often called 'automatic' or 'sliding door sweeps' and are narrower than those used on hinged doors. Measure the width of your door panel exactly before ordering.
Caulk for the frame perimeter
For exterior gaps around the door frame where it meets siding, brick, or stucco, use a paintable silicone or siliconized latex caulk. Pure silicone is best when you're sealing between dissimilar materials like metal flashing and brick. For gaps up to 1/4 inch, caulk alone works fine. For gaps wider than 1/4 inch (or deeper than 1/2 inch), press in a closed-cell foam backer rod first to control caulk depth and prevent the sealant from bridging too wide a joint. Backer rod comes in 1/4 to 1-1/2 inch diameters, pick one slightly larger than your gap so it stays put.
| Zone | Material | Key Spec |
|---|---|---|
| Door sides/top channel | EPDM compression or fin seal strip | Match to existing channel width; -40°F to 170°F rated |
| Meeting stile (latch side) | Pile weatherstrip | Match pile height to gap; allows sliding contact |
| Bottom of door panel | Sliding door sweep (brush or fin type) | Match to panel width; aluminum retainer |
| Frame-to-wall gaps up to 1/4" | Silicone or siliconized latex caulk | Paintable; use exterior-rated formula |
| Frame-to-wall gaps over 1/4" | Backer rod + caulk | Use closed-cell backer rod, slightly oversized for gap |
| Screen door edge (bugstrip) | Pile or fin bugstrip | Full-height strip on screen door stile |
How to seal a sliding patio door: sides, top, and bottom
Work from top to bottom. Do the sides and top first, then the bottom sweep last, that order keeps you from disturbing fresh work as you move around.
Sides and top
- Slide the door panel to the open position and locate the existing weatherstrip channel along the interior side jambs and the top of the frame. It's usually a kerf slot (a narrow groove routed into the wood or vinyl) that the weatherstrip snaps or pushes into.
- Pull out the old weatherstrip. Most types just pull out by hand. If it's stapled or tacked, use a flat pry tool carefully.
- Clean the channel with rubbing alcohol and let it dry completely.
- Cut the new EPDM or pile weatherstrip to length. Measure twice—cut at the corners with a 45-degree miter if the strips meet at corners, or butt them square if they run into separate channels.
- Press or snap the new strip into the kerf channel. If your door uses adhesive-backed strip instead of a kerf channel, apply firm pressure along the full length and hold for 60 seconds. Let adhesive strips cure for an hour before sliding the door.
- For the meeting stile, peel off the old pile strip and apply the new one directly to the door or frame face—this is almost always adhesive-backed. Make sure it runs the full height of the panel with no gaps.
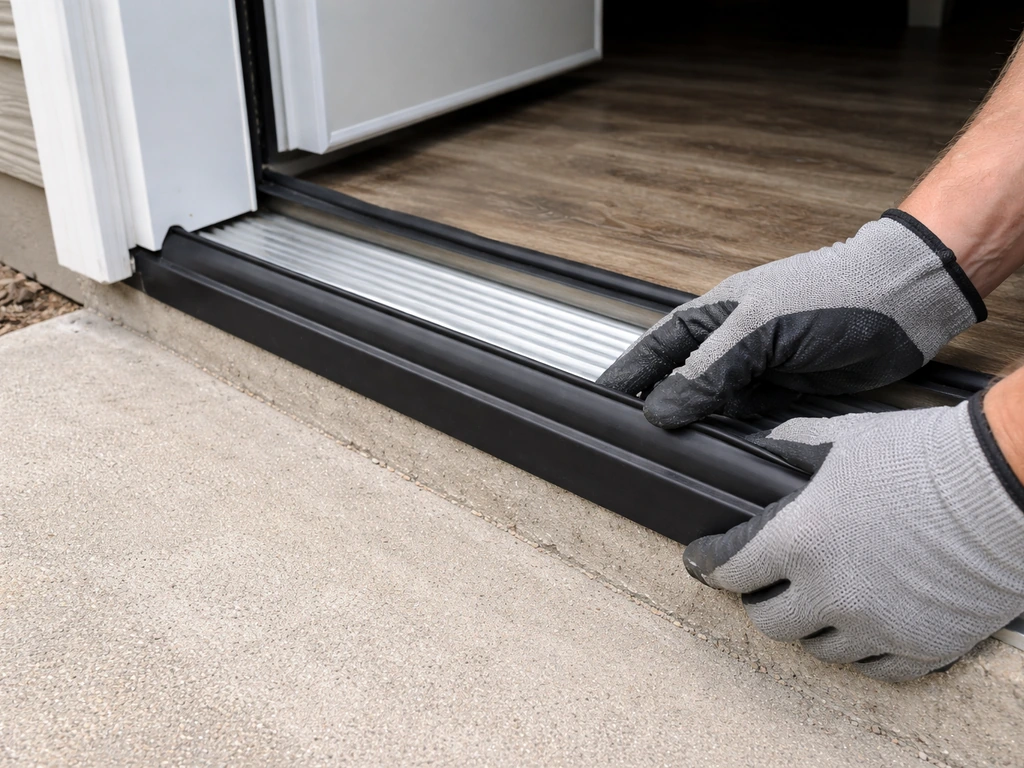
Bottom of the door
- Check whether the door has a replaceable bottom-rail weatherstrip or needs a door sweep mounted to the panel face. Many modern patio doors (like Andersen models) have a bottom-rail weatherstrip that slides or snaps into a dedicated channel—the manufacturer's replacement guide will show the exact removal method.
- If replacing bottom-rail weatherstrip: slide the old strip out from the end of the panel (some have a retaining screw at one end), slide the new strip in, and secure it.
- If installing a door sweep: hold the sweep against the bottom of the panel (on the interior side) with the fin or brush just touching the threshold when the door is closed. Mark the screw hole positions with a pencil.
- Drill pilot holes to avoid cracking the panel frame, then screw the sweep into place. Slide the door back and forth to confirm the sweep drags lightly on the threshold but doesn't create so much friction that the door is hard to move.
- Adjust roller height if needed: if the bottom gap is uneven side-to-side, the rollers are the cause, not the sweep. Find the adjustment screws at the bottom corners of the panel, turn them clockwise to raise that side, and recheck.
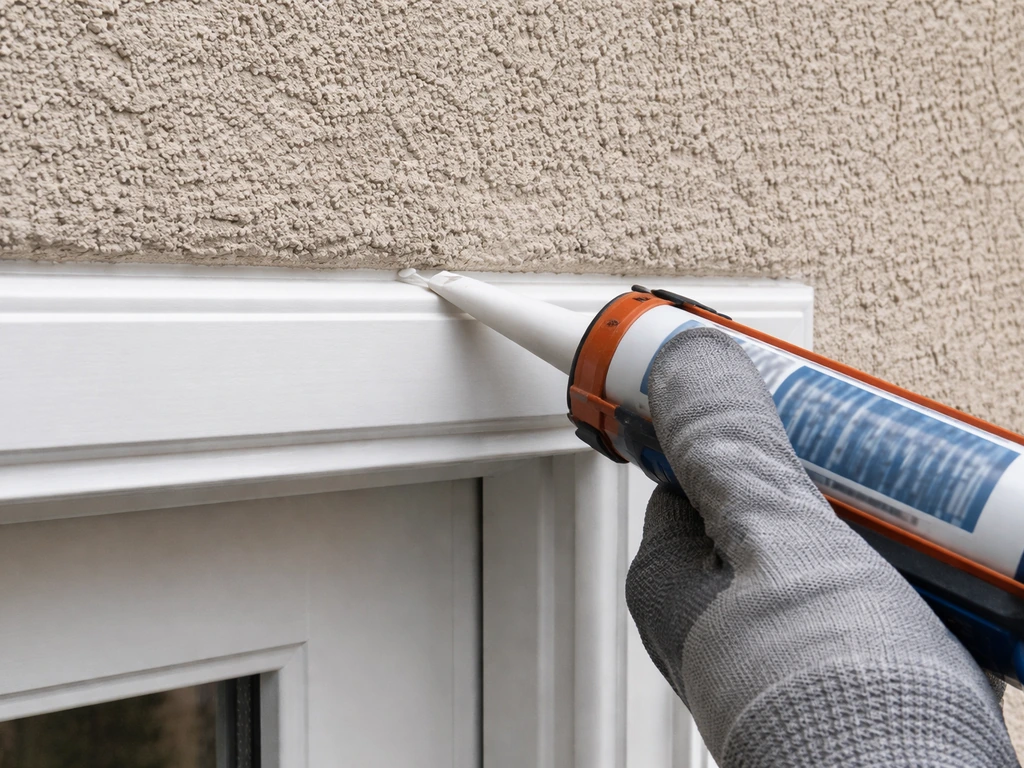
Sealing around the patio door frame
This is a separate job from sealing the door itself, and a lot of people miss it entirely. The 'around the door' seal is about the gap between the door's outer frame and the house structure, visible from the exterior as a seam between the door casing and the siding, stucco, or brick. If your patio door is leaking, the next step is to focus on the fixed frame seam and make sure you use the right exterior caulk for that gap around the door. This is a fixed, stationary gap, so caulk is the right tool.
- Work from outside on a dry day when temperatures are above 45°F. Cold or wet conditions prevent caulk from curing properly and bonding well.
- Cut away any old, cracked, or peeling caulk with a utility knife or oscillating tool. Getting this out completely is important—new caulk over old failed caulk will fail just as fast.
- Clean the surface with rubbing alcohol or a damp rag and let it dry.
- For gaps wider than 1/4 inch: press foam backer rod into the gap first. The rod should fit snugly and sit about 1/4 inch below the surface so the caulk has enough depth to bond on both sides without adhering to the back of the gap.
- Apply caulk in a steady bead, pulling the gun toward you rather than pushing it. Aim for a bead about 3/8 inch wide. Smooth with a wet finger or a caulk tool within a few minutes before it skins over.
- Do NOT caulk the bottom sill joint or any weep holes at the base of the door frame. The sill is designed to drain water to the exterior—sealing it traps moisture inside the wall assembly.
- Let caulk cure fully before painting over it (check the product label; most silicone-latex hybrids need 24 hours).
If you have a sliding screen door, check the bugstrip on the screen door's latch stile. This is a pile or fin strip that seals the gap between the screen door and the main patio door from top to bottom. Worn bugstrips are a surprisingly common source of drafts and insect entry that people blame on the main door. Replacement bugstrips are inexpensive and press or snap into place.
Test whether it worked, fix common mistakes, and keep it working
Testing for drafts after sealing
The easiest post-job test: on a windy day or with a box fan blowing into a window nearby (to pressurize the room slightly), run a smoke pencil or incense stick slowly along every edge of the door, sides, top, bottom, the meeting stile, and the frame perimeter. The smoke should hang still or drift toward you. Any deflection toward the door surface means there's still a gap. A professional weatherization contractor can do a blower door test to measure the actual air leakage in CFM before and after, which is useful if you're also working on the rest of the house's air sealing.
Common mistakes and how to fix them
- Weatherstripping is too thick and the door won't close: This is the most common error. If the door suddenly takes significant force to close or won't latch, the compression strip is oversized for the gap. Measure the actual gap (with a feeler gauge) and buy the right profile—don't just grab the thickest one.
- Adhesive-backed weatherstripping keeps falling off: The surface wasn't clean enough before application. Remove it, clean with rubbing alcohol, let it dry completely, and reapply. Adhesive strips also need pressure held for at least 60 seconds and a 24-hour cure period before heavy use.
- Caulk is cracking or peeling within a season: Usually means it was applied in cold weather (below 45°F), on a wet surface, or the old caulk wasn't fully removed. Strip it back to clean material and reapply.
- Gaps persist at the latch side even after new weatherstripping: The door panel may be misaligned. Adjust the roller height at the bottom of the panel so the door sits squarely in the frame before assuming the weatherstripping is the problem.
- Water is still getting in at the track: Clear the weep holes with a thin wire. If water is entering at the frame perimeter, the flashing behind the exterior casing may be compromised—that's a job for a contractor.
Seasonal maintenance to keep the seal effective
Twice a year (spring and fall) is all it takes to stay ahead of this. If you're also planning a holiday look, you can decorate your patio door for Christmas without interfering with the seal by sticking to removable, weather-safe décor seasonal maintenance. Protecting your patio door from rain comes down to keeping the sill track clear and maintaining the exterior caulk around the frame. In the fall before temperatures drop, clean the sill track, clear the weep holes, run a finger along all weatherstripping to check for compression or tears, and do a quick smoke test. If you want maximum warmth, double-check that the weatherstripping still compresses tightly and that the bottom sweep and caulk lines are ready for freezing temperatures seal a patio door for winter. If you’re aiming for how to winterize patio door the right way, this fall routine sets you up to block drafts and keep water from getting behind the seals In the fall before temperatures drop. If any strips are compressed flat or torn, replace them before winter. In spring, check the exterior caulk bead for cracking after winter freeze-thaw cycles and re-caulk any sections that have pulled away. Lubricate the track with a silicone-based spray (not WD-40) to keep the door rolling smoothly without attracting dirt. A well-maintained door seal is also closely tied to how the door is protected from rain and how well it was weatherproofed overall, both topics worth addressing alongside this work. A good way to keep a sliding patio door weatherproof is to follow the same three-zone approach and verify the results with a smoke test after sealing weatherproofed overall.
With the right materials in the right zones and a proper prep job, a sealed sliding patio door should hold up for several years before needing attention again. EPDM weatherstripping alone has a rated lifespan of 7 to 9 years under normal conditions. The weak link is usually the exterior caulk, which may need a touch-up every few years depending on your climate. Check it every fall and you'll stay well ahead of any problems.
FAQ
How do I know whether the leak is coming from the sliding door panel, the fixed frame, or the sill track?
Do the smoke or incense test in a strict order. First check the movable edges (sides and top of the sliding panel), then check the meeting stile (where the moving panel overlaps the fixed panel), then check the bottom area near the threshold, and finally check the exterior seam where the fixed frame meets the house. If you see “mystery” water or fogging near the bottom inside edge, the weep holes in the sill track are a prime suspect, and clearing them often fixes the symptom without replacing door parts.
Can I use just caulk to seal every gap around my patio door?
Usually no. Caulk is for stationary gaps (frame to wall), while weatherstripping and a properly fitted sweep are for moving interfaces (door edges and the bottom). If you caulk over a moving contact point, the seal can crack quickly, and you can also create a hard spot that prevents proper compression, leading to drafts and premature failure.
What if my weatherstripping channel dimensions do not match what the new strip is advertised for?
Measure the channel width at multiple points, especially near the top and bottom corners, because some doors have slight distortions. Also check whether the channel uses a compression style or a fin/seal style. If the strip is too tight, it can bind when the door moves, and if it is too loose, it will not compress enough to seal.
My sweep contacts the threshold but still leaks. What should I check first?
Confirm two things: correct sweep width (so it covers the full bottom opening) and correct contact height (so it reaches the threshold when the door is closed). Then recheck the threshold surface for debris or warping. If the sweep is adjusted as low as possible but still leaves a visible gap, the threshold or door bottom may be worn and may need repair rather than more caulk or shimming.
Is it safe to caulk near or over the weep holes?
No. Do not seal over weep holes in the sill track. Those openings let water drainage happen, and sealing them traps moisture inside the track, which can cause swelling, rot, and recurring leaks that look like they are coming from “below.” Instead, clear the weep holes and then seal the stationary exterior frame seam with the correct exterior caulk.
What caulk should I use when the gap is between different materials, like brick to metal flashing?
For gaps involving dissimilar materials, use pure silicone rather than siliconized latex. Pure silicone typically holds up better to movement and adhesion differences across material types. Use a backer rod when the gap is larger, so the caulk forms a proper surface seal instead of bridging too wide and failing.
How deep should the caulk bead be, and when do I need a backer rod?
If the gap is up to about 1/4 inch, caulk alone often works. For wider gaps (or deeper joints), use a closed-cell foam backer rod to limit caulk depth and prevent overfilling. A good rule is to choose a backer rod that is slightly larger than the gap so it stays compressed in place without falling out.
How long should I wait before testing the seal after applying caulk?
Let the caulk cure fully according to the product instructions, then run the smoke or incense test again. Testing too early can give a false “leak fixed” result because uncured caulk may still be soft and displaced by airflow or minor movement of the door.
What is the best way to replace weatherstripping without damaging the door jamb or trim?
Remove and replace one section at a time, especially side channels, and avoid prying directly against finished trim. Use a utility knife to cut any old adhesive or sealant, then clean the channel before installing the new strip. This helps the new EPDM weatherstripping compress evenly and reduces gaps that reappear after installation.
Do I need to seal the gap on the interior side of the patio door as well?
Most of the “action” for drafts and rain is on the exterior side, especially the stationary seam around the fixed frame and the sill track drainage path. Interior caulking can hide the location of a failure and does not fix exterior-driven water intrusion. If you do air-seal inside, keep it consistent with what is actually leaking, and avoid blocking drainage features like weep holes.
Should I lubricate the track before or after sealing the door?
After, or at least after any dust-producing prep like cleaning. Track lubrication helps the door roll smoothly so the sweep and weatherstripping compress properly when closed. Avoid using WD-40 because it can attract dirt and make the track buildup worse, use a silicone-based spray instead.
Next Article
How to Repair a Patio Door: DIY Fixes for Common Problems
Step-by-step fixes for patio door issues: diagnose sticking, off-track, rollers, locks, drafts, and weatherstripping for