To level a sliding patio door, locate the roller adjustment screws at the bottom corners of the door panel, then turn them clockwise to raise the door until you get an even gap from top to bottom along the jamb and the latch engages cleanly. For a hinged patio door, you level it by tightening or repositioning hinge screws, shimming loose hinges, and adjusting the strike plate so the door closes without lifting or dropping. Both jobs typically take under an hour and need nothing more exotic than a screwdriver, a level, and sometimes a hex key.
How to Level Patio Doors: Step-by-Step Fixes

Jamie Archer
10 Jun 2026
What 'leveling' actually means for patio doors

The word 'leveling' gets used loosely when people talk about patio doors, so it helps to pin down exactly what's happening before you grab any tools. There are two very different door types involved, and the fix for each is completely different.
A sliding patio door hangs on rollers that ride inside a track at the top and/or bottom of the frame. When people say a slider is 'out of level,' they usually mean the roller height is off: one side of the door sits higher or lower than the other, creating an uneven gap along the jamb, a door that drags on the track, a screen that won't close properly, or a latch that won't catch because the door panel is sitting at the wrong height. The door itself isn't necessarily warped; the rollers just need adjustment.
A hinged patio door (sometimes called a French door or swinging patio door) works more like a standard entry door. When it's out of alignment, the problem is almost always at the hinges or the frame: a sagging hinge allows the door slab to drop, which means the latch side rises and the door either won't latch, rubs on the threshold, or leaves a wedge-shaped draft gap at the top or bottom corner. The fix lives at the hinge leaves, the hinge screws, or the strike plate.
In both cases, 'leveling' really means getting the door slab to sit square and even inside its frame so it moves freely, seals tightly, and latches without force. That's the goal, whether you're spinning a roller adjustment screw or swapping a hinge screw for a longer one.
Quick diagnosis: is your door out of level?
Before you touch a single screw, spend five minutes diagnosing exactly what's wrong. The symptom tells you where to look.
Sliding door symptoms
- The door drags or grinds at one end of the track but glides at the other: one roller is set too low, letting that corner scrape.
- You can see a gap that's wider at the top of the jamb than the bottom (or vice versa): the door is tilted in the frame.
- The latch won't engage without lifting the door handle: the door is sitting too low and the latch bolt can't reach the strike plate on the frame.
- The screen door won't slide smoothly into the closed position: the main door panel is misaligned enough to obstruct the screen track.
- Drafts along the bottom edge even when the door appears closed: the door isn't riding high enough to compress the weatherstrip.
Hinged door symptoms
- The door sags at the latch side and you have to lift it to get the latch to catch.
- There's a visible wedge-shaped gap: wide at the bottom on the latch side and tight at the top, or the reverse.
- The door rubs on the threshold or floor at the latch corner when you swing it open or closed.
- Hinges look spread apart or one hinge leaf has a visible gap where it meets the jamb.
- The door swings open or closed on its own: it's hanging out of plumb, not truly level in the frame.
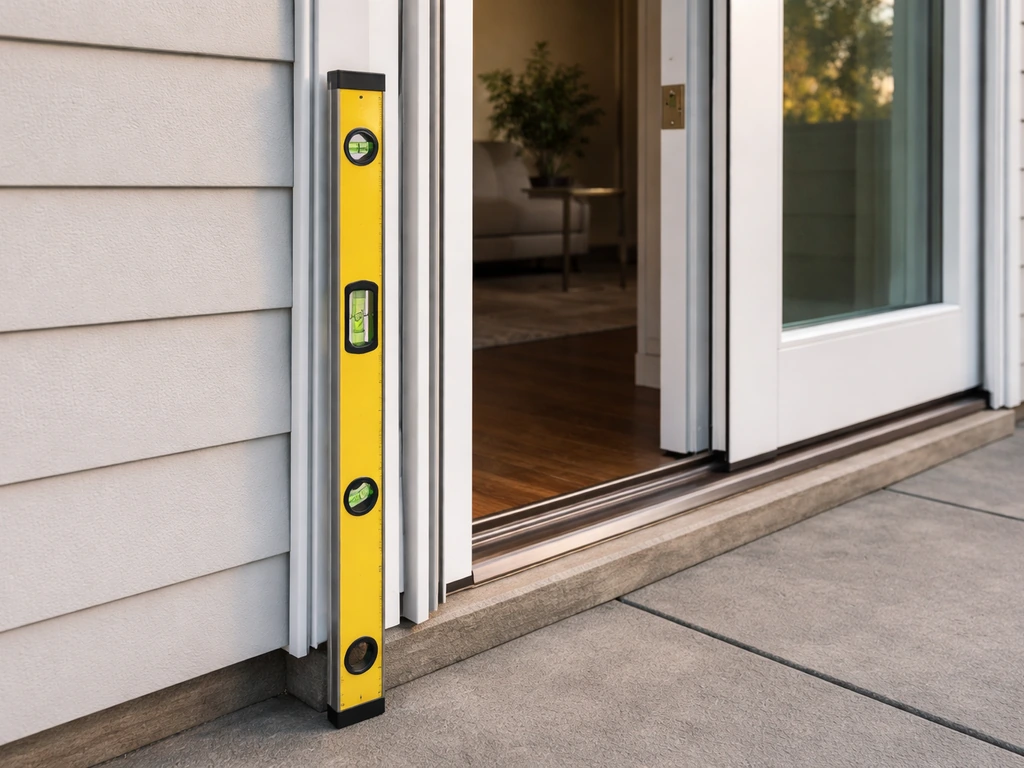
One quick cross-check for both types: hold a 4-foot level along the top of the door slab and then along the latch/strike side. You want both readings to show level or plumb respectively. If they're off by more than about 1/8 inch across the width or height of the door, adjustment is overdue.
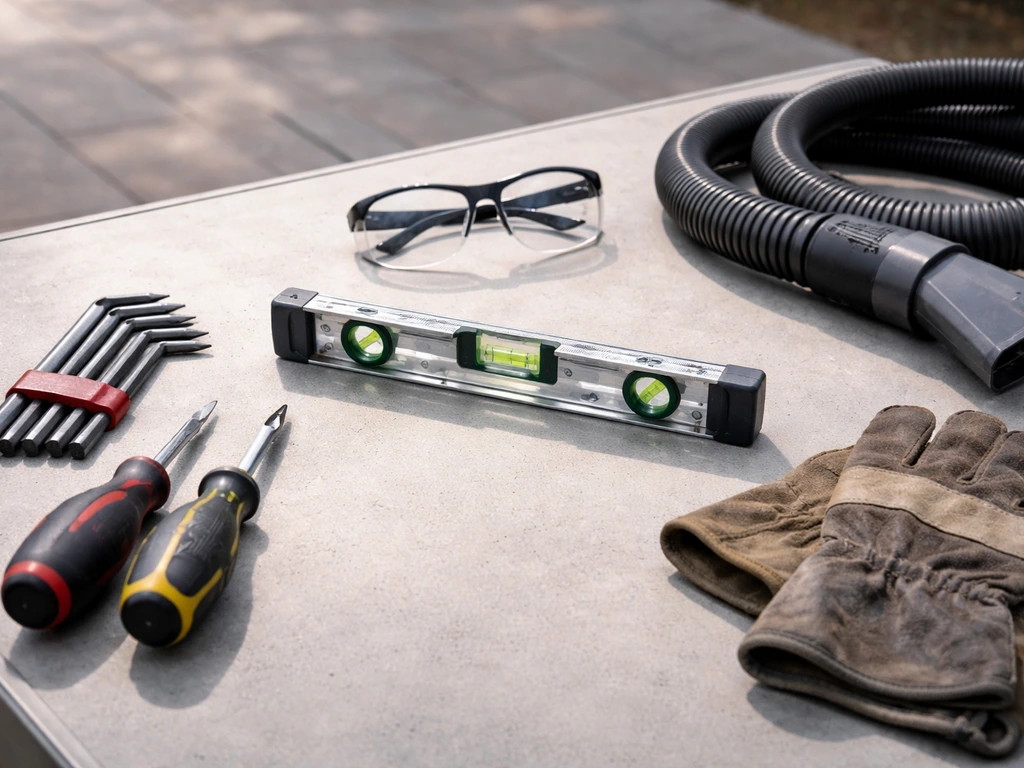
Tools and safety checklist
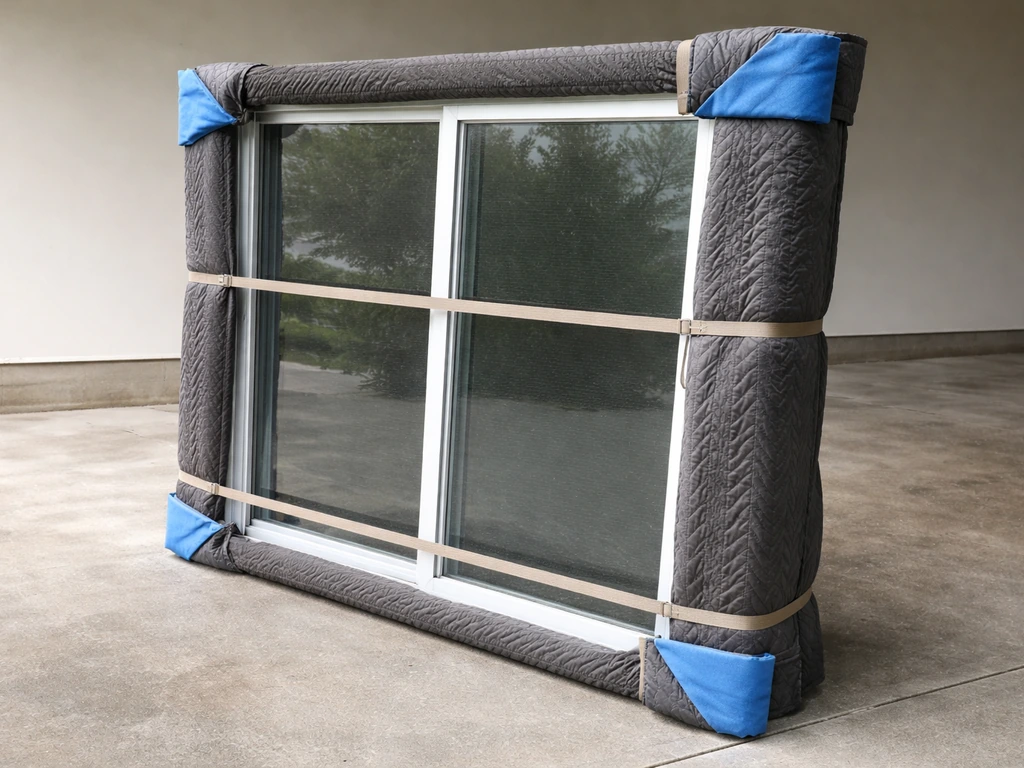
Gather everything before you start. Patio door panels are heavy (a standard sliding glass panel weighs 50 to 100 pounds or more), and stopping mid-job to hunt for a tool creates real safety risk. In some cases, you may also need to transport a patio door laid down for safety and to avoid damaging the panel, which can affect how you move it Patio door panels are heavy. That same weight matters when transporting a patio door in a pickup truck, so plan for proper support and safe handling before you hit the road Patio door panels are heavy.
- Flathead and Phillips screwdrivers (both sizes; roller adjustment screws vary by brand)
- Hex key set or Allen wrench set (many roller and hinge adjustment screws are hex-drive)
- 4-foot bubble level
- Tape measure
- Needle-nose pliers (for removing plug covers on roller access holes)
- Putty knife or flathead screwdriver for prying out plug covers
- Vacuum with a crevice tool (for cleaning the track before adjusting)
- Silicone-based track lubricant or dry PTFE spray (do not use WD-40 on door tracks)
- Replacement hinge screws: 3-inch wood screws for stripped hinge holes on hinged doors
- Wooden toothpicks or golf tees and wood glue (for repairing stripped screw holes)
- Safety glasses
- Work gloves (glass edges are sharp)
- A second person if you need to lift the sliding panel out of the track
Safety note: if you need to remove a sliding door panel entirely, always have a second person. The panel will be heavier and more awkward than it looks, and glass doesn't give you a second chance if it tips. Keep kids and pets out of the work area.
How to level a sliding patio door (roller and track adjustment)
This is the most common patio door leveling job and also the most satisfying: a few turns of a screw and the door that was grinding and refusing to latch suddenly glides like new. If your patio door is sagging and you need to raise it on either a sliding or hinged model, follow the adjustment steps in this guide how to raise a patio door.
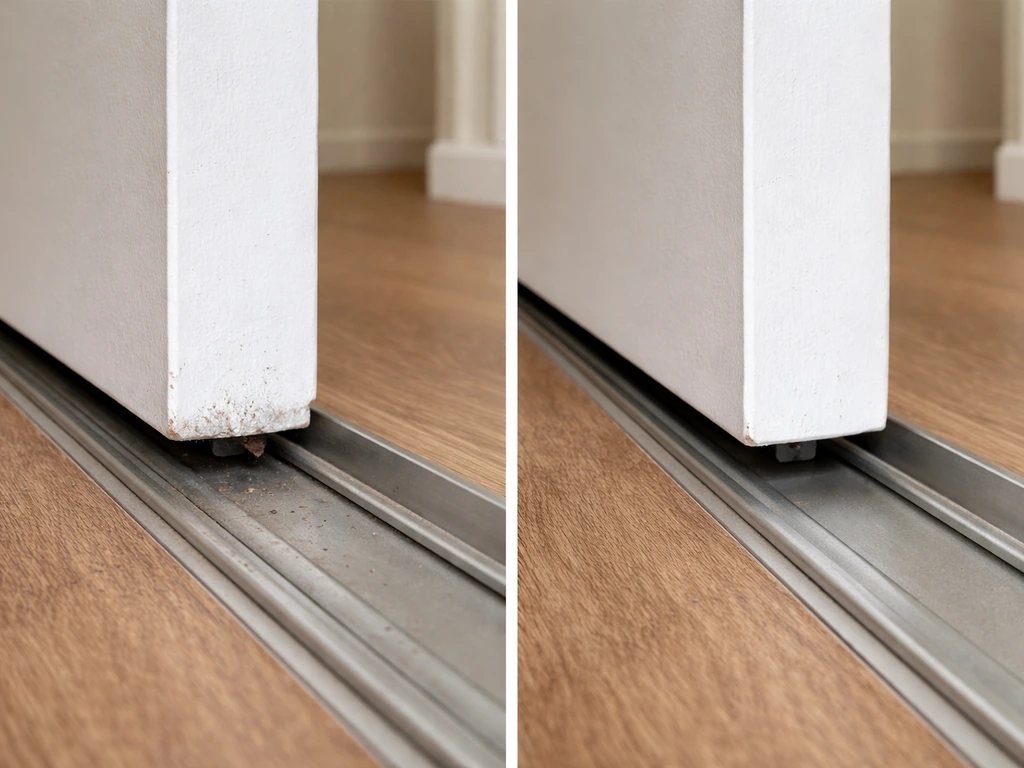
Step 1: Clean the track first
Before adjusting anything, vacuum both the top and bottom tracks thoroughly. Built-up debris can make a properly adjusted door feel rough, and dirt in the adjustment screw holes makes it hard to get a screwdriver seated properly. Wipe the tracks with a damp cloth and let them dry.
Step 2: Find the roller adjustment screws
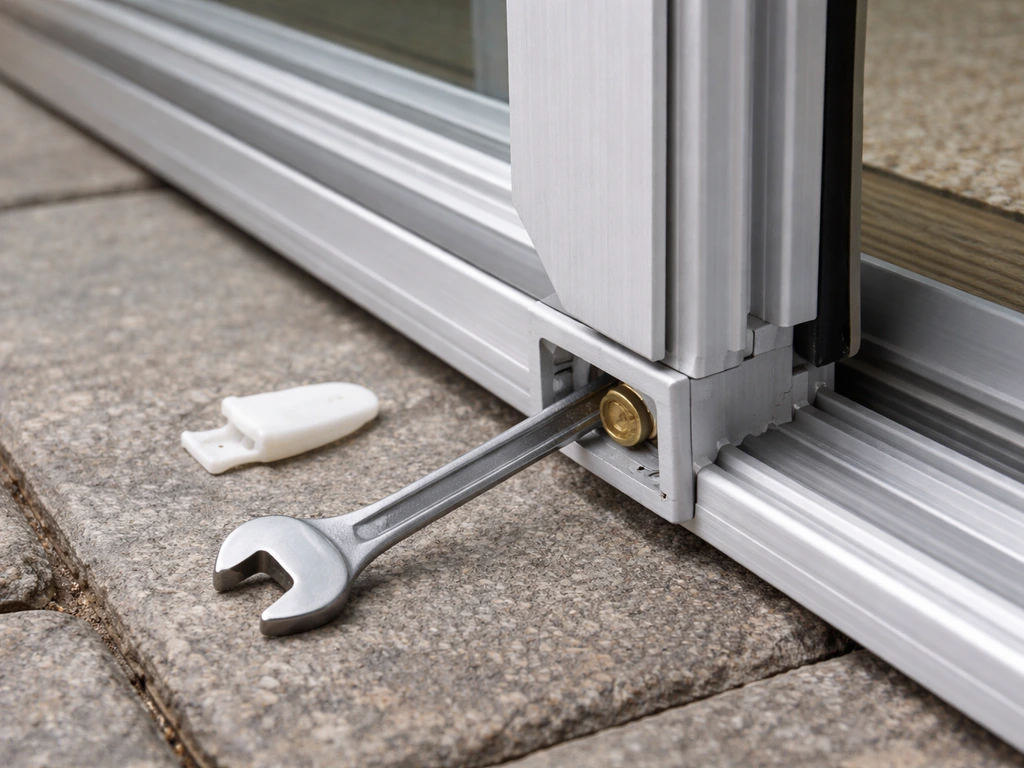
On most sliding patio doors, the roller adjustment screws are located at the bottom corners of the door panel, typically covered by small plastic plug covers. Pop the covers off with a putty knife or needle-nose pliers and set them somewhere you won't lose them. Some doors (particularly older aluminum-frame models) have the adjustment screw on the face of the door stile near the bottom; others (like many Milgard units) have them recessed into the bottom rail. Either way, you'll see a Phillips or hex-drive screw once the cover is off.
Step 3: Adjust the roller height
Turn the adjustment screw clockwise to raise that corner of the door, counterclockwise to lower it. For a blank" rel="noopener noreferrer">Milgard sliding glass patio door, the roller height is adjusted by turning the adjustment screw clockwise to raise the door (and counterclockwise to lower), then reinstalling the plug covers. Make quarter-turn adjustments, then slide the door back and forth to feel the difference. Your target is blank" rel="noopener noreferrer">a clearance of about 1/8 to 1/4 inch between the bottom of the door panel and the track surface: enough to let the door roll freely without scraping, but not so much that the weatherstrip loses contact and lets in drafts.
Step 4: Check the reveal (the gap along the jamb)
Slide the door fully toward the door jamb (the fixed side) and look at the gap between the door edge and the jamb from top to bottom. That gap should be even all the way down, typically about 1/8 inch. If it's wider at the top, raise the latch-side roller. If it's wider at the bottom, lower the latch-side roller or raise the hinge-side roller. This is the same check Milgard recommends in their adjustment guide: slide toward the jamb, confirm the gap is consistent top to bottom, adjust as needed.
Step 5: Confirm the latch engages
Close the door fully and test the latch. It should engage with light pressure on the handle, no lifting required. If the latch bolt is still not reaching the strike plate, the door is sitting too low: raise both rollers by another quarter-turn each and retest. The rollers control the height, and the height controls whether the latch lines up with the strike. Once the latch catches cleanly, replace the plug covers.
Step 6: Lubricate and test
Apply a thin bead of silicone spray or dry PTFE lubricant along the top and bottom tracks, then slide the door back and forth several times to work it in. The door should glide with minimal effort. If it still feels gritty or stiff after lubricating, the rollers themselves may be worn, which is covered in the troubleshooting section below.
How to level a hinged patio door (hinge, strike, and sweep alignment)
Hinged patio doors sag over time because the weight of a heavy glass-filled door slab gradually works the hinge screws loose or compresses the wood behind the hinge leaf. The fix is almost always at the top hinge first.
Step 1: Tighten all hinge screws
Open the door and tighten every screw in every hinge, both the door-side leaf and the jamb-side leaf. Do this before anything else. A surprising number of 'alignment problems' are just loose screws, and tightening them takes 60 seconds. Close the door and recheck the gaps. If the problem is solved, you're done.
Step 2: Deal with stripped hinge screw holes
If a screw spins freely and won't tighten, the hole is stripped. The easiest fix: dip a few wooden toothpicks or a golf tee in wood glue, pack them into the hole, snap them off flush, let the glue cure for an hour, then drive the original screw back in. For a more durable repair on the jamb side (which takes the most load), replace the short factory screws with 3-inch wood screws that reach past the jamb into the structural framing behind it. That single change often transforms a chronically sagging door.
Step 3: Check hinge alignment and shimming
If the hinge leaf sits proud of the jamb surface (you can see a gap under part of the leaf), the mortise is too shallow and the hinge can't pull the door tight. Chisel the mortise slightly deeper or add a thin cardboard shim behind a hinge leaf that's recessed too deep. A top hinge that's set too deep will kick the top of the door out away from the stop, creating a draft gap at the top corner. A bottom hinge set too deep kicks the bottom out. Match each hinge leaf flush with the wood surface.
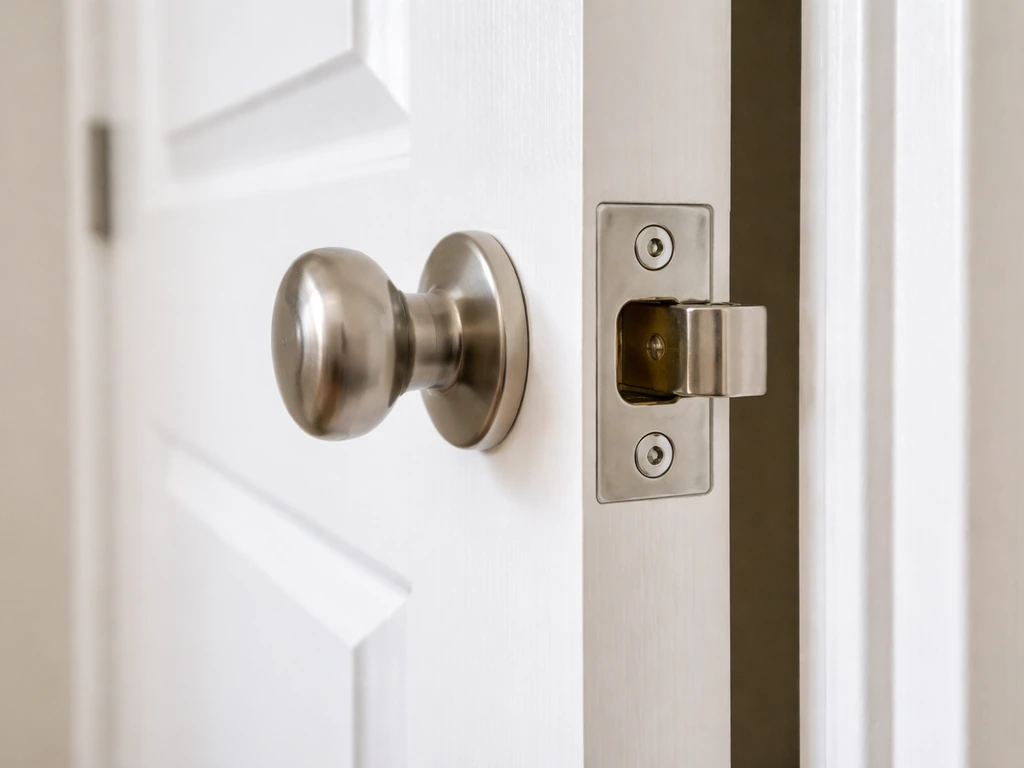
Step 4: Adjust the strike plate
After hinge work, the latch bolt may no longer align with the strike plate opening. Close the door slowly and watch where the latch bolt hits. If it's hitting high on the strike plate, the door has risen on the latch side (the hinge repair worked). If it hits low, the door is still sagging slightly. Loosen the strike plate screws and shift the plate up or down as needed, then retighten. If the bolt is close but just needs a small nudge, you can file the strike opening slightly rather than relocating the entire plate.
Step 5: Adjust the door sweep and threshold contact
Once the door hangs level and latches cleanly, check the bottom sweep. It should make consistent contact with the threshold across the full width of the door, with no visible gap when the door is closed. Most door sweeps have adjustable screws on the face of the door bottom that let you drop or raise the sweep slightly. Set it so there's light friction on the threshold when closing, not a hard drag that makes the door difficult to swing.
Fixing the problems that show up after leveling
Getting the door level often reveals (or causes) secondary issues that need immediate attention. Here's what to tackle right after adjustment.
Stuck or stiff track on a sliding door
If the door still feels stiff after roller adjustment and lubrication, inspect the track closely for bent sections, embedded debris, or corrosion pits. A track that's dented even slightly will create a hard spot the rollers have to climb over. Minor dents can sometimes be tapped back with a rubber mallet and a wood block, but a badly damaged track needs replacement. Also check that the door panel hasn't been reassembled so that the bottom rail is riding on the track lip rather than the roller wheel.
Drafts after leveling
After leveling a sliding door, check that the weatherstrip along the door edge (called the pile weatherstrip or fin seal) is making contact with the frame all the way around. If sections are compressed flat, matted down, or missing, the door may be level but still drafty. Replace damaged pile weatherstrip by pulling the old strip out of its channel and pressing in a new one cut to length. For hinged doors, check that the door stop (the thin strip the door slab closes against) is making full contact; if the door now sits differently after hinge work, you may need to reposition the stop slightly.
Lock still won't engage smoothly
On a sliding door, if the lock handle is hard to turn or the latch bolt doesn't retract cleanly after you've raised the door to the right height, the lock mechanism itself may need lubrication or the strike plate on the frame may need minor repositioning. Spray a small amount of dry lubricant into the lock cylinder and the latch bolt mechanism. For hinged doors, if the deadbolt or latch now misses the strike after hinge work, adjust the strike plate as described above. Never force a lock that isn't engaging: forcing it stresses the mechanism and can crack the door frame.
Weep holes and drainage
Sliding patio door frames have small weep holes along the bottom track or frame sill that let water drain out rather than pool inside the frame. After cleaning and adjusting, make sure these holes are clear. Poke a toothpick or thin wire into each hole to confirm it's not blocked with debris or dried caulk. Blocked weep holes lead to water sitting in the track, which accelerates corrosion on metal tracks and rollers and softens the sill on wood-framed doors. This is a two-minute check that saves significant repair costs later.
When leveling isn't enough: bigger problems to know
Most of the time, roller adjustment or hinge work solves the problem completely. But sometimes you do all the right things and the door still won't cooperate. Here's how to tell when you've hit a wall that needs professional help.
| Problem | DIY fix? | What to do |
|---|---|---|
| Rollers adjusted fully but door still drags | Maybe | Remove door and inspect rollers for flat spots, cracks, or seized axles. Roller replacement is DIY-friendly if you can source the right part for your door brand and model. |
| Track is visibly bent or has a hard kink | Rarely | Minor dents can be tapped out. A kinked or bent track section usually needs professional replacement; forcing a panel over a kink destroys the rollers. |
| Frame is racked or out of square | No | A frame that's out of square means the rough opening has shifted, possibly due to foundation settling or structural movement. This is a contractor-level fix. |
| Hinge area has rotted wood behind the jamb | Partially | Surface rot can sometimes be treated and filled; extensive rot behind the hinge area requires jamb replacement before any hinge adjustment will hold. |
| Door slab is warped or twisted | No | A warped glass door panel cannot be straightened. Panel replacement is the only fix. |
| Adjustment screws are stripped or seized | Maybe | Penetrating oil and patience can free a seized screw. If the adjustment mechanism is broken internally, the roller assembly needs replacement. |
A good rule of thumb: if you've made the full range of roller adjustment and the door still drags, or if you've replaced hinge screws with long structural screws and the door still sags within a few weeks, the problem is structural rather than mechanical. At that point, a door and window specialist or a general contractor should assess the frame and rough opening.
It's also worth noting that leveling a door and moving or transporting a door are related but separate projects. If your door is out of level because it was installed incorrectly after being moved or transported, the rough opening itself may need shimming before any door-level adjustment will hold long-term. In that case, correcting the installation is the real starting point, not just the roller screws.
A realistic time and cost estimate
Roller adjustment on a sliding door: 20 to 45 minutes including cleaning and lubrication, zero parts cost in most cases. If you need replacement rollers, budget $10 to $40 for parts depending on your door brand, and about an hour to remove the panel, swap the rollers, and reinstall. Hinge screw repair on a hinged door: 15 to 30 minutes, with materials costing less than $5 for longer screws and wood glue. Strike plate adjustment adds another 10 minutes. A full door sweep replacement runs $15 to $35 for the sweep itself and takes about 20 minutes to swap out. If you find you need track replacement or a new door panel, expect $150 to $400 in parts plus professional labor if you don't take on the replacement yourself.
FAQ
What should I do if my patio door still will not latch after leveling?
If the latch still will not catch after you raise the latch-side appropriately, do not keep cranking the rollers. Confirm the latch bolt is actually aligned with the strike opening (watch where it hits), then adjust the strike plate position. If the bolt is hitting the wrong vertical spot even when the jamb gap looks right, the issue is usually strike alignment, not roller height.
How do I avoid over-adjusting and making the seal worse when leveling?
For a sliding door, you want small, measurable changes (about quarter-turns), then re-check the top-to-bottom jamb gap. If you overshoot and the sweep loses contact or you create a bigger gap where the weatherstrip should seal, back off a turn or two until the weatherstrip makes consistent contact around the door edge.
Can I just shim my patio door to level it instead of adjusting screws?
Yes, but only in a limited way. Do not add shims between the door and frame unless you are correcting installation or hinge/mortise misfit. If you see a wedge-shaped draft gap after hinge work, it usually indicates a hinge leaf is set too shallow or too deep, or the stop needs repositioning. Address those points first before shimming the whole door.
What kind of lubricant should I use, and what should I avoid?
Do not lubricate with wet oils or grease, they attract dirt and can make the door feel worse later. Use dry PTFE or silicone spray for tracks and the lock cylinder/latch mechanism, and keep lubricant off the weatherstrip pile since it can reduce sealing.
My sliding door still drags in one area, even after roller adjustments. What does that indicate?
If you cannot get consistent height, check that both track ends are in the same condition, and inspect for dents or corrosion pits that create a hard spot. Also verify the door is assembled correctly, the bottom rail should ride on the rollers, not on the track lip. Uneven drag that resists adjustment usually means a damaged track or misassembly.
Why does my patio door sag again shortly after I level it?
If the door height keeps drifting back within a few weeks, stripped hinge holes or loose structural anchoring are common causes. For hinged doors, make sure you replaced weak screws with longer structural screws where recommended, and check that the screws bite into framing, not just the jamb skin.
What if the roller adjustment screw will not turn?
If a roller adjustment screw is jammed, avoid forcing it hard. First clean the surrounding area and remove any debris so the screwdriver seats properly, then check whether corrosion is binding the mechanism. If it still will not move, you may need roller replacement rather than continued adjustment attempts.
In what order should I adjust a hinged patio door (hinges vs strike vs sweep)?
For hinged doors, start by tightening all hinge screws in both leaves, then address strike plate alignment last. If you only adjust the strike plate while the hinge position is off, the latch may look correct temporarily but the door will still rub or draft because the slab is not square.
How do blocked weep holes affect door performance after leveling?
A blocked weep hole can also show up as sticky tracks or recurring stiffness because water and debris remain in the sill. After cleaning and adjustment, poke out each weep hole with a toothpick or thin wire, then confirm water can drain freely.
When should I stop DIY leveling and call a door and window specialist?
Professionals are worth it when you have to replace the track, repair frame or rough opening, or when adjustment works only briefly. If you have tried the full adjustment range and the door still drags, or you replaced structural screws and it sags again quickly, the frame is likely out of square or the opening needs shimming.
Next Article
How to Transport a Patio Door Safely Step by Step
Step-by-step guide to transport a patio door safely, protect glass and frames, load securely, and prevent damage.