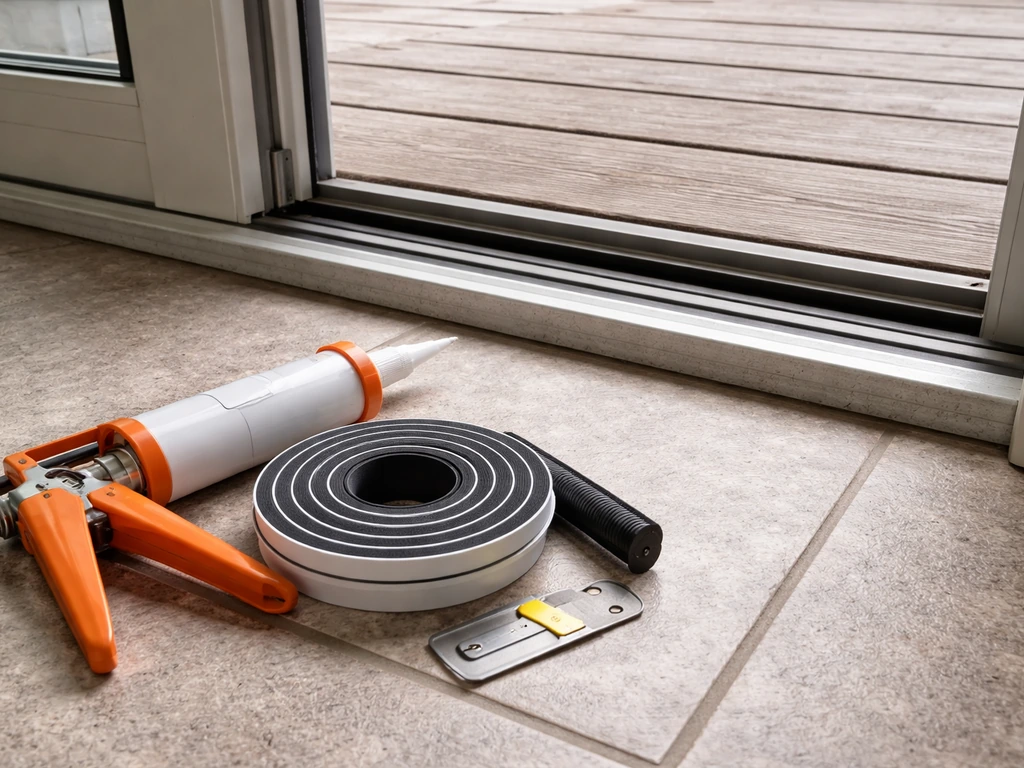
A gap at the top of a sliding patio door almost always comes down to one of three things: the door's rollers have dropped or worn unevenly so the panel sits low on one side, the door isn't sitting square in the frame anymore, or the top weatherstripping has compressed, torn, or pulled away. In most cases you can diagnose the exact cause in under ten minutes and fix it the same afternoon with nothing more than a screwdriver.
Patio Door Gap at Top: Fix It With Easy Step by Step Checks

Jamie Archer
11 Jul 2026
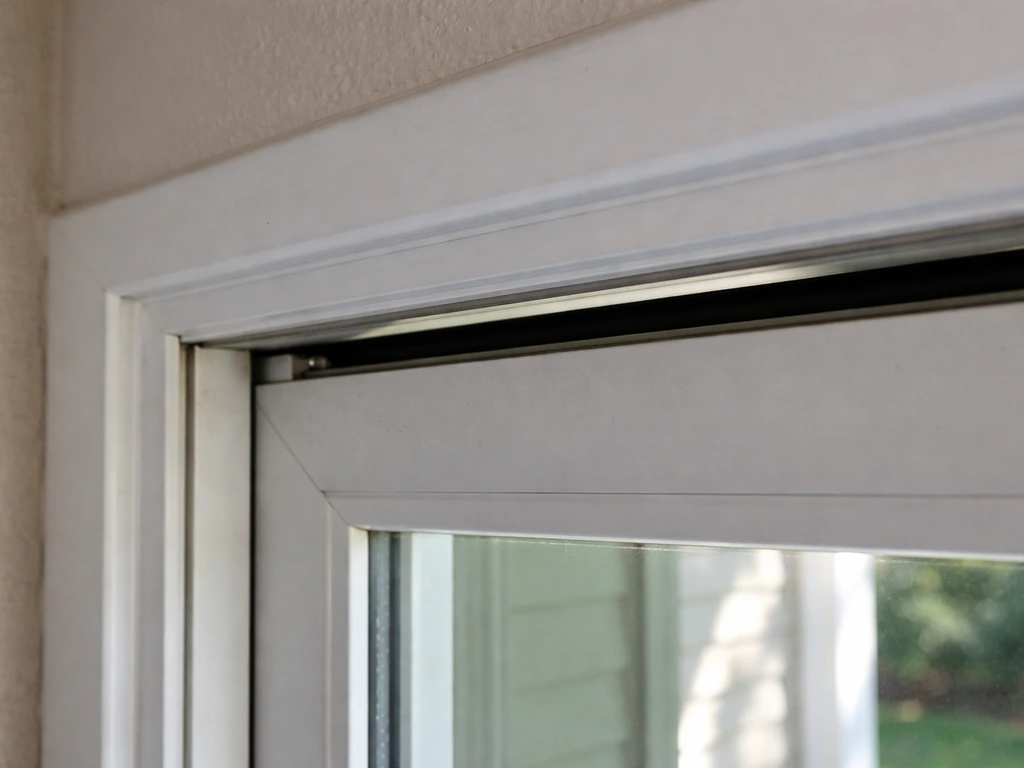
Quick check: where the draft is actually coming from
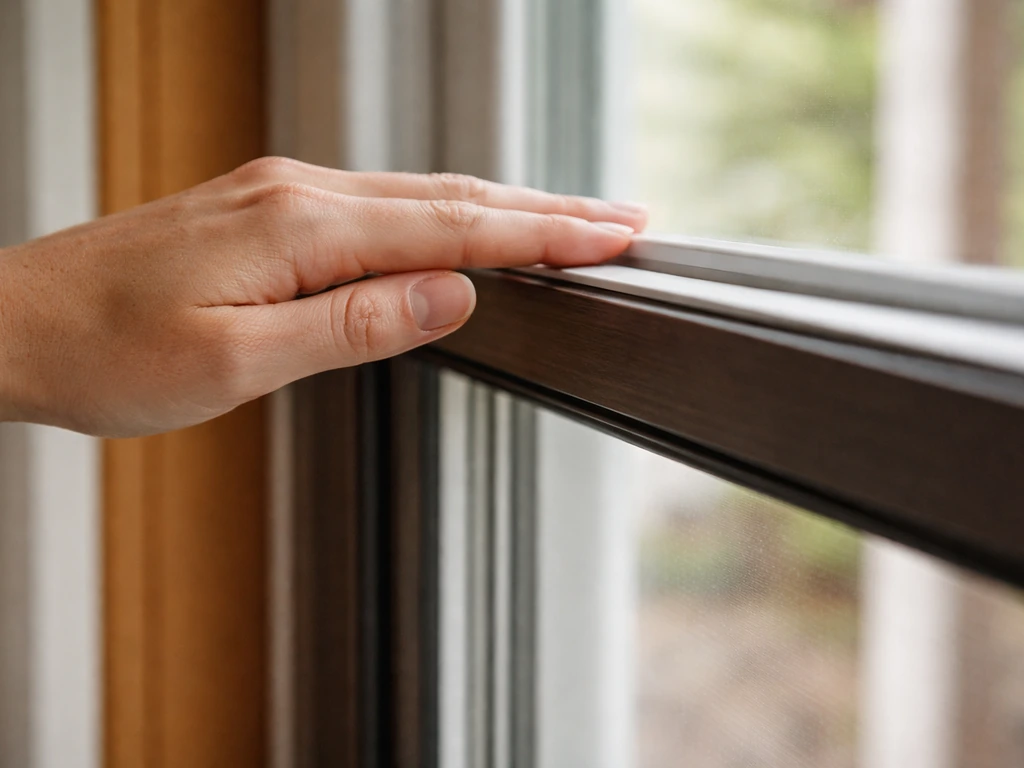
Before you do anything else, figure out exactly where the gap lives. Hold your hand along the top edge of the closed door and move slowly from the latch side to the hinge side. Feel for a cold stream or hold a candle or lighter flame about an inch away and watch for flicker. Then do the same along both vertical sides and the bottom. This matters because a draft you feel at the top corner might actually be entering at a side jamb and traveling up before you notice it. A gap that runs the full width of the top is a different problem than a gap only at one end.
Next, stand back and look at the reveal, which is the visible gap between the door panel and the frame. In a well-adjusted door, that gap should be roughly uniform top to bottom and side to side. If the top gap is wider on the latch side than the hinge side (or vice versa), the door is sitting at an angle.
If the top gap is wide all the way across and the bottom gap looks tight, the whole panel has dropped. Both patterns point directly to the roller adjustment screws as your first stop. Also check whether the latch engages cleanly when you lock the door.
On most sliding patio doors, the locking mechanism is designed to pull the panel slightly into the weatherstripping as it locks, so a sloppy lock that doesn't quite seat can leave a gap at the top even when the rollers are fine.
What's actually causing the top gap
Roller height and wear
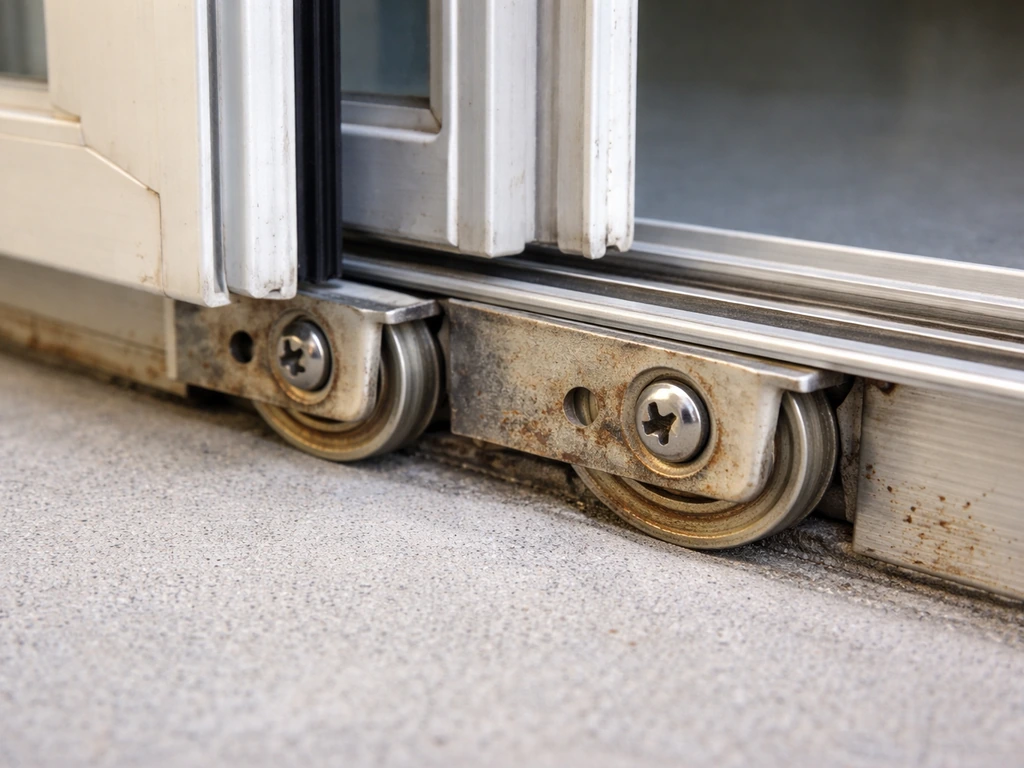
This is the most common cause by far. Sliding patio door panels ride on two small wheels (rollers) set into the bottom of the panel. Each roller has an adjustment screw that raises or lowers that corner of the door. Over time, rollers wear down, get coated in grit, or their adjustment screws drift. When one roller drops lower than the other, the panel tilts and the top gap opens up on the high side. When both rollers drop, the whole top edge pulls away from the head jamb. The fix is usually just turning a couple of screws.
Door out of square
Houses settle. Frames shift slightly over years, especially around door openings. If the rough opening or the door frame has racked even a little, the panel that used to sit perfectly can develop a diagonal gap. This looks like a top gap on one side paired with a bottom gap on the opposite side. Roller adjustment can compensate for minor racking, but if the frame itself is out of square by more than about a quarter inch, you're eventually looking at a professional fix.
Track problems
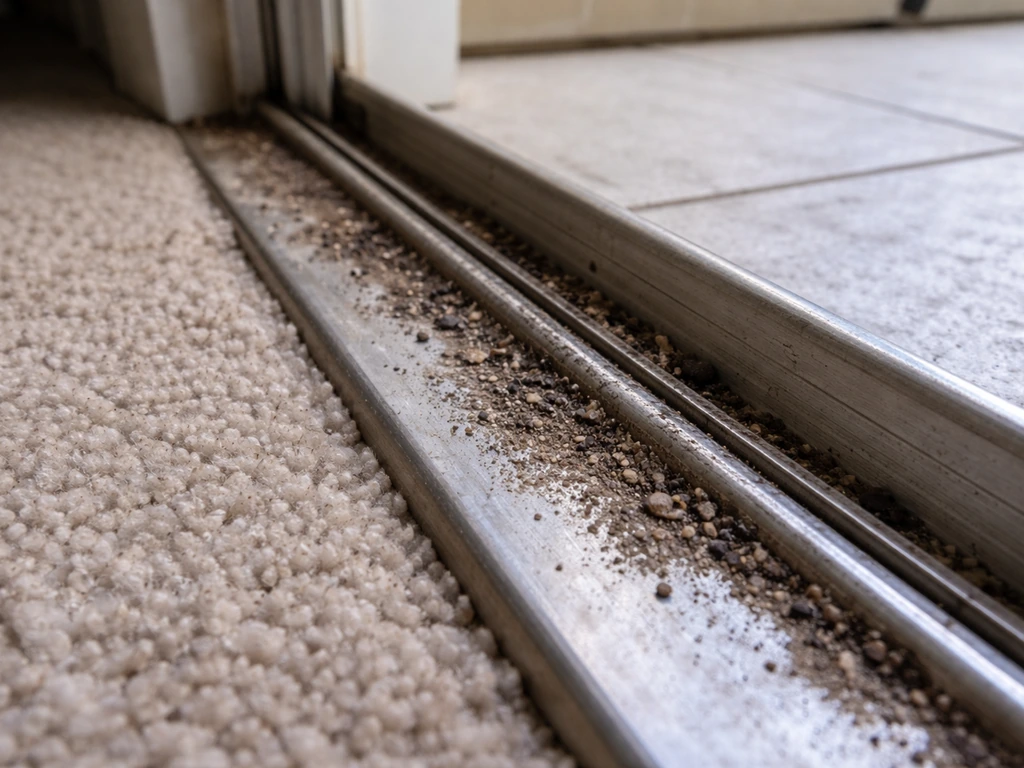
A clogged, bent, or worn bottom track changes where the rollers actually sit. Packed-in debris raises the effective height of the track floor unevenly, which tilts the panel. A bent track rail (from a heavy impact or years of foot traffic) forces the rollers to ride at odd angles. Clean the track first before assuming anything mechanical is broken. Milgard explains that weep holes are a drainage feature on vinyl sliding doors, helping water run out of the door track properly, so persistent water near gaps can be drainage-related rather than only a weatherstrip problem weep holes as a drainage feature.
Weatherstripping failure
The top of a sliding door is sealed by a pile or fin-type weatherstrip (it looks like a thin strip of fine bristles or a flexible plastic fin) that runs in a channel along the head jamb or the top of the panel. Over time it compresses flat, gets torn, or falls out of its kerf. When it's gone, you get a draft even if the door is mechanically aligned. This is separate from the bottom sweep or side jamb seals, which fail in their own ways.
Keeper plate and lock contact
If the keeper plate (the metal plate in the frame that the latch hooks into) is positioned too far in or out, the lock won't pull the door panel fully into the weatherstripping when engaged. The result is a visible gap and a draft even when the lock appears to be latched. Keeper plates have adjustment screws (typically top and bottom) that let you move them in or out in small increments.
Diagnose it in minutes
No tools needed
- Close and lock the door, then run your hand slowly along the full top edge. Note exactly where the draft is strongest.
- Look at the reveal gap top and bottom along both the latch-side and hinge-side edges. A gap that's wider on one side only = roller height difference. A gap that's uniform all the way across the top = both rollers low or weatherstripping flat.
- Lock the door and try to push the panel against the frame. If the gap closes when you push, the problem is roller height or keeper plate position, not structural.
- Look at the bottom track for visible debris, dead insects, or dirt packed into the channel. If the track looks like it hasn't been cleaned in years, that's your first job regardless of anything else.
With a flashlight and tape measure
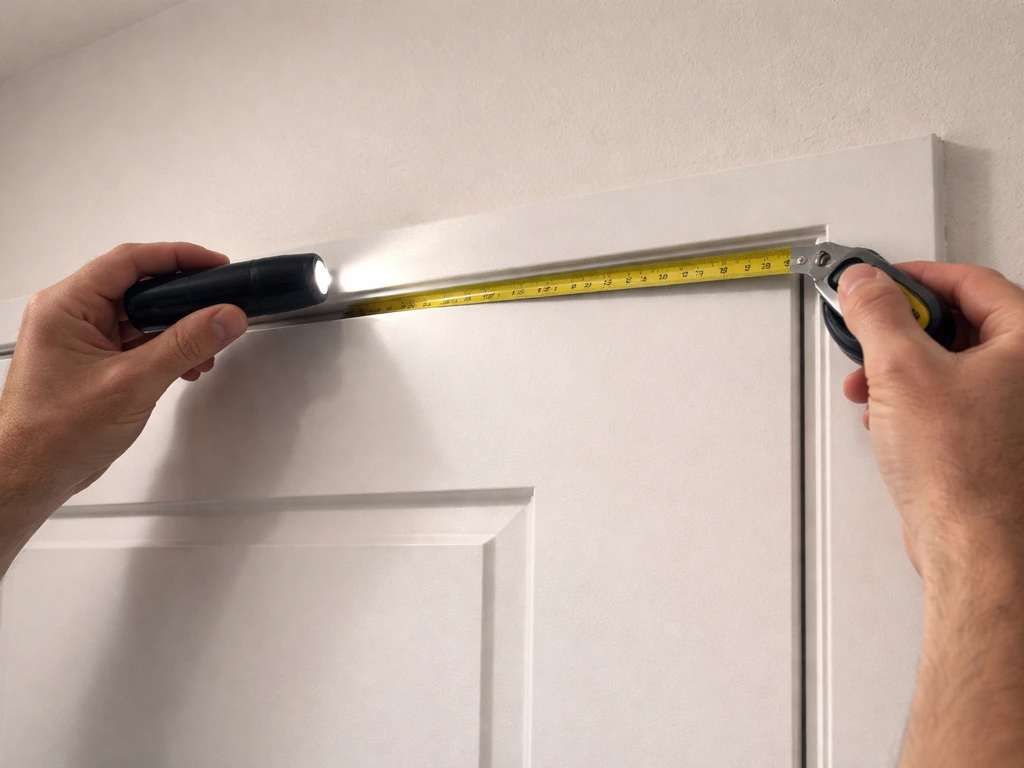
- Measure the top reveal gap at the latch side, the center, and the hinge side. Write these down. More than 1/8 inch difference between sides confirms uneven roller height.
- Shine a flashlight at the top weatherstripping. If the pile or fin strip looks crushed, torn, or missing in sections, that's your seal failure.
- Crouch down and look along the bottom track from one end. A bent or warped track rail will be obvious from this angle.
- Check the roller adjustment screws. On most sliding patio doors they're located at the bottom corners of the panel, often hidden under a small plastic plug or cover. If one screw is turned all the way in and the other is most of the way out, someone already tried to compensate for a problem and may have introduced a new one.
DIY fixes you can do today
Step 1: Clean the track first
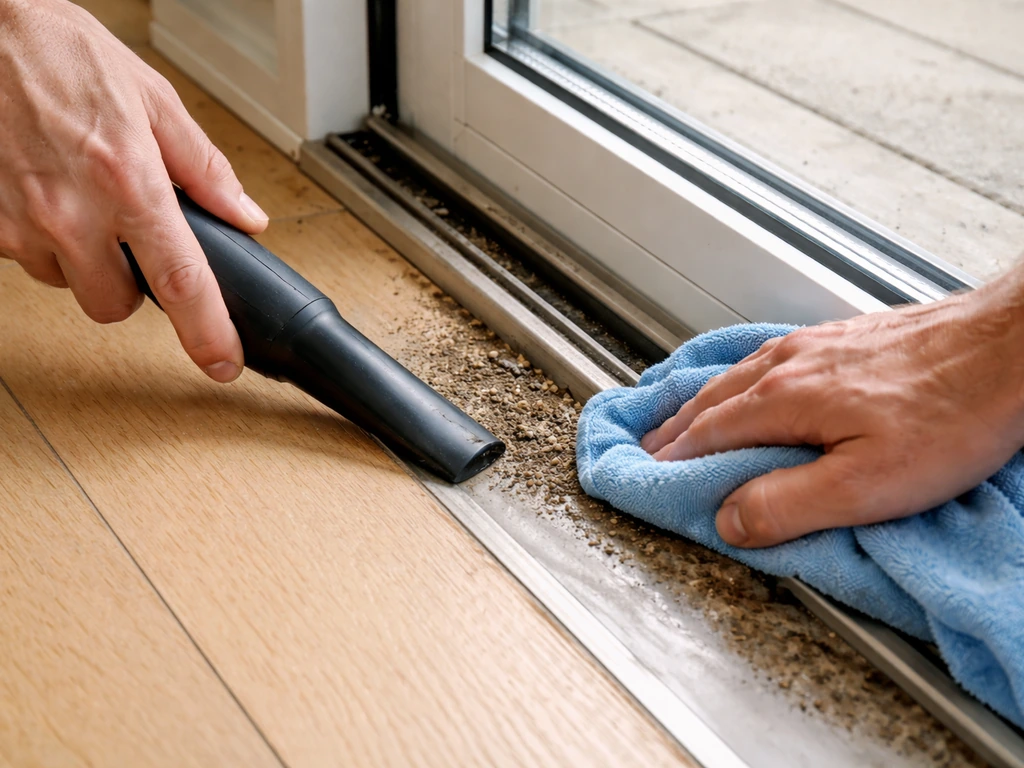
This is non-negotiable before you touch any adjustment screws. Vacuum out loose debris, then wipe the track channel with a damp rag. For built-up grime, use a stiff brush or an old toothbrush. Rinse with a little water, dry it, and then apply a thin coat of silicone-based lubricant (not WD-40, which attracts more dirt). A clean track ensures your roller adjustments actually reflect where the rollers want to sit, not where compacted dirt is forcing them.
Step 2: Adjust the rollers
Find the roller adjustment screws at the bottom corners of the panel. On most doors they're Phillips head screws behind small plastic plugs you can pop out with a flathead. Turning the screw clockwise raises that corner of the door; counter-clockwise lowers it. Make small adjustments, about a quarter turn at a time, then close the door and check the reveal.
Your goal is a consistent gap of roughly 1/8 inch along the top edge from side to side. If you have a full-width gap under the door, the approach is different than fixing only the top seal gap at the top. If the gap is wider on the latch side, raise that roller. If the gap is wider on the hinge side, raise that one.
If the top gap is uniform but large, raise both rollers equally. One important caution: don't set the two rollers at drastically different heights. An unevenly adjusted door can bind, refuse to slide smoothly, and cause the lock to jam.
Step 3: Lift and square the door if needed
If the roller screws are already maxed out (both fully clockwise) and the gap is still there, the rollers may need to come off the track for inspection. Lift the door panel by tilting the bottom out toward you and lifting up, which disengages the rollers from the track. With the door out, inspect the rollers for flat spots, cracks, or seized bearings. Replacement rollers for most major brands (Andersen, Pella, Milgard) run $10 to $30 for a pair and are available at most home centers. Match the wheel diameter and housing width before buying.
Step 4: Adjust or reposition the keeper plate
If the door sits mechanically correct but still leaks when locked, look at the keeper plate. There are usually two screws (one near the top and one near the bottom of the plate) that let you shift it inward or outward. Move it inward in small increments until the lock pulls the panel firmly against the weatherstripping. You should feel a noticeable increase in resistance as you close the latch when the plate is in the right position.
Step 5: Replace worn top weatherstripping
Once the door is mechanically aligned, check whether the top seal actually makes contact. If the pile strip is crushed or missing, replacement is straightforward. Pull the old strip out of its kerf (the channel it slides into), measure the pile height and backing width of the old strip (a common size is around .
In the process of weatherstripping, This Old House advises filling the largest gap and measuring along the jambs and runs to determine whether the issue is true seal contact or something structural in the reveal measure the pile height and backing width. 270 inch backing by .
320 inch pile), and buy a matching replacement. Cut to length and press it into the kerf. The pile height matters: too short and it won't bridge the gap; too tall and it creates friction that makes the door hard to slide. If the weatherstripping is glued rather than kerfed, remove any residue with a plastic scraper and adhesive remover before installing new material so it seats flat.
Weatherproofing upgrades once the door is aligned
Fixing the mechanical alignment stops the structural gap. But if your door is more than 10 to 15 years old, the full sealing system may be degraded and worth refreshing while you're already working on it.
- Top pile or fin seal: Replace as described above. Fin seal (a flexible plastic flap) tends to last longer than simple pile and provides a better air seal in cold climates.
- Side jamb seals: Check the vertical weatherstripping on both the latch jamb and the fixed panel side. These are usually foam or pile strips and compress over time. Replace with matching material cut to the door height.
- Bottom sweep or threshold: The bottom of a sliding door uses a different seal than the top. If you also have a gap under the door, that's a separate fix involving either the door sweep on the panel or the threshold seal, not the top pile strip. A drafty patio door bottom is its own diagnosis.
- Brush seals for the meeting rail: The vertical edge where the sliding panel meets the fixed panel (or the door frame) uses a brush or pile seal too. If you can see light or feel air at that joint, replace the meeting-rail weatherstrip at the same time.
- Foam backer rod in frame gaps: If there are visible gaps between the door frame and the surrounding wall framing, pack them with foam backer rod and seal with paintable exterior caulk. This is especially important on doors that were installed without enough shimming.
- Weep holes: On vinyl sliding doors, small weep holes in the bottom track drain water out of the frame. If you're seeing moisture near the top corners, it might actually be a drainage issue with blocked weeps rather than a top-seal failure. Check and clear the weep holes with a thin wire or toothpick.
When you should stop and call a pro
Most top-gap issues are DIY-friendly. But a few situations are worth handing off to someone with the right tools and experience.
| Situation | Why it's beyond DIY | What a pro does |
|---|---|---|
| Bent or warped track rail | Bending it back rarely works cleanly; a misshapen track causes rollers to bind and can crack the frame over time | Replaces the track rail or the full frame threshold |
| Frame is visibly out of square (racked more than 1/4 inch) | Roller adjustment can compensate for only minor racking; beyond that the door won't seal or slide properly | Re-plumbs and re-shims the frame, sometimes resets the rough opening |
| Roller adjustment screws are stripped or hardware is broken | Stripped screws leave you unable to raise or lower the panel accurately | Replaces the roller assemblies or entire bottom rail hardware |
| Top or side frame member is cracked or damaged | A cracked frame can't hold weatherstripping or maintain a consistent gap | Repairs or replaces the frame section, which may involve the wall |
| Door has sagged due to structural settling | This is a house issue, not just a door issue | Evaluates the header above the opening and may involve a framing repair |
If your door is a uPVC (vinyl-framed) door leaking specifically at the top corner, that's a slightly different diagnosis path because the frame can warp with temperature changes in ways aluminum and wood frames don't. That situation has its own set of checks worth running through separately.
Verify the fix actually worked
After any adjustment or seal replacement, do a proper verification before calling it done. Close and lock the door, then go outside on a windy day and hold your hand along the top edge from inside. No draft should be detectable. If you want to be more precise, tape a piece of thin paper (like a dollar bill) in the closed door top edge and try to pull it out.
You should feel slight resistance all the way across. If the paper slides out freely at any point, you still have a sealing gap at that location and need to recheck the roller height or weatherstripping contact there. Also open and close the door a few times to confirm it slides smoothly and the latch engages cleanly without forcing. A door that's been properly adjusted should glide without lifting or pushing hard at either end.
FAQ
Do I need to replace the top weatherstripping after adjusting the rollers if the gap was caused by misalignment?
If you only adjust the rollers, a torn or missing top weatherstrip can still leave a visible gap and a draft once the door is locked. After roller tweaks, verify contact by checking whether the pile fin visibly compresses along the top edge, not just whether the reveal looks consistent.
How do I tell whether to raise one roller or both if the top gap isn’t the same across the whole width?
Yes. If the adjustment range is uneven or the lock feels like it is pulling hard, stop and recheck the reveal pattern. A latch-side-only gap typically means raising the latch-side roller, while a hinge-side-only gap means raising the hinge-side roller (and both rollers higher together if the gap is full width).
What should latch feel like after I adjust the rollers and the gap at the top improves?
You should aim for consistent, gentle resistance, not a door that “springs” into place. A good test is to lock the door and confirm the latch engagement feels firm but not forced, then do several open-close cycles to ensure the rollers do not bind and the lock keeps pulling the door into the seal.
What if the rollers keep needing adjustment but the top gap never fully closes?
A quarter-inch difference in the reveal can be a sign you are compensating for a racked frame, especially if diagonal patterns appear (top gap on one side paired with a bottom gap on the opposite side). In that situation, repeated roller adjustments often lead to poor seal contact or binding, so it is usually better to have the frame checked.
Can I use WD-40 on the rollers or track to stop squeaks and improve the top seal?
Don’t lubricate with WD-40 for track service, it attracts grit and can undo your alignment over time. Use a thin silicone-based lubricant only after the track channel is fully clean and dry, and apply sparingly so it does not spread up onto the weatherstrip area.
If I still feel a draft only at one top corner after adjusting, what should I check in order?
For many doors, the top seal is in the channel along the head jamb or top panel, and it should compress when the door is locked. If your paper test shows drafts only at one end, recheck keeper plate position first, then confirm the seal actually contacts at that end before assuming the seal is the wrong size.
What are the signs that I adjusted the rollers to very different heights and made the door bind?
The safest approach is to avoid turning both rollers drastically different heights. If the door starts to bind or the lock won’t seat, back out the change, bring the rollers closer to equal, and re-check the reveal after each small quarter turn.
Should I measure the top gap and do the paper test while the door is locked or just closed?
Measure the gap with the door closed and locked, not just while it is unlatched. Some doors sit slightly differently under latch pull, so a gap you don’t see when unlocked can appear after locking if the keeper plate or top seal contact is off.
If the roller screws are maxed out, is it more likely the rollers need replacement or the track is damaged?
Yes, if the screws are fully maxed out and the top gap remains, the rollers may be worn, seized, or installed in a damaged track position. In that case, remove the panel and inspect roller condition (flat spots, cracks, seized bearings) and also check for a bent track rail before replacing parts.
What is the most common reason a new top weatherstrip still leaks after installation?
A top seal replacement might still fail if the old channel has debris or residue preventing the new strip from seating flat. After removing the old material, wipe the kerf clean, remove any residue if the strip was glued, and press the new weatherstrip in fully along its length.
Why does the top gap sometimes look worse in summer or winter even though the door usually works fine?
If only the top gap changes with temperature, it can be related to frame movement or weatherstrip compression rather than roller height. Recheck the keeper plate and top seal contact, then verify the rollers are not at extreme settings, since extreme alignment can make seasonal movement worse.
Next Article
How to Fill Gap Under Patio Door: DIY Fix Steps
Diagnose and DIY fix a gap under patio doors: checks, weatherstrip or sweep install, and hardware/threshold repair steps