Rescreening a patio screen door takes about an hour, costs under $30 in materials, and is one of the more satisfying DIY fixes you can do. You pull the old spline and mesh out of the frame groove, cut new screen to size, press the new screen and spline back into the groove with a spline roller tool, trim the edges, and rehang the door. That's the whole job. The trickiest part is keeping the mesh taut as you go so it doesn't end up wrinkled or saggy when you're done.
How to Rescreen a Patio Screen Door Step by Step

Jamie Archer
2 Jun 2026
Decide if you really need to rescreen (vs. a simpler repair)
Before you buy materials, spend two minutes diagnosing what you actually have. Not every damaged screen door needs a full rescreen. If you're not sure who fixes patio screen doors in your area, a local handyman or screen repair service can confirm whether a full rescreen is truly needed.
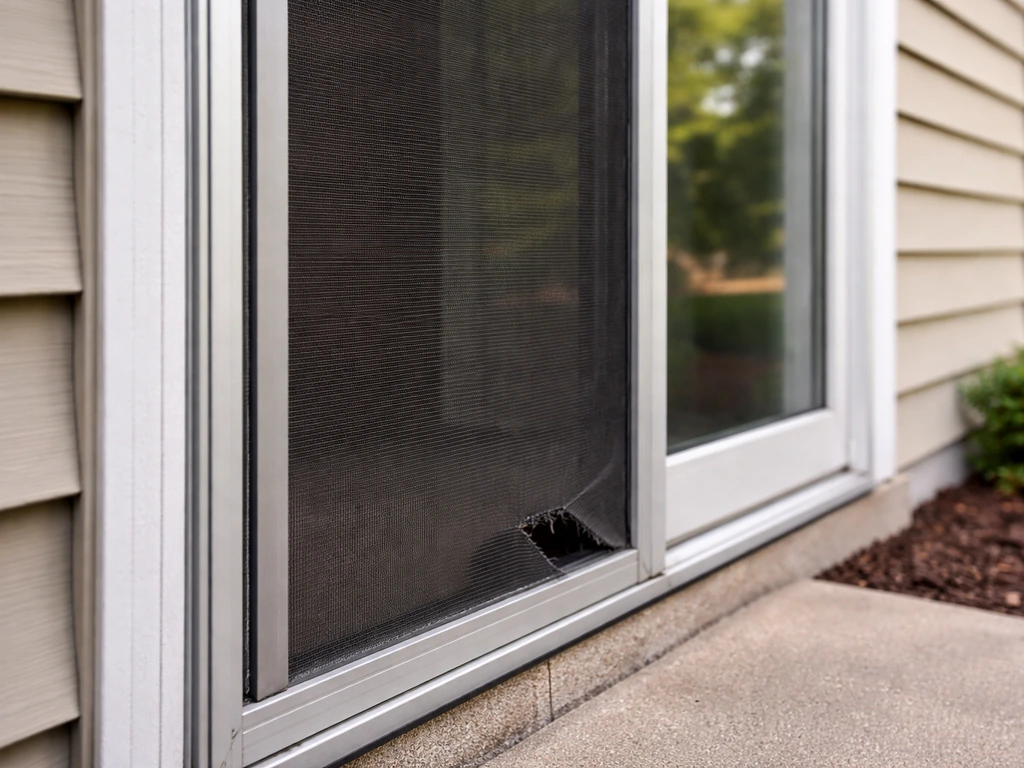
- Small tears under about an inch: These are patchable. A screen repair patch kit from any hardware store costs a couple of dollars and takes five minutes. Save the full rescreen for when the damage is too wide or there are multiple spots.
- Loose, rippled, or sagging mesh: This almost always means the spline (the rubber cord that holds the mesh in the frame groove) has stretched, dried out, or partially pulled free. You'll need a full rescreen to fix it properly.
- Screen is intact but the frame is bent or cracked: Rescreening a damaged frame won't hold. If the frame corners have separated or a rail is badly bent, address the frame first. In some cases, replacing the screen panel entirely makes more sense.
- Mesh is torn in multiple places or has a large hole: Full rescreen. Patching multiple spots looks bad and eventually fails anyway.
- Door slides poorly or doesn't stay in the track: That's a roller issue, not a screen issue. Rescreening won't fix it. That's a separate repair worth looking into before you pull the screen off.
If your mesh is sagging or the screen is visibly loose in the frame, you're in the right place. That's classic worn spline, and a rescreen fixes it completely.
Remove the screen door and identify the frame type
Getting the door off the track
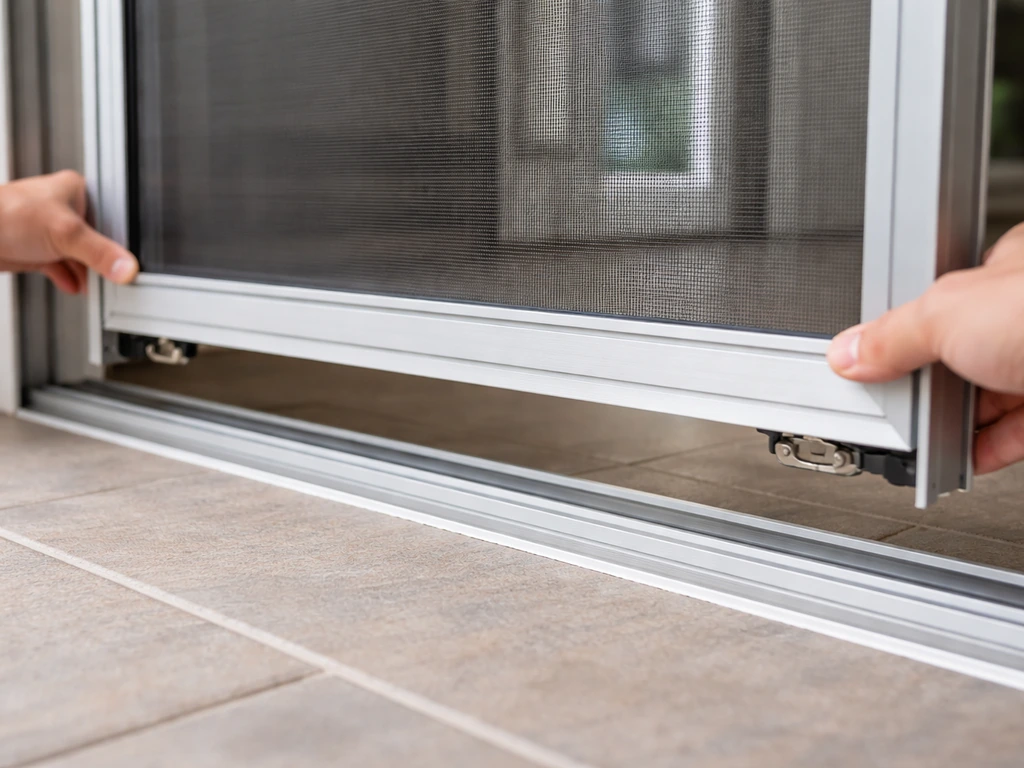
Most sliding patio screen doors come off the same basic way. Start by sliding the door to an open position. Look at the bottom of the door frame for two small adjustment screws, usually on the face of the bottom rail near each end. These control the height of the bottom rollers. Turn them counterclockwise a few turns to retract the rollers up into the frame. This gives you clearance to lift the door off the track.
Once the rollers are retracted, grip the door frame on both sides and lift it straight up. The top of the door frame needs to clear the upper track channel. On some doors, a spring-loaded roller at the top requires a little compression to release. Slide a putty knife or flat screwdriver in to compress the spring while you push the top of the door into the upper channel, then angle the bottom outward and lift the door free. Set it flat on a pair of sawhorses or on a clean section of your patio.
Some manufacturers (like ProVia) use a roller bracket system where you pull the roller brackets outward from the screen rail groove before lifting the panel out. If your door has visible bracket hardware on the bottom rail rather than just screws, check that the brackets are released before forcing the door off the track.
Identify your frame type
Almost every residential patio screen door uses a spline-and-groove frame. You'll see a continuous channel running around the inside perimeter of the frame, and a rubber or vinyl cord (the spline) pressed into that groove to hold the mesh in place. This is the type this guide covers, and it's by far the most common.
Run your finger around the inside edge of the frame. If you feel a soft rubber cord sitting in a groove with mesh sandwiched under it, you have a standard spline-retained frame. If you see rivets, clips, or a separate metal retainer instead of a rubber cord, you may have a less common frame style that requires a different approach. For the vast majority of homeowners, the spline groove method is what you're working with.
Measure and order the right screen and spline
Getting the right materials before you start makes everything easier. Two things matter here: screen mesh type and spline diameter.
Choosing your screen mesh
For a patio screen door, vinyl-coated polyester is the strongest option and holds up better than standard fiberglass or aluminum mesh against pets, furniture bumps, and UV exposure. Fiberglass is cheaper and easier to work with for beginners because it doesn't crease as easily during installation. Aluminum is durable but can leave sharp edges when cut and is harder to keep flat during installation. For most homeowners replacing a worn patio screen, fiberglass or vinyl-coated polyester is the right call. A 25-foot roll of replacement screen runs about $25.
| Material | Durability | Ease of Install | Best For |
|---|---|---|---|
| Fiberglass | Good | Easiest (no creasing) | Budget-friendly DIY, light use |
| Vinyl-coated polyester | Best | Moderate | Pets, heavy use, patio doors |
| Aluminum | Very good | Harder (sharp edges) | Areas needing extra strength |
Matching the spline diameter
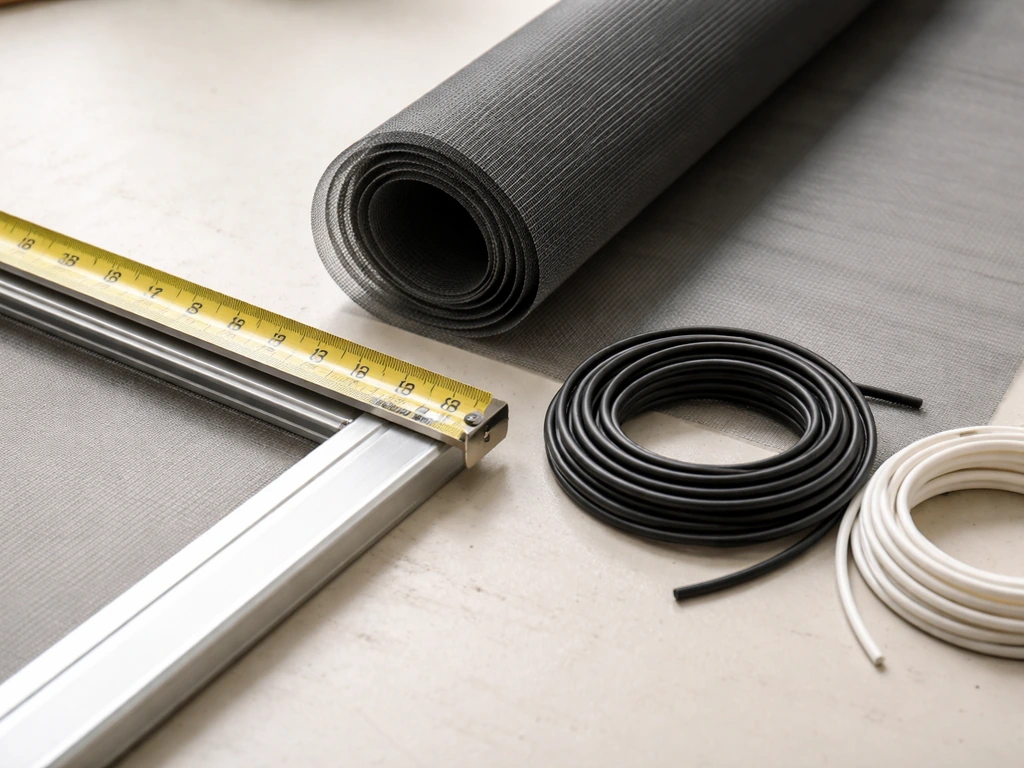
Spline comes in different diameters, typically ranging from about .100 inch to .175 inch or larger. The spline must match the groove in your frame, or it won't hold the mesh securely. The easiest way to get the right size is to pull out a short section of the existing spline and bring it to the hardware store to match it. If that's not possible, measure the groove depth with a small ruler or calipers. Patio and pool screen applications often use a spline around .135 inch in diameter, but measure yours rather than guessing. If the spline is too thin, it'll pop out under tension. Too thick and it won't seat in the groove at all.
How much screen to buy
Measure the opening in your frame (the area the old screen covered), then add at least 2 inches on all four sides. This gives you enough overlap to grip the material and keep it from pulling inward as you press the spline in. A 36-by-80-inch door opening would need a piece at least 40 by 84 inches. Most screen rolls are 36 or 48 inches wide, so check the width of your door opening before buying.
Tools you'll need

- Spline roller tool (has a convex wheel on one end and a concave wheel on the other)
- Utility knife or box cutter with a fresh blade
- Flathead screwdriver or old butter knife (for removing old spline)
- Measuring tape
- Scissors or tin snips (for initial screen cut)
- Putty knife (for door removal and reinstallation)
- Replacement screen mesh roll
- New spline (correct diameter for your frame)
Step-by-step: re-screen the door frame
- Remove the old spline: Pry up one corner of the existing spline using a flathead screwdriver. Once you get a corner started, the spline usually pulls out by hand. Work your way around all four sides. The old screen will come free with the spline. Discard both.
- Clean the frame groove: Wipe out the spline channel with a damp cloth. Remove any debris, old rubber bits, or grime. A clean groove seats the new spline much more evenly and prevents high spots that cause gaps later.
- Cut the corners at a 45-degree angle: Before installing anything, note that once your screen is laid over the frame, you'll need to cut the corners of the mesh at a 45-degree angle, just inside the outer edge of the spline groove. This prevents the mesh from bunching at the corners when you press the spline in. You can do this now as a guide mark, or do it as you reach each corner during installation.
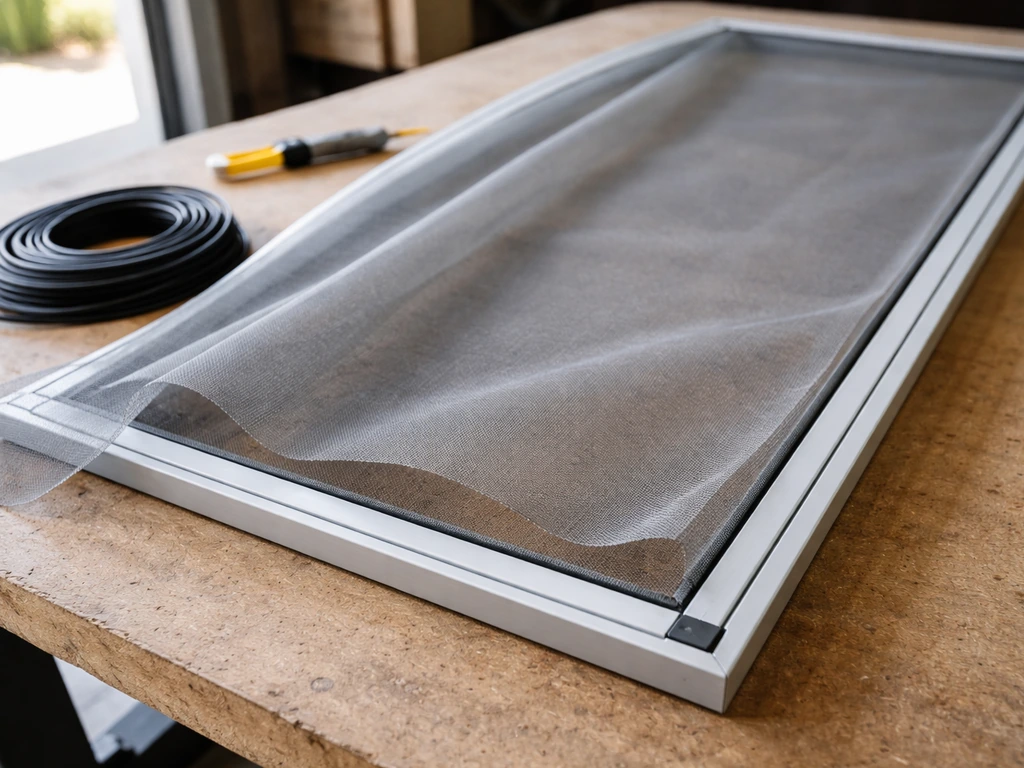
- Lay the screen over the frame: Unroll the new mesh over the frame so it overlaps all four sides by at least 1.5 to 2 inches. Keep the mesh squared up with the frame. The weave lines should run parallel to the frame rails, not at an angle. If you start crooked, the finished screen will look crooked.
- Start pressing screen into the groove at one corner: Use the convex (rounded) wheel of your spline roller to press the screen fabric into the groove along one long side. Apply steady, even pressure and roll from one end to the other. Don't use the spline yet. This step just sets the screen into the groove so it holds position. The mesh should be taut but not stretched so hard it distorts the weave.
- Work opposite sides, keeping tension: After setting the first long side, move to the opposite long side and press the screen in there the same way. Pull the mesh gently across the frame as you go to keep it flat. Then do the two short sides. The goal at this stage is getting the mesh to lay flat and square across the frame opening.
- Cut the corners: Now trim each corner of the overhanging screen at a 45-degree angle, cutting just inside the outer edge of the spline groove. This keeps the corner clean and prevents bunching when the spline goes in.
- Press in the spline: Starting at one corner, lay the spline over the screen right above the groove and use the concave (grooved) wheel of your spline roller to push both the screen and spline down into the groove simultaneously. Use firm, consistent pressure. Work along one side at a time. The spline should seat fully into the channel, with the mesh locked underneath it. Don't stretch the spline as you go, as stretching causes it to shrink back after installation and pop out of corners.
- Work all four sides and finish the corners: When you reach each corner, snip the spline so the end sits flush against the starting piece, without overlapping. Overlapping causes the spline to ride up out of the groove right at the corner, which is one of the most common failure points.
- Trim excess mesh: Once all four sides are splined, trim the excess screen with a sharp utility knife. Cut along the outer edge of the spline, keeping the blade angled slightly inward so you don't accidentally cut into the spline itself. One clean pass is better than sawing back and forth, which frays the mesh.
When you're done, the mesh should be flat, taut, and wrinkle-free. Press your palm lightly against the center of the screen. It should have a slight give but snap back without sagging. If it feels loose or rippled, see the troubleshooting section below.
Reinstall, tension, and verify fit and operation
Before rehaning the door, clean the track. Wipe out the upper channel and the lower sill track with a damp rag to remove any dirt or dried grime. A clean track means the rollers seat properly and the door slides without dragging.
To rehang the door, start by tilting the top of the door into the upper track channel at roughly the same angle you used to remove it. Once the top is seated, push the door upward as high as it will go in the upper track. Then swing the bottom of the door inward so the bottom rollers align over the lower track rail. Lower the door down onto the rail. If the rollers aren't dropping into the track cleanly, use a putty knife to gently press the bottom roller bracket into position while guiding the door down.
Once the door is in the track, adjust the roller height. Turn the adjustment screws clockwise to extend the rollers down until they make firm contact with the track. You want the door to roll smoothly without wobbling side to side. A good baseline is to adjust each roller screw until you feel light resistance, meaning the roller is just touching the track with gentle tension.
Slide the door back and forth several times. It should glide smoothly with no catching or grinding. The door should sit plumb in the frame opening with consistent gaps along all four edges. Close the door and check for daylight gaps along the edges. Run your hand along the frame perimeter at night or hold a light inside to see if any light leaks through. Small gaps at the top or sides usually mean the roller height needs adjustment or the door needs to be lifted slightly in the track.
Troubleshooting common issues after rescreening
Screen has wrinkles or ripples after installation
This almost always comes from uneven tension during the spline installation. If the wrinkles are minor, you may be able to press the spline deeper in the problem area using the concave roller. If the wrinkles are significant, you'll need to pull the spline on the affected side, re-tension the mesh by pulling it gently taut across the frame, and re-press the spline. It's annoying, but it only takes a few minutes and beats living with a saggy door.
Spline keeps popping out of the groove
Usually means the spline diameter is too small for your groove, or you stretched the spline as you rolled it in (causing it to contract and pull loose at the corners). Try the next size up in spline diameter. Also check that you're not over-tensioning the mesh when you press the screen into the groove before splining, which can bow the frame slightly and prevent the spline from seating fully.
Door won't fit back in the track after rescreening
If the door went in before and won't go in now, the most likely cause is that the screen is bunched at a corner or the spline is sitting proud of the frame surface, adding just enough thickness to prevent the door from seating in the upper channel. Check all four corners and press down any spline that's raised. Also verify that the rollers are retracted (screws turned counterclockwise) before you try to reinstall, since extended rollers add height and make it impossible to get the top into the channel.
Gaps along the edges after reinstalling (drafts or insects getting through)
Gaps between the screen frame and the door frame opening are almost always a roller height issue, not a screen issue. Extend the rollers down a half-turn at a time on each side until the door sits tight in the frame with even gaps. If one corner has a gap, try adjusting just the roller on that side. If the gap runs the full length of one edge, the door may need to be re-hung with a slight tilt adjustment.
Screen sags or goes loose within a few weeks
If the screen was installed correctly but goes loose quickly, the spline was likely too small and is gradually working its way out of the groove under normal use. Pull the spline and replace it with the correct diameter. This is also worth checking if you reused old spline from the previous installation: old spline has lost its elasticity and won't grip the groove the way new spline does.
Door slides stiffly or catches in the track
If the door is dragging after you reinstall it, the rollers are either set too low (too much pressure on the track), the track itself is dirty or has debris in it, or a roller is worn out. If your sliding patio screen door has rollers, you may also need to replace the wheels when the door doesn’t glide smoothly replace wheels on patio screen door. Clean the track first. If you are deciding where to repair a patio screen door, start with the parts that are easiest to access, like the spline, mesh, and track, before moving on to frame repairs where to repair patio screen door. If the door still drags after cleaning and adjusting the roller height, the rollers themselves may need replacing. That's a separate job from rescreening, but it's worth knowing the screen isn't the cause of the problem.
One more thing worth knowing: if after all of this the door frame itself is bent or the corners have separated, no amount of rescreening will make it sit right in the opening. At that point you're looking at either repairing the frame or replacing the screen panel entirely. For most doors in otherwise good condition, though, a fresh rescreen with properly matched spline is all it takes to get back to a door that looks new and works smoothly.
FAQ
Can I patch a small tear instead of doing a complete rescreen?
If the spline is still firmly seated and the mesh only has a small tear, you may be able to do a patch by removing spline just around the damaged area, replacing the mesh section, then reseating new spline. A full rescreen is usually better if the mesh is loose, sagging, or wrinkled across a larger span, since localized patches can still leave weak tension points nearby.
Should I reuse the old spline when rescreening my patio screen door?
Don’t reuse old spline. Even if it looks intact, it often loses elasticity and can pop out again under normal opening and closing. Use new spline of the same diameter that matches your groove, and cut it in lengths that let you avoid stretched sections at corners.
When should I trim the screen mesh, and how do I get a clean edge?
To cut clean edges, use sharp scissors or a utility knife with a fresh blade, then trim after the spline is fully pressed in. If you trim before installing spline, the mesh can shift slightly while you work, leaving uneven overlap at the groove. After trimming, lightly run the spline tool along the perimeter to ensure the cord is seated before you reinstall the door.
Is it okay to use two screen pieces instead of one to cover the whole door?
Yes, you can work with more than one piece if needed, but you should place seams away from high-stress areas like the corners and center runs. Overlapping seams can create thickness that interferes with door seating, and gaps at a seam can cause early loosening. If you can, use one piece sized for the entire opening plus overlap.
How should I handle and unroll screen mesh so it doesn’t end up wrinkled?
For most patio doors, fiberglass tends to crease if you handle it roughly, so it helps to unroll it and let it relax on a flat surface for 10 to 15 minutes before cutting. Vinyl-coated polyester is more resilient to handling, but still measure carefully to avoid pulling the mesh unevenly while you press spline in.
How tight should the screen feel once it’s installed?
If you feel the mesh snap back but it seems too tight, you can cause frame bowing and prevent spline from seating fully. Looseness usually shows up as sag or ripples after installation. Aim for a slight give in the center that returns when you press, and if tension feels excessive, re-tension and re-press only the affected side rather than forcing more spline.
What should I check if the door still won’t reinstall smoothly after rescreening?
If the spline looks seated but the door won’t slide in, check for raised spline at the corners and along the edges first. Even a small proud area can add thickness enough to interfere with the upper channel. Next, verify the rollers are fully retracted before reinstalling, then confirm the mesh is not bunched at any corner under the spline.
If the door drags after I rescreen it, is the screen at fault?
Replacing spline won’t fix a problem that comes from door alignment or track condition. If the door drags, clean the upper channel and lower sill track again, then adjust roller height in small half-turn increments. If dragging continues after track cleaning and correct roller height, inspect roller wheels for wear or replace them, since that’s often separate from the screen panel repair.
How do I fix daylight gaps along the edges after installing the new screen?
If you see light leaks, treat it as an alignment or roller height issue first, not a mesh size problem. Extend the rollers down a half-turn at a time until gaps are even, then re-check at night with a light or by eye for consistent perimeter gaps. Uneven gaps at only one corner typically points to roller adjustment, while gaps along an entire edge can indicate re-hanging with a slightly different tilt.
Why would wrinkles come back after a few days or weeks?
If you find wrinkles again after the door has been in use, it often means the spline was too small, is slowly working out, or the mesh tension was uneven during installation. Replace with the correct spline diameter, and when pressing spline, keep the tool moving steadily and don’t over-stretch the mesh ahead of the roller.
What if my patio screen frame doesn’t use spline and groove?
If your frame uses clips or metal retainers instead of a rubber/vinyl spline, the installation steps change because you won’t be pressing spline into a groove. The safest approach is to identify the frame type by looking for rivets/clips and matching the retainer method to that hardware style, otherwise you may choose the wrong materials and end up with poor hold.
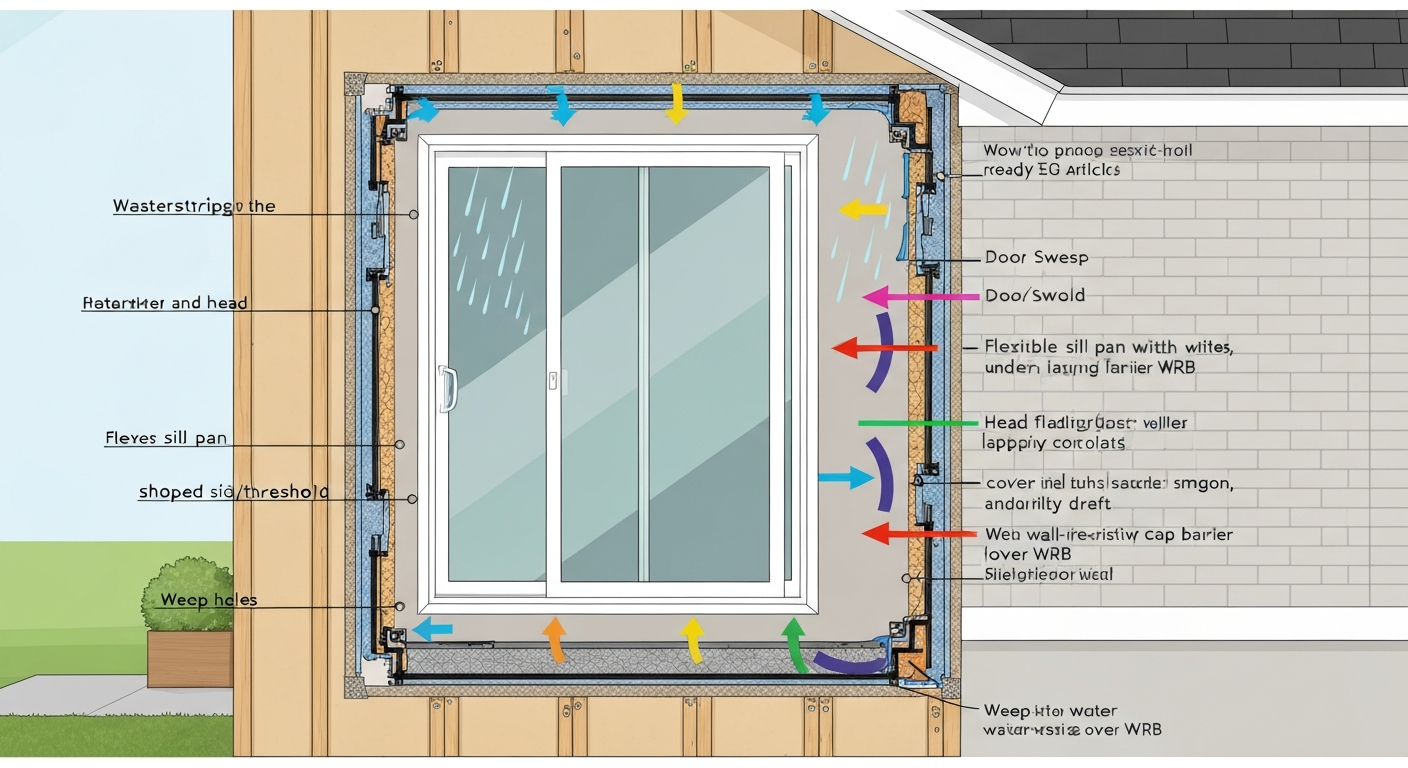
Next Article
How to Protect Patio Door from Rain: DIY Fixes, Steps & Costs
How to protect patio door from rain: step-by-step DIY fixes, tests, tools, seasonal tips, and when to call a pro.