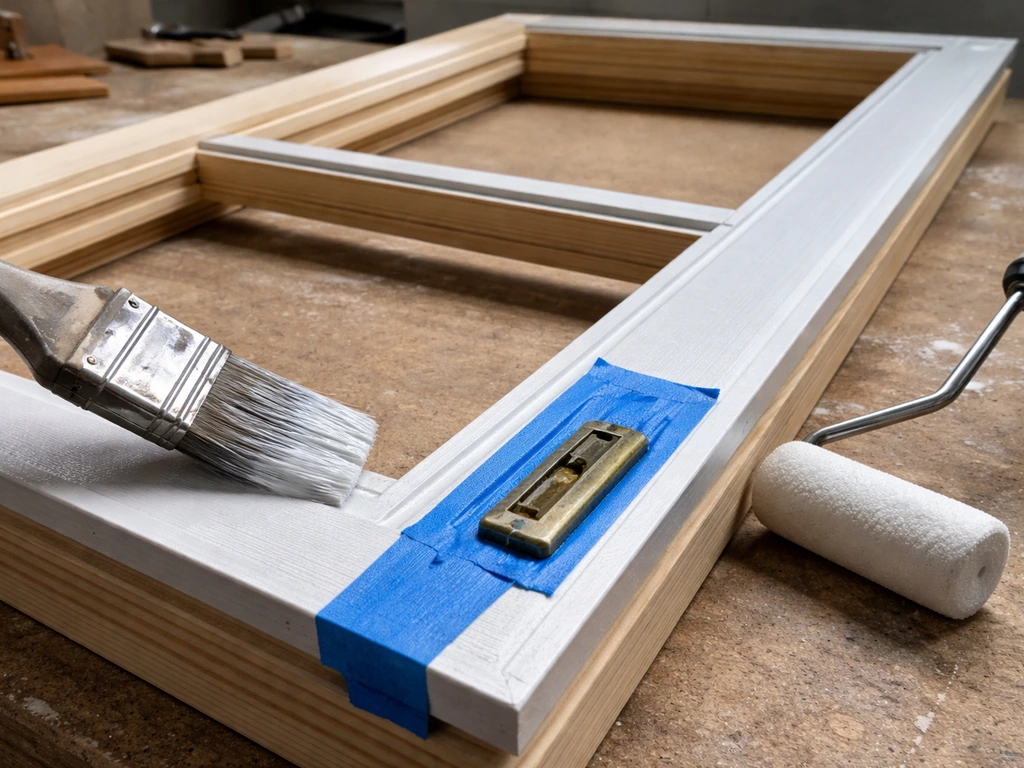
You can paint a sliding patio door, frame, rails, and all, as long as you keep paint away from three things: the weatherstripping, the tracks, and the rollers. Get paint on any of those and you'll end up with a door that drags, seals poorly, or both. The actual painting process is straightforward once you've done the prep right, which is where most people rush and regret it later.
How to Paint a Sliding Patio Door Step by Step

Jamie Archer
25 Jun 2026
What you'll need before you start
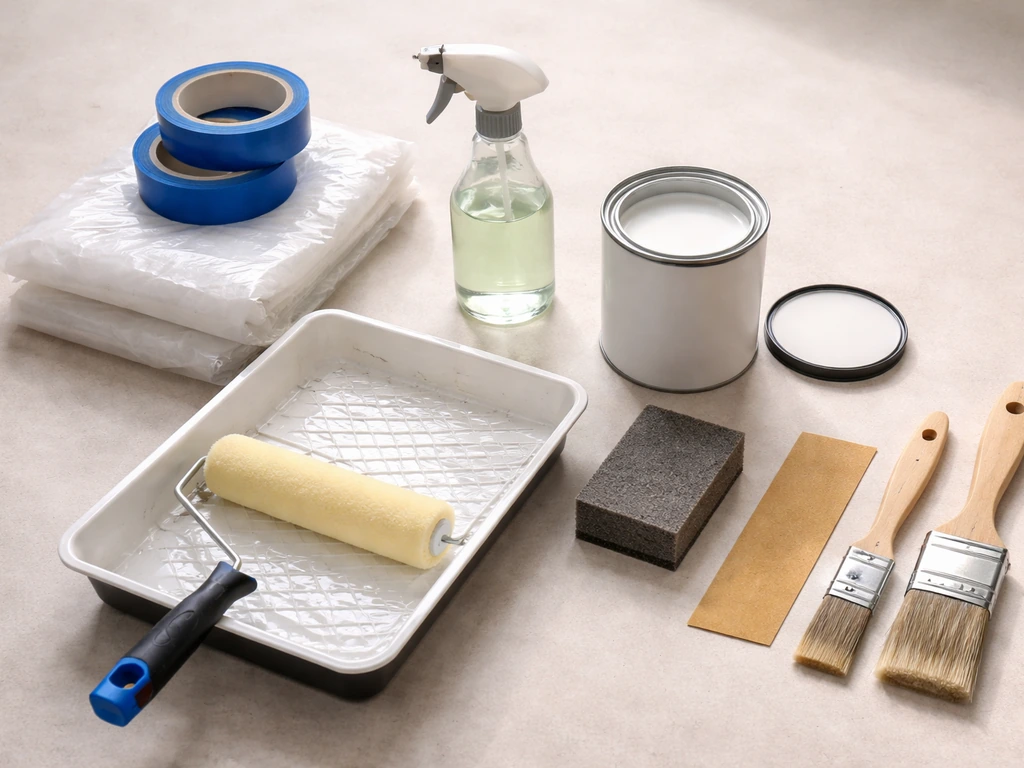
- Painter's tape (at least 1.5-inch width)
- Plastic sheeting or drop cloth for the glass panels
- Degreaser or TSP substitute cleaner
- 180-grit sandpaper or a sanding sponge
- High-adhesion bonding primer (KILZ Adhesion, INSL-X Stix, or Zinsser Vinyl Adhesive Primer)
- Exterior-grade latex paint or paint formulated for the door's material
- 2-inch angled sash brush for the frame and rails
- Small detail brush (1-inch) for tight corners and edges near hardware
- Foam mini-roller for flat panel faces if your frame has them
- Silicone spray lubricant for post-painting track maintenance
- Clean rags and isopropyl alcohol for cleanup
Prep and protect before a drop of paint goes on
This is the step that determines whether your paint job lasts or peels in two seasons. Take 30 minutes here and you'll save yourself a lot of frustration.
Protecting the glass
Tape off the glass starting about 1/16 inch away from the frame edge, you actually want a tiny sliver of glass covered by paint to create a weathertight seal, so don't tape right at the glass-to-frame junction. Use good-quality painter's tape pressed down firmly with a putty knife edge so paint can't bleed underneath. For larger panes, a sheet of plastic or a drop cloth taped over the glass will save you from brush splatter.
Protecting the weatherstripping and screen
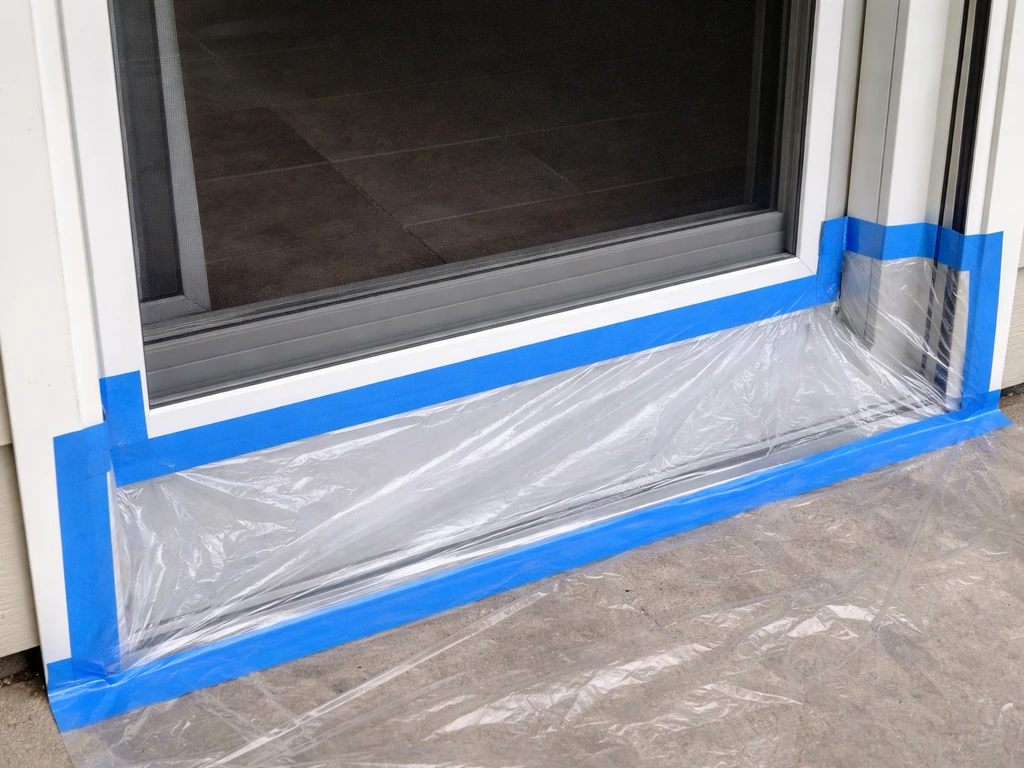
This one matters more than people realize. If you need to cover a patio door with plastic for protection, focus on taping the plastic securely without getting it into the weatherstripping or moving parts how to put plastic on patio door. Pella's installation instructions explicitly say not to paint, finish, or remove the weatherstripping, mohair dust pads, gaskets, or vinyl parts on a door, and that's not just fine print. Paint on weatherstripping makes it stiff and less effective at sealing, and it voids coverage under most manufacturer warranties if a related defect shows up later. Use narrow painter's tape to mask right up to the weatherstripping edge, but don't stretch it over the seal itself. If you have a sliding screen door, remove it and set it aside rather than trying to paint around it.
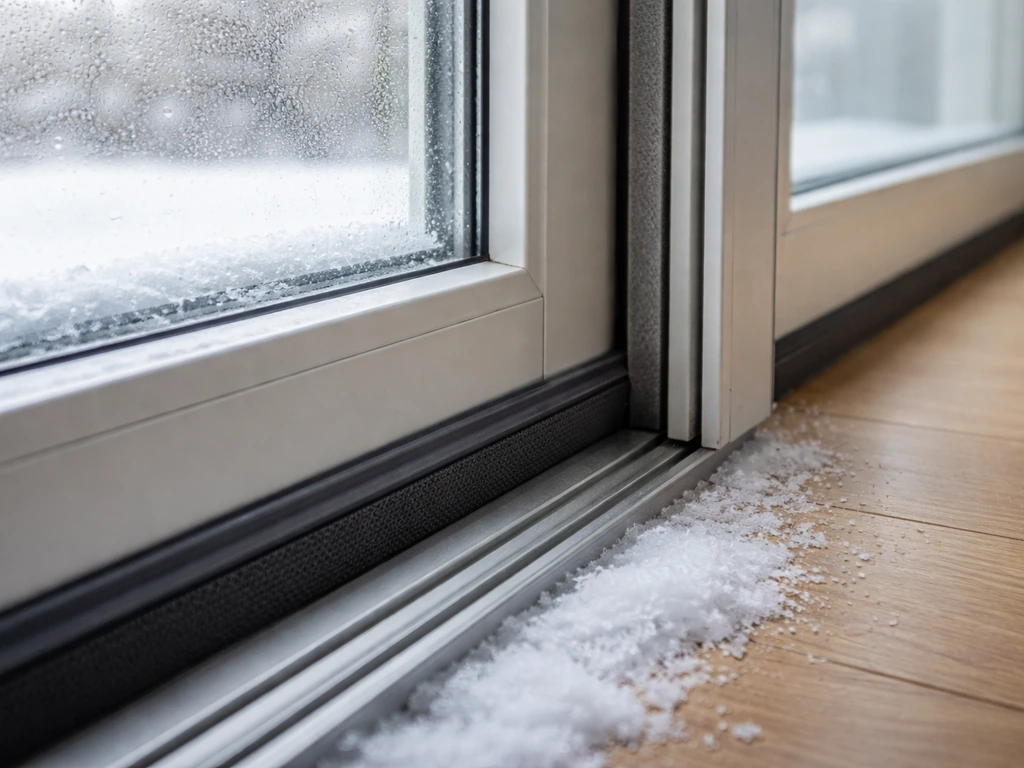
Protecting the tracks
The track is the most paint-sensitive part of the whole system. Lay a strip of painter's tape along both the top and bottom track channels before you start. You're not painting the inside of the track at all, you're just painting the visible frame face. Also take a moment to check the weep holes along the bottom track. These small drainage openings need to stay clear so water can exit. Milgard notes that weep holes on vinyl sliding patio doors are part of the drainage system and should be kept clear so water can exit weep holes are part of the door’s drainage system and should be kept clear so water can exit. Make sure they're not already clogged with debris, and be especially careful that no primer or paint drips into them.
Cleaning and surface prep: what to sand and what to skip
Clean the entire frame surface with a degreaser or TSP substitute before doing anything else. You're removing chalk, grime, oxidation, old wax, and any oil from years of hand contact near the handle area. Rinse thoroughly and let it dry completely, paint applied over a damp or contaminated surface will fail no matter how good the primer is.
Whether you need to sand depends on what you're working with. For a glossy painted surface (painted aluminum or a previously painted wood frame), scuff the surface lightly with 180-grit sandpaper to give the primer something to grip. You don't need to strip it down, just knock the sheen off. For raw or oxidized aluminum, clean it well and consider a light scuff too. For vinyl frames, the Zinsser Vinyl Adhesive Primer documentation specifically recommends dulling hard, glossy surfaces with carbide sandpaper before applying primer. That said, KILZ Adhesion is formulated to bond to PVC and vinyl without sanding on many surfaces, the manufacturer recommends testing adhesion on a small area first if you want to skip that step. KILZ ADHESION Primer is a modified-acrylic bonding primer made to bond to tough-to-paint surfaces such as PVC or vinyl/plastic, glass, glossy finishes, and chalky paints KILZ Adhesion is formulated to bond to PVC and vinyl without sanding on many surfaces.
Choosing the right primer and paint for your door material
The door's material is the deciding factor here. If you are specifically trying to tint patio doors, the same prep and paint protection rules apply, but you will want to choose a tint-compatible exterior product designed for glass or frame material. Vinyl and aluminum are both notoriously poor at holding paint without the right primer, and using a standard wall primer will result in peeling within a season or two. Wood frames are more forgiving, but still benefit from a quality exterior primer.
| Door Material | Recommended Primer | Paint Type |
|---|---|---|
| Vinyl (PVC) | KILZ Adhesion, INSL-X Stix, or Zinsser Vinyl Adhesive Primer | 100% acrylic exterior latex formulated for vinyl |
| Aluminum | KILZ Adhesion or INSL-X Stix (bonding primer) | Exterior acrylic enamel or direct-to-metal paint |
| Wood (bare or painted) | Exterior wood primer or bonding primer over glossy surfaces | Exterior acrylic or alkyd enamel |
| Fiberglass | Bonding primer or fiberglass-compatible primer | Exterior acrylic enamel |
For vinyl specifically, you want to match the paint color as closely as possible to the original color, or go slightly lighter. Dark colors on vinyl absorb more heat, which can cause warping over time, this is worth checking in your paint manufacturer's guidance before committing to a deep color. Some manufacturers, like Reliabilt, actually prohibit painting their doors entirely and note it in their installation instructions, so if your door is fairly new and still under warranty, it's worth a quick check before you pick up a brush.
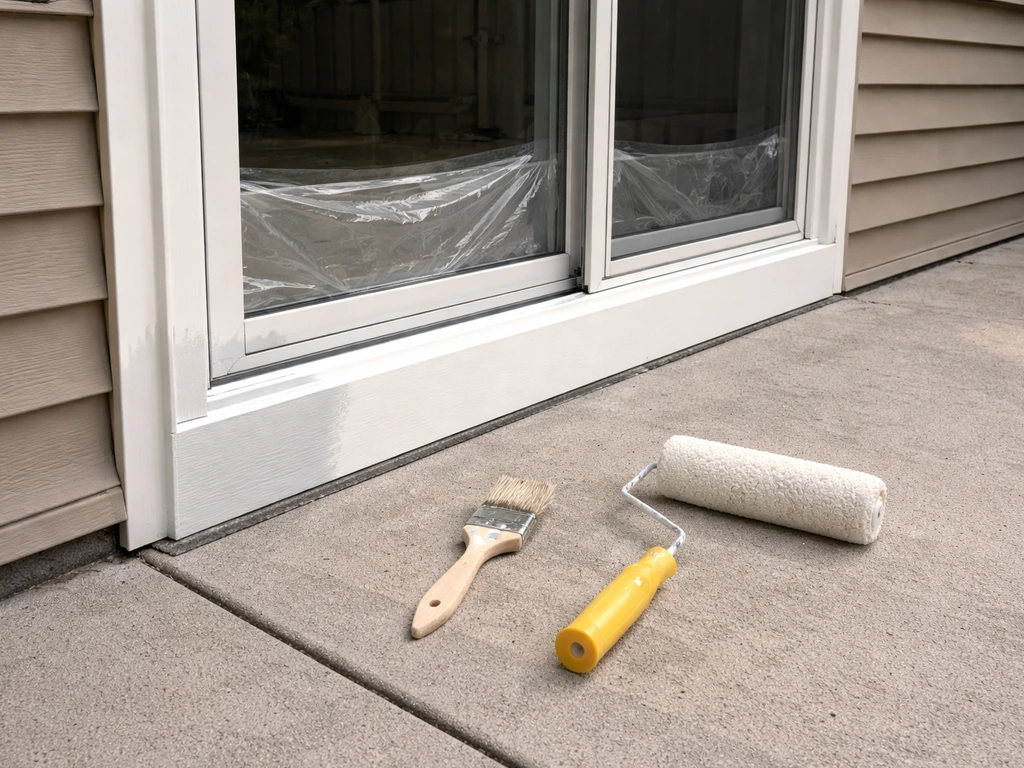
Painting the frame, rails, and handles step by step
- Apply your bonding primer in a thin, even coat using the angled sash brush. Work in long, smooth strokes following the direction of the frame profile. Don't glob it on — thin coats bond better and dry faster. Let it dry according to the manufacturer's specs (INSL-X Stix, for example, has a recoat window of around 3 to 4 hours).
- Once the primer is dry to touch, inspect for any missed spots or thin areas and apply a second primer coat if needed on bare or heavily oxidized surfaces.
- Apply your first coat of paint using the same angled brush. Start with the frame edges closest to the glass, then work outward to the outer frame face. Keep strokes light near the glass line to avoid pushing paint under your tape.
- For the horizontal rails (top and bottom of the door), paint from the center outward toward the edges so you don't push wet paint into the corner joints and create buildup.
- For handles and locks, you have two options: remove them completely (the cleaner approach) or tape them off with precision. If you remove hardware, plug the screw holes with painter's tape so primer and paint don't get inside. Paint those areas, let them cure, then reinstall.
- Apply a second coat of paint after the first coat has dried per the manufacturer's window. Two thin coats will always outperform one thick coat in terms of adhesion and durability.
- Remove all tape while the final coat is still slightly tacky — pulling tape off fully dried paint risks peeling the edge of your finish.
Painting around tracks and hardware without gumming up the slide
The rule here is simple: paint the frame face, not the track. The inside of the upper and lower track channels should stay completely paint-free. When you're brushing near the track edge, use a dry brush technique, load the brush lightly and work in short strokes parallel to the track, not toward it. A small 1-inch detail brush gives you much better control in these tight spots than a larger brush.
The bottom rail where the door sits in the track deserves extra attention. There's usually a small lip between the painted frame face and the track floor. Stop your paint at that lip. Going beyond it is exactly how paint ends up in the track and on the rollers, which will make the door feel notchy or draggy almost immediately.
For the roller assembly areas (typically accessed from the bottom corners of the sliding panel), don't paint around those adjustment slots or openings at all. If you accidentally get primer or paint near them, wipe it off immediately with a damp rag while it's still wet.
Drying, curing, and testing the door after painting
Touch-dry and fully cured are two very different things, and confusing them is how fresh paint gets scratched or damaged. Most water-based paints feel dry to the touch within an hour or two, but the film isn't hard enough to withstand friction, like a door sliding in a track, for several days. INSL-X Stix, for example, reaches full cure in about 3 to 4 days. Oil-based enamels typically take even longer. The specific cure time will be on your paint's technical data sheet or product label.
During the curing period, prop the door slightly open if possible so it doesn't stick to the frame or weatherstripping as the paint hardens. Even a small wedge at the bottom is enough.
How to test the door before calling it done
- Remove all painter's tape and plastic protection.
- Slide the door slowly from fully closed to fully open and back. It should glide without resistance or a scraping sound.
- Check the bottom track visually for any paint drips or buildup. Even small ones can catch on the roller and create drag.
- Run your finger lightly along the weatherstripping. It should still be soft and pliable — if it feels stiff or you can see paint on it, that seal is compromised and will need attention.
- Apply a light spray of silicone lubricant to a clean rag and wipe it along the track (not spray directly into the track, which can cause overspray issues). This restores smooth operation and protects the track surface.
- Operate the lock mechanism through a full cycle to make sure any hardware you painted around or reinstalled is functioning correctly.
Cleanup and keeping the finish in good shape
Clean water-based primer and paint off your brushes immediately with warm water and soap. If you let bonding primer dry in a brush, it becomes very difficult to remove. For any paint that got where it shouldn't, on the glass edge, for example, a single-edge razor blade held at a shallow angle will remove it cleanly once the paint is fully dry.
For long-term maintenance, the painted frame on a sliding patio door is exposed to UV, temperature swings, and repeated contact near the handle area. Wipe down the frame with a mild soap solution every few months to prevent grime buildup, which can cause paint to chalk and break down faster. Avoid abrasive cleaners, which will scuff the finish. Every year or two, take a close look at the paint condition around the corners and bottom rail, those areas see the most moisture and wear. Catching small chips or peeling spots early and touching them up before they expand will keep the door looking good for years without needing a full repaint.
If you're working on a wood patio door and want a different kind of finish entirely, staining is worth considering as an alternative, it requires a similar prep process but produces a different look and may need different maintenance. If you’d rather stain than paint, follow the same careful prep steps and focus on keeping stain off the weatherstripping, tracks, and rollers staining. And if your door is vinyl and you were wondering whether it can be painted at all before starting this project, the short answer is yes, with the right bonding primer, though some manufacturer restrictions apply.
Common mistakes that cause problems later
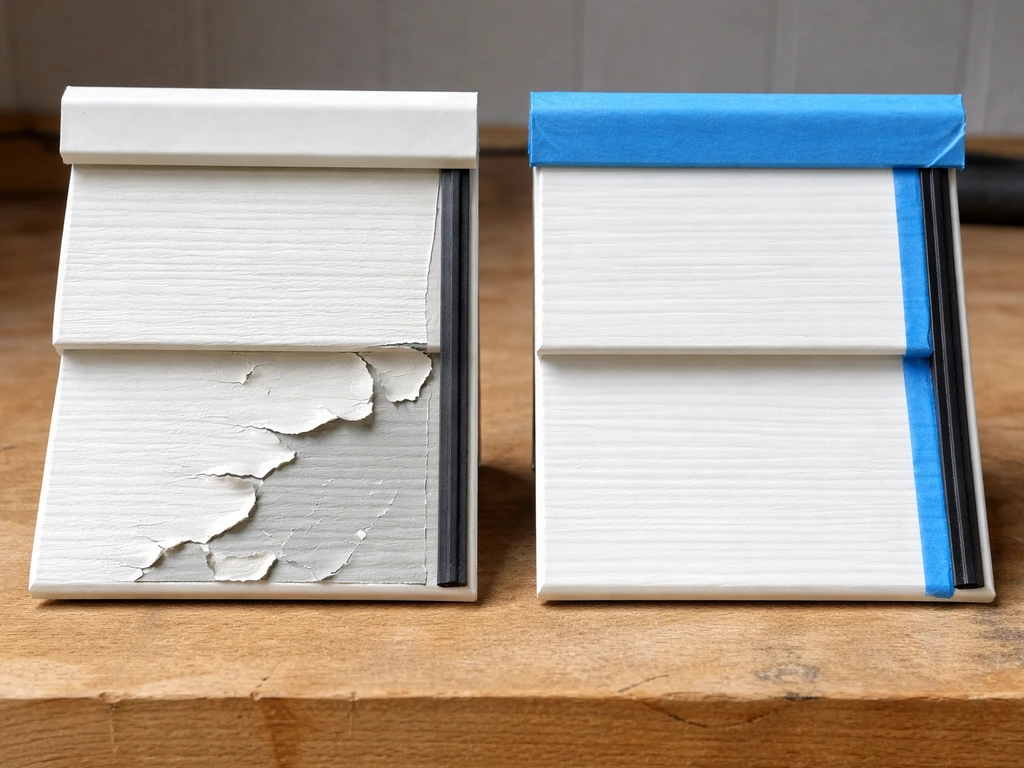
- Skipping the bonding primer on vinyl or aluminum — standard primer won't stick and the paint will peel
- Painting the weatherstripping, even accidentally with overspray or brush bleed
- Getting paint inside the track channel or over the weep holes
- Applying one thick coat instead of two thin coats — thick coats sag, stay soft longer, and adhere worse
- Sliding the door before the paint has fully cured, which drags the soft film against the track edge and creates marks
- Pulling painter's tape off after the paint has fully hardened, which can chip the edge of the finish
FAQ
Can I paint the sliding screen door too, or should I remove it every time?
If your screen door overlaps the weatherstripping or moves through the track, remove it and paint it off the door frame. If you leave it in place, brush splatter and drips around the edges are more likely to foul the seal and cause the screen to bind when it slides.
What should I do if paint accidentally gets into the track or on the rollers?
Let it fully dry, then scrape with a plastic scraper first to avoid scratching metal parts, and finish with a slightly damp rag. If primer or paint has pooled in weep areas, use a toothpick or soft brush to clear the opening. After cleaning, wipe dry and test the door for smooth movement before curing is complete.
Do I need to prime a sliding patio door frame, or can I use paint and primer in one?
For vinyl and previously glossy surfaces, use a bonding exterior primer. “Paint and primer” cans may not bond reliably to PVC or scuffed aluminum unless the surface is properly prepared. If you skip primer, expect peeling first at corners and around the bottom rail where moisture sits.
How long should I wait before operating the sliding door after painting?
Do not rely on “touch dry.” Wait for at least the paint’s specified cure time for friction resistance, commonly several days for water-based coatings. Until then, prop the door slightly open if possible, and avoid sliding it back and forth because that can create shiny wear paths and stick-slip marks.
Can I use spray paint on a sliding patio door instead of brushing?
Yes, but it increases the risk of overspray reaching the tracks, rollers, and weatherstripping. If you spray, mask more aggressively (plastic over glass, tape lines away from the seal), keep the nozzle perpendicular to the frame face, and plan for multiple light coats rather than one heavy pass that can run.
Is sanding required for aluminum or vinyl patio door frames?
Aluminum usually needs only a scuff to remove sheen, but vinyl typically requires a primer that bonds to PVC and, in some cases, additional dulling of glossy areas. When in doubt, do a small adhesion test on an inconspicuous spot, then wait a day and check whether the coating rubs off.
What’s the best way to choose a primer and topcoat for a vinyl door color change?
Match system compatibility by selecting an exterior bonding primer made for vinyl (or PVC) and a topcoat rated for exterior use. For darker colors on vinyl, verify with your paint manufacturer’s guidance because heat from sun exposure can contribute to warping over time.
How do I paint around the bottom rail lip without creating buildup?
Stop the coating at the lip where the painted frame face meets the track floor. If you tend to flood the area, use a narrow brush and a dry-brush technique near the edge, then check the underside gap with a flashlight before the next coat.
What if my door is already peeling or flaking at the corners?
Scrape all loose paint back to solid edges, then feather the remaining coating so the next layer is continuous. Prime after scraping and scuffing, because painting over flaking areas will lift again, usually starting where water collects at corners and the bottom rail.
Can I paint over treated or coated wood frames, like previous exterior sealers?
Only if the existing surface is sound and properly prepared for adhesion. Remove any chalky residues with degreaser or cleaner, let it dry fully, scuff the surface, then use an exterior primer. If the old coating is still slick, do an adhesion test before committing to the full job.
Will regular soap and water cleaning between coats damage the finish while it cures?
Once you paint, avoid cleaning the frame until the coating is fully cured and hardened enough to resist friction. During curing, protect from contact and do not wipe with harsh cleaners, because early cleaning can leave dull spots or streaks.
How can I prevent visible brush marks or uneven sheen on the frame face?
Use smooth, even passes with a high-quality exterior brush or foam applicator, keep a wet edge, and apply thin coats rather than trying to hide color in one layer. If you see runs, don’t brush them out while wet repeatedly, let the coat level, then sand lightly after cure if needed before the next coat.
Next Article
How to Seal a Patio Door for Winter: Step-by-Step
Step-by-step how to seal sliding or screen patio doors for winter: adjust, add sweeps and weatherstripping, stop drafts,